Hopefully, we will gradually transition from the dysfunctional status quo to long-term thriving using the planet’s available resources (one planet thriving) through expert use of physical technologies (like alcohol, stirling engines, and rocket mass heaters) and social technologies. Storing food is part of preparing for relatively short-term disasters, one of 10 prepping priorities for short-term disaster resilience, including the creation of a disaster kit/”go bag”, security, shelter, communication, power, water, hygiene, finances, and mobility.
In general, there are two approaches to storing food: (1) The deep pantry: Store what you already eat and rotate the food so it doesn’t spoil, and (2) Store it and forget it. Store food you think will be palatable but make no effort to rotate it through. Obviously, you will have to replace old food from time to time. In practice, if you eat a lot of fresh foods, you will have to change the way you eat (during an emergency). The only other question is how many weeks or months of food do you want to store? One month, three months, a year?
Of course, combinations of these two basic meothods are possible: Store, use, rotate (becomes part of a lifestyle and involves foods we actually want to eat). Get 1 year + 3 months of food. If this feels like big leap, just start with getting more (e.g., 25 lbs) of whatever you already order (e.g., rice, beans). Buy 3 months of food every 3 months to replenish.
Method #1 – Deep Pantry Rotation
With method #1, we can start with a month of food storage and work our way up to more storage as time, energy, money, and rare journeys away from denial allow.
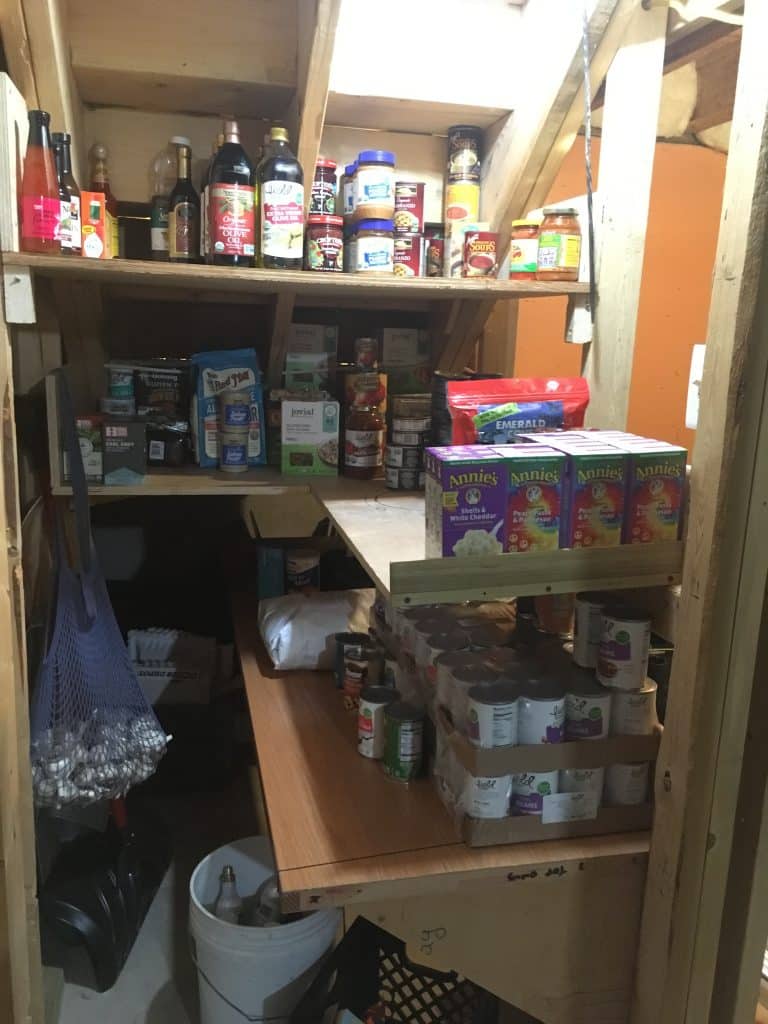
The picture to the left is our deep pantry but not currently stocked with all of its food yet. There’s a First In First Out Sign posted to remind all of us how to maintain this system reliably (plans for Do-It-Yourself food can shelving unit).
Even using this method, it may make sense to use mylar bags with oxygen absorbers and dessicants to preserve some food. For example, if you eat rice at the rate of 25 pounds per 3 months during your normal diet, but think you will eat more rice in an emergency when other foods are not as available, you obviously need to store enough rice for the emergency-rice-eating-rate. Our solution is a 5-gallon bucket with a gamma lid for rice we will use relatively soon (within months) with the longer term rice stored in mylar bags in a larger rubbermaid container (rodent proof-ish?), to be transferred to the gamma lid container one bag at a time as part of the rotation.
There’s an interaction with this method between what you eat and what’s easy to store. Ideally, we would store what we eat and eat what we store. You can go a step further and we all probably should: store what you grow and eat what you store. So that gets into learning about what varieties of wheat or corn can be grown in our local area that make good bread and good tortillas but also store well. In our area, heirloom seeds can be found here: https://www.rareseeds.com/. Wheat recommendations include Spelt, emmer and einkorn, but I don’t know much about them yet. Corn recommendations include Hickory King White Corn (as recommended by Su Dennett), but I’m unsure if it will grow in our environment. Olotillo white heirloom corn makes delicious tortillas. It can be grown in PA and seeds are sold by https://sherwoodsseeds.com/. And, yes, you can make tortillas from good old popcorn (for example).
Method #2 – Long-term storage
There are several reasons why long-term storage requires some thought:
(1) This method requires storing foods you might not normally eat or will have you eating a lot more rice, beans, and flour than you might normally eat. The reason is that there are only so many foods that store well for the long term. See this article for ideas about how long things are safe to store.
(2) Knowing how to store the food so it will last as long as possible involves mylar bags, oxygen absorbers, and other items we may not be used to.
(3) You have to be able to process some of what you store to use it. For example, although you can soak and eat wheat berries, most of us would prefer to convert most of them to flour and enjoy bread.
(4) You have to be able to cook decent food with what you store. For example, if you don’t know how to bake bread, it will be hard to eat well using long-term storage.
See this good site for all things related to storing water and food. Also, see this food storage calculator.
What food to store? Use “Morman” Basic Four or 7-Plus Plan
“Mormon” Basic Four
Benefits: cheap, long shelf-life. Disads: low variety; low vits A, C, D; not as palatable as one might wish. The Church of Latter Day Saints has worked on food storage for a long time. They have food storage centers that anyone can use to load up on food storage options (summary overview). These are available in many states (see list here).
7-plus plan (source = Crisis Preparedness Handbook)
Advantages over “Mormon” Basic Four: 20% more calories; Better nutritional balance (vitamins A, C, D); More variety and increased palatability
What are you actually eating? Beans, rice, breads, and you can add sprouting seeds
Foods & quantities (per adult)
- Salt (1/2 table, 1/2 pickling & canning) – 8 lbs
- Milk, nonfat dry – 60 lbs
- Oil (2 gal liquid, 6 lbs shortening) – 21 lbs
- Sugar – 65 lbs
- Grains (wheat, rice, corn, etc.) – 375 lbs
- Legumes (beans, peas, lentils) – 60 lbs (don’t forget sprouting seeds)
- Leavening agents (3/4 lb yeast, 1 lb baking powder) & seasonings (herbs, spices, flavorings, bouillon, etc.)
- Multi-vitamins – 365
One year worth of food for family of 4 with 2 kids (boy=7; girl=3.5) + 5% for waste. 17 cubic feet per person to store (3′ x 3′ x 2′ per person. 5′ x 5′ x 5′ = more than enough for 4 people.) Total of 70, 5-gallon buckets ($5 x 70 = $350) with gamma lids (airtight; $4 per lid = $280). Detailed list:
- 30 lbs salt
- 235 lbs non-fat dry milk (stores for 7 years)
- 82 lbs of oil (23 lbs shortening & 8 gallons of liquid)
- 255 lbs sugar
- 1455 lbs grain (oats, wheat, corn, rice, pasta)
- 235 lbs legumes
- 1460 multi-vitamins (1 per person per day)*
- 3 lbs yeast
- 4 lbs baking powder
- Seasonings
- * Sprouts. Some folks store multi-vitamins, but another option for getting vitamins and fresh greens are to use sprouts and micro-greens. Just store the seeds and sprout them when you want something fresh to eat.
Gluten-free & dairy-free options?
Basically, long-term gluten-free food storage involves (1) figuring out what grains you need to substitute for wheat in making various gluten-free flours, and (2) making sure your other dry-goods (e.g., oats) are gluten-free.
72-hour Gluten-free kit (not vegetarian and not dairy-free) and a yahoo group focused on allergy-centered food storage
Gluten-free food storage with adult suggestions for a year. They also note the need for a separate GF grain mill.
This company sells a line of stored foods that is gluten-free
Ideas on GF grinding and flour recipes are here.
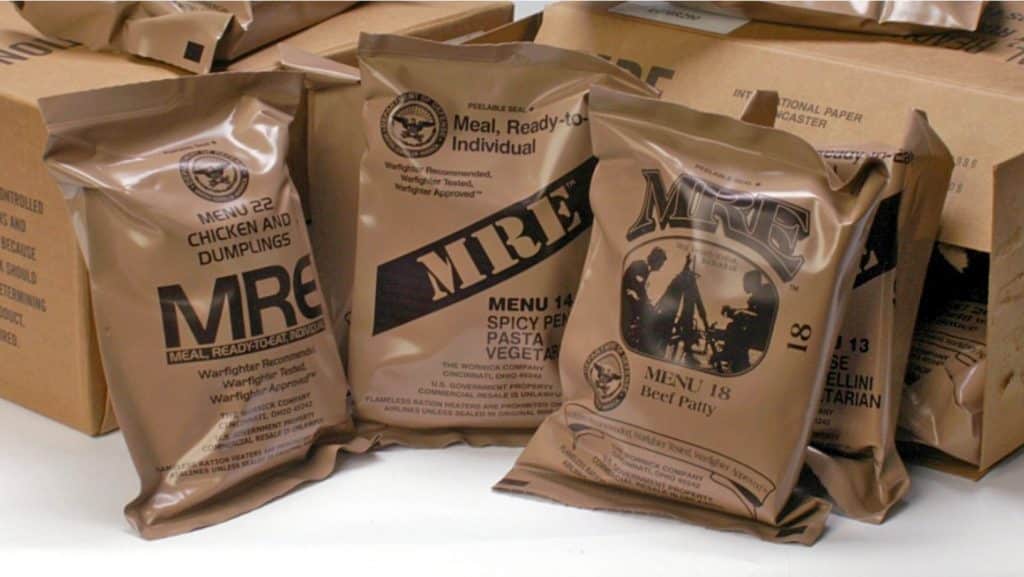
MREs (Meals Ready to Eat)
You can also go with military-style Meals Ready to Eat (MREs). At this site, you can get “48 cases (with heaters) X $64.95 = $3,117.60 before shipping which, depending on where you are, should run somewhere between $200 to $600.” Each case contains 12 meals or 1 day of food for a family of four.
Where to buy bulk food items
- The organic prepper
- Azure Standard. Will deliver to a volunteer-hosted site near you and you get your order from that site.
- Country Life Natural Foods. Will deliver to your address with order of $500 or more
Long-term Storage Techniques
For a very traditional option that can be used in combination with these, you can make and store pemmican, a mixture of dried meet, dried berries, mixed with tallow (and sometimes honey). Pemmican will keep for years, is highly nutritious, and full of calories (pdf with recipe and amounts needed per day for various levels of activity), but I don’t think my family would touch it with a 10-foot fork even in an emergency.
If you are storing food for longer than a year (and as much as 30 years for some food; information on storage times by food type), dry-goods food storage should involve food-grade containers with mylar bags (suggested no less than 5 mm in thickness).
Mylar bag thickness. 6 mm thickness for pasta, 5 mm for everything else. Source for bags.
Oxygen Absorbers. There is a dry ice method that can be used instead of oxygen absorbers, but the mylar bags are normally sealed with an O2 absorber inside and should be opaque to light. Denser foods (like wheat) have less oxygen in them because there is less space between the food than less dense foods (like beans). Thus, different foods need different size oxygen absorbers. This chart helps determine the size absorber you need based on the food type and the size of the mylar bag you’re using. Rule of thumb: 2000 cc for 6G of dense foods (e.g., rice) and 2×2000 cc for non-dense foods (e.g., pasta, beans)
Dessicants. Some suggest using dessicants with foods that have 10% or more moisture content (how to test), others suggest using dessicants if the humidity of your room is greater than 25%. However, others suggest not using a dessicant.
“One to two individual 1 oz. [28 grams] packets of desiccant should be placed in the bottom of your MylarFoil™ bag prior to filling with product. The oxygen absorber [2000 cc per bag] is then placed on top for sealing. Note: This is the recommended procedure for the 20.0? x 30.0? bag (P/N: 20MFS30) that is designed for 5 and 6 gallon pails.” (according to Sorbent Systems, source)
How much can fit in a mylar bag? 35 lbs of wheat per 5-gallon bucket
Sealing mylar bags. See this helpful video on sealing smaller bags with an iron. This video covers sealing a 5-gallon bag with an iron.
Buckets. Mylar bags sealed with food should be put into another container, both to limit light (especially if you use mylar bags thinner than 5 mm) but also to frustrate rodents. Use 5-gallon food buckets ($4.37 each; but can pick extra ones up at grocery stores) or other food-safe (and perhaps larger) containers (like aluminum trash cans or rubber-made containers) can hold multiple mylar bags so you don’t open more than you can use at a time. Seal food grade 5-gallon buckets with gamma lids ($6 each; $5.50 for 12) because normal lids crack and are hard to get off. You can use gamma lids for one bucket you’re accessing regularly and cheap/normal lids for other.
Grain Mills
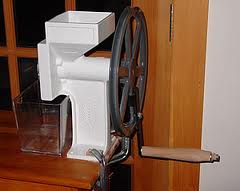
Because many grains store longer in their whole form (e.g., wheat berries store for 30 years, wheat flour stores for months), it makes sense to grind your own flour. Some people claim there is a nutritional benefit, saying that 80% of flour you buy in the store is rancid and therefore bad for you. In any case, to grind your own flour, you will need a grain mill or a high-powered blender.
Our group decided on the Country Living Food Mill ($429 but they have slightly blemished but still with lifetime warranty = $359). This is the one we bought with 7 households = $58/household. Different settings for grinding. But, extra auger suggested for grinding corn and beans ($40). Cost ranges for grain mills $60-$1200. Neighbor has Family Grain Mill = $129: has plastic parts. Ranked high for function but doesn’t grind as fine as Country Living Food Mill. Larger than Lehman. 2.5 lbs of flour in 10 mins. Lehman Food Mill ($277). Plastic hopper; Diamant Food Mill ($1,000); Grain Maker Food Mill ($725). The Wondermill is electric and highly recommended by some ($510). A Vitamix blender will also grind popcorn, wheat, and other grains. Nutrimill has a stone-based electric grinder that is also an option (https://nutrimill.com/products/harvest-grain-mill) and appears similar to the model that Su Dennett and David Holmgren (co-originator of permaculture) recommend (cost is $520 delivered to U.S. from Australia).
How much can we make in one batch? Takes 22 minutes to grind 10 cups of flour. Can hook it up to a bike.
Pressure Cooker
Why would one want a pressure cooker? It is much more energy efficient, more flavorful, and cooks things more quickly. Mostly this is good for beans (10 minutes from dry to cooked) and meat (10 mins for 4 people for 1 lb beef; 2 lbs spare ribs = 7-8 mins heat; whole 8 lb chicken = 8 mins).
Cook’s illustrated tested & reviewed pressure cookers. 8 quart = good size with wider being better than taller. Out of 9 tested, best choice was $280 (Fissler Vitaquick 8 1/2-Quart Pressure Cooker), with 2nd choice = $110 (Fagor Duo 8-Quart Stainless Steel Pressure Cooker) — “a little lighter and a little less smooth to latch” but scored full stars in all categories as with the 1st choice model.
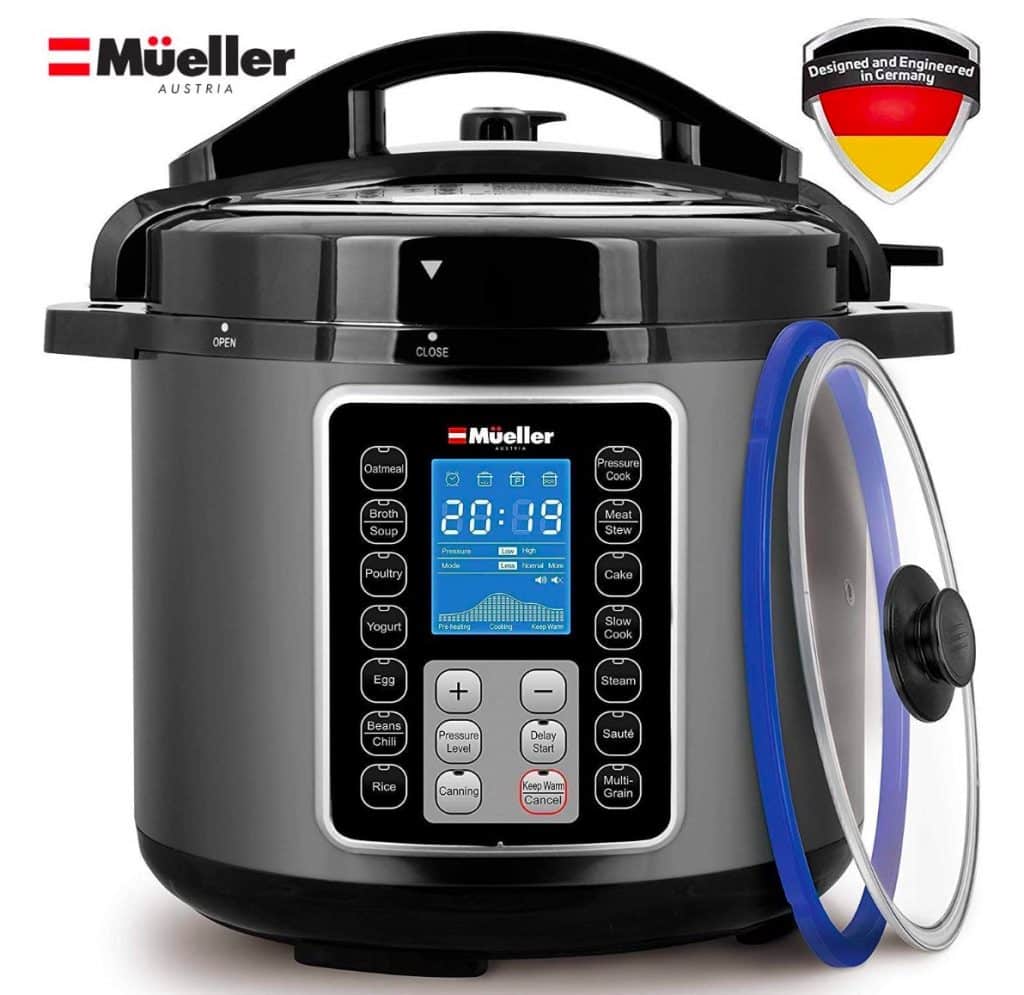
These days, multi-function “insta-pots”, like this Mueller Ultrapot (pictured above) can be used as a pressure cooker and may be more versatile and safe.
Recommended books: Independence Days by Sharon Astyk
Pingback: Water | Sustainable Well-being
Pingback: Short-term resilience: Disasters | Sustainable Well-being
Pingback: Solutions for a Functional Future | One Planet Thriving
Pingback: Short-term resilience: Disasters | One Planet Thriving