The project: Convert our small backyard from grass with a 4′ asphalt path to a small urban kitchen garden and tiny perennial food area, partly as a way of practicing permaculture.
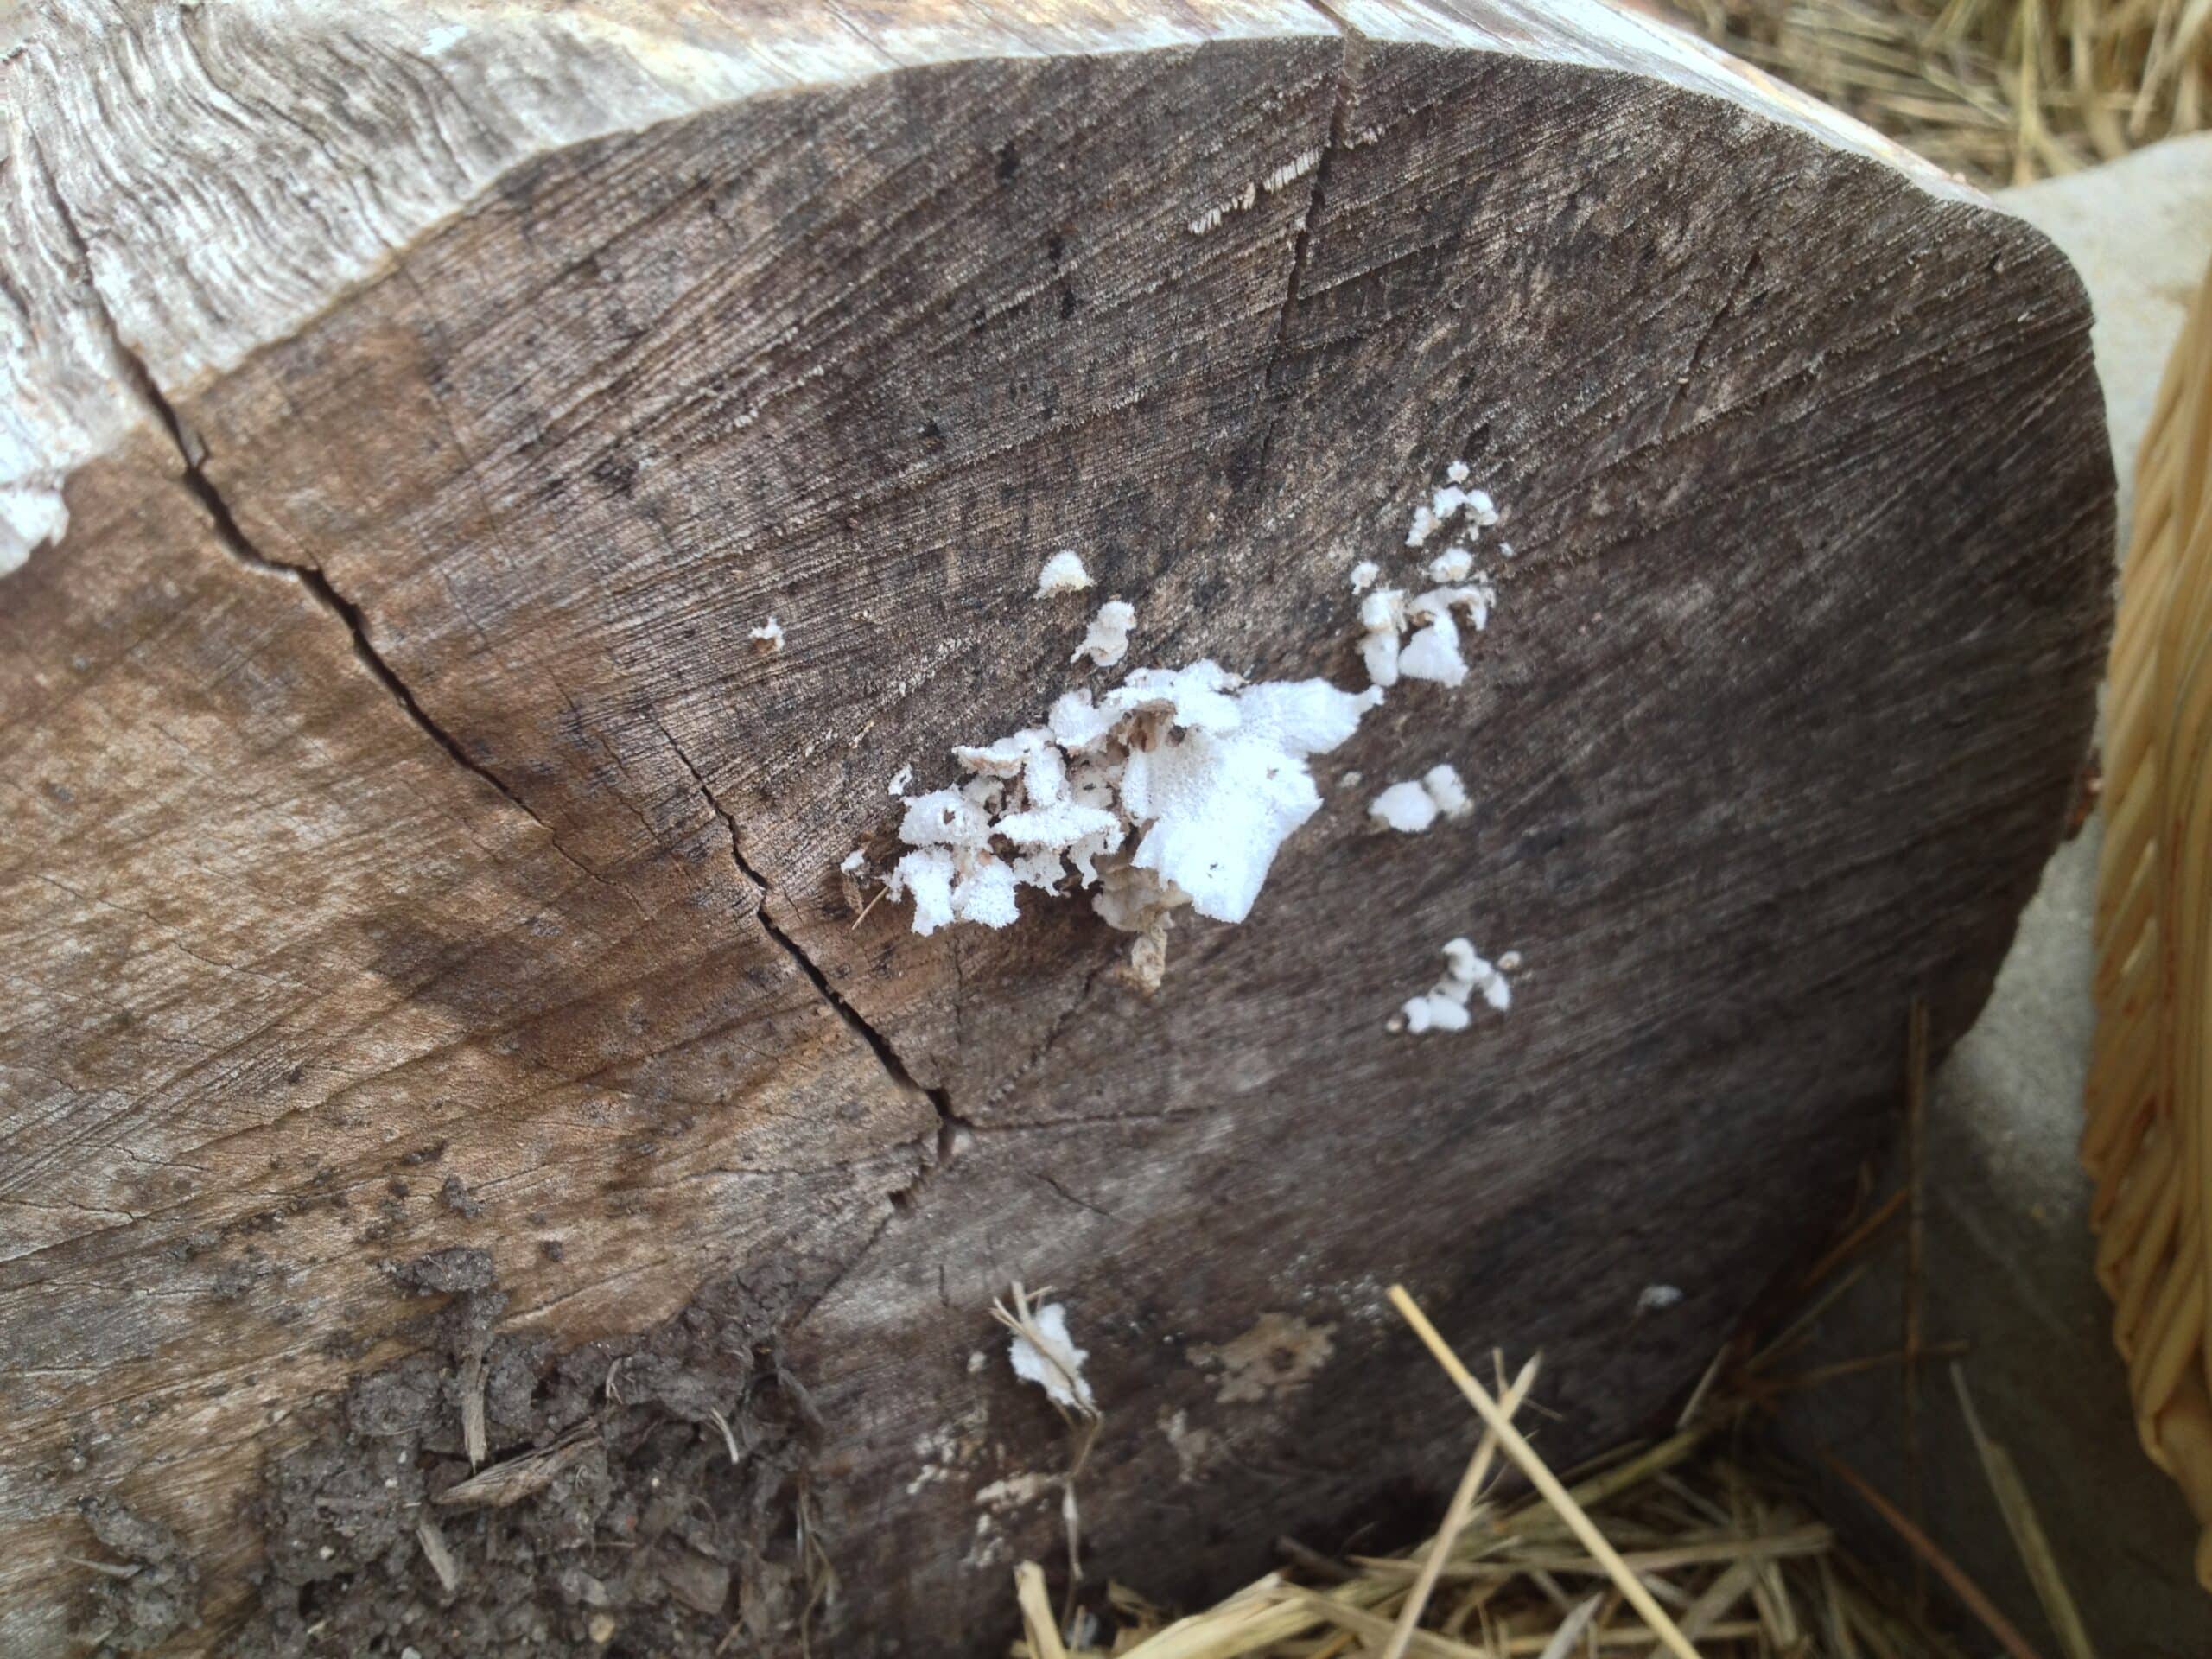
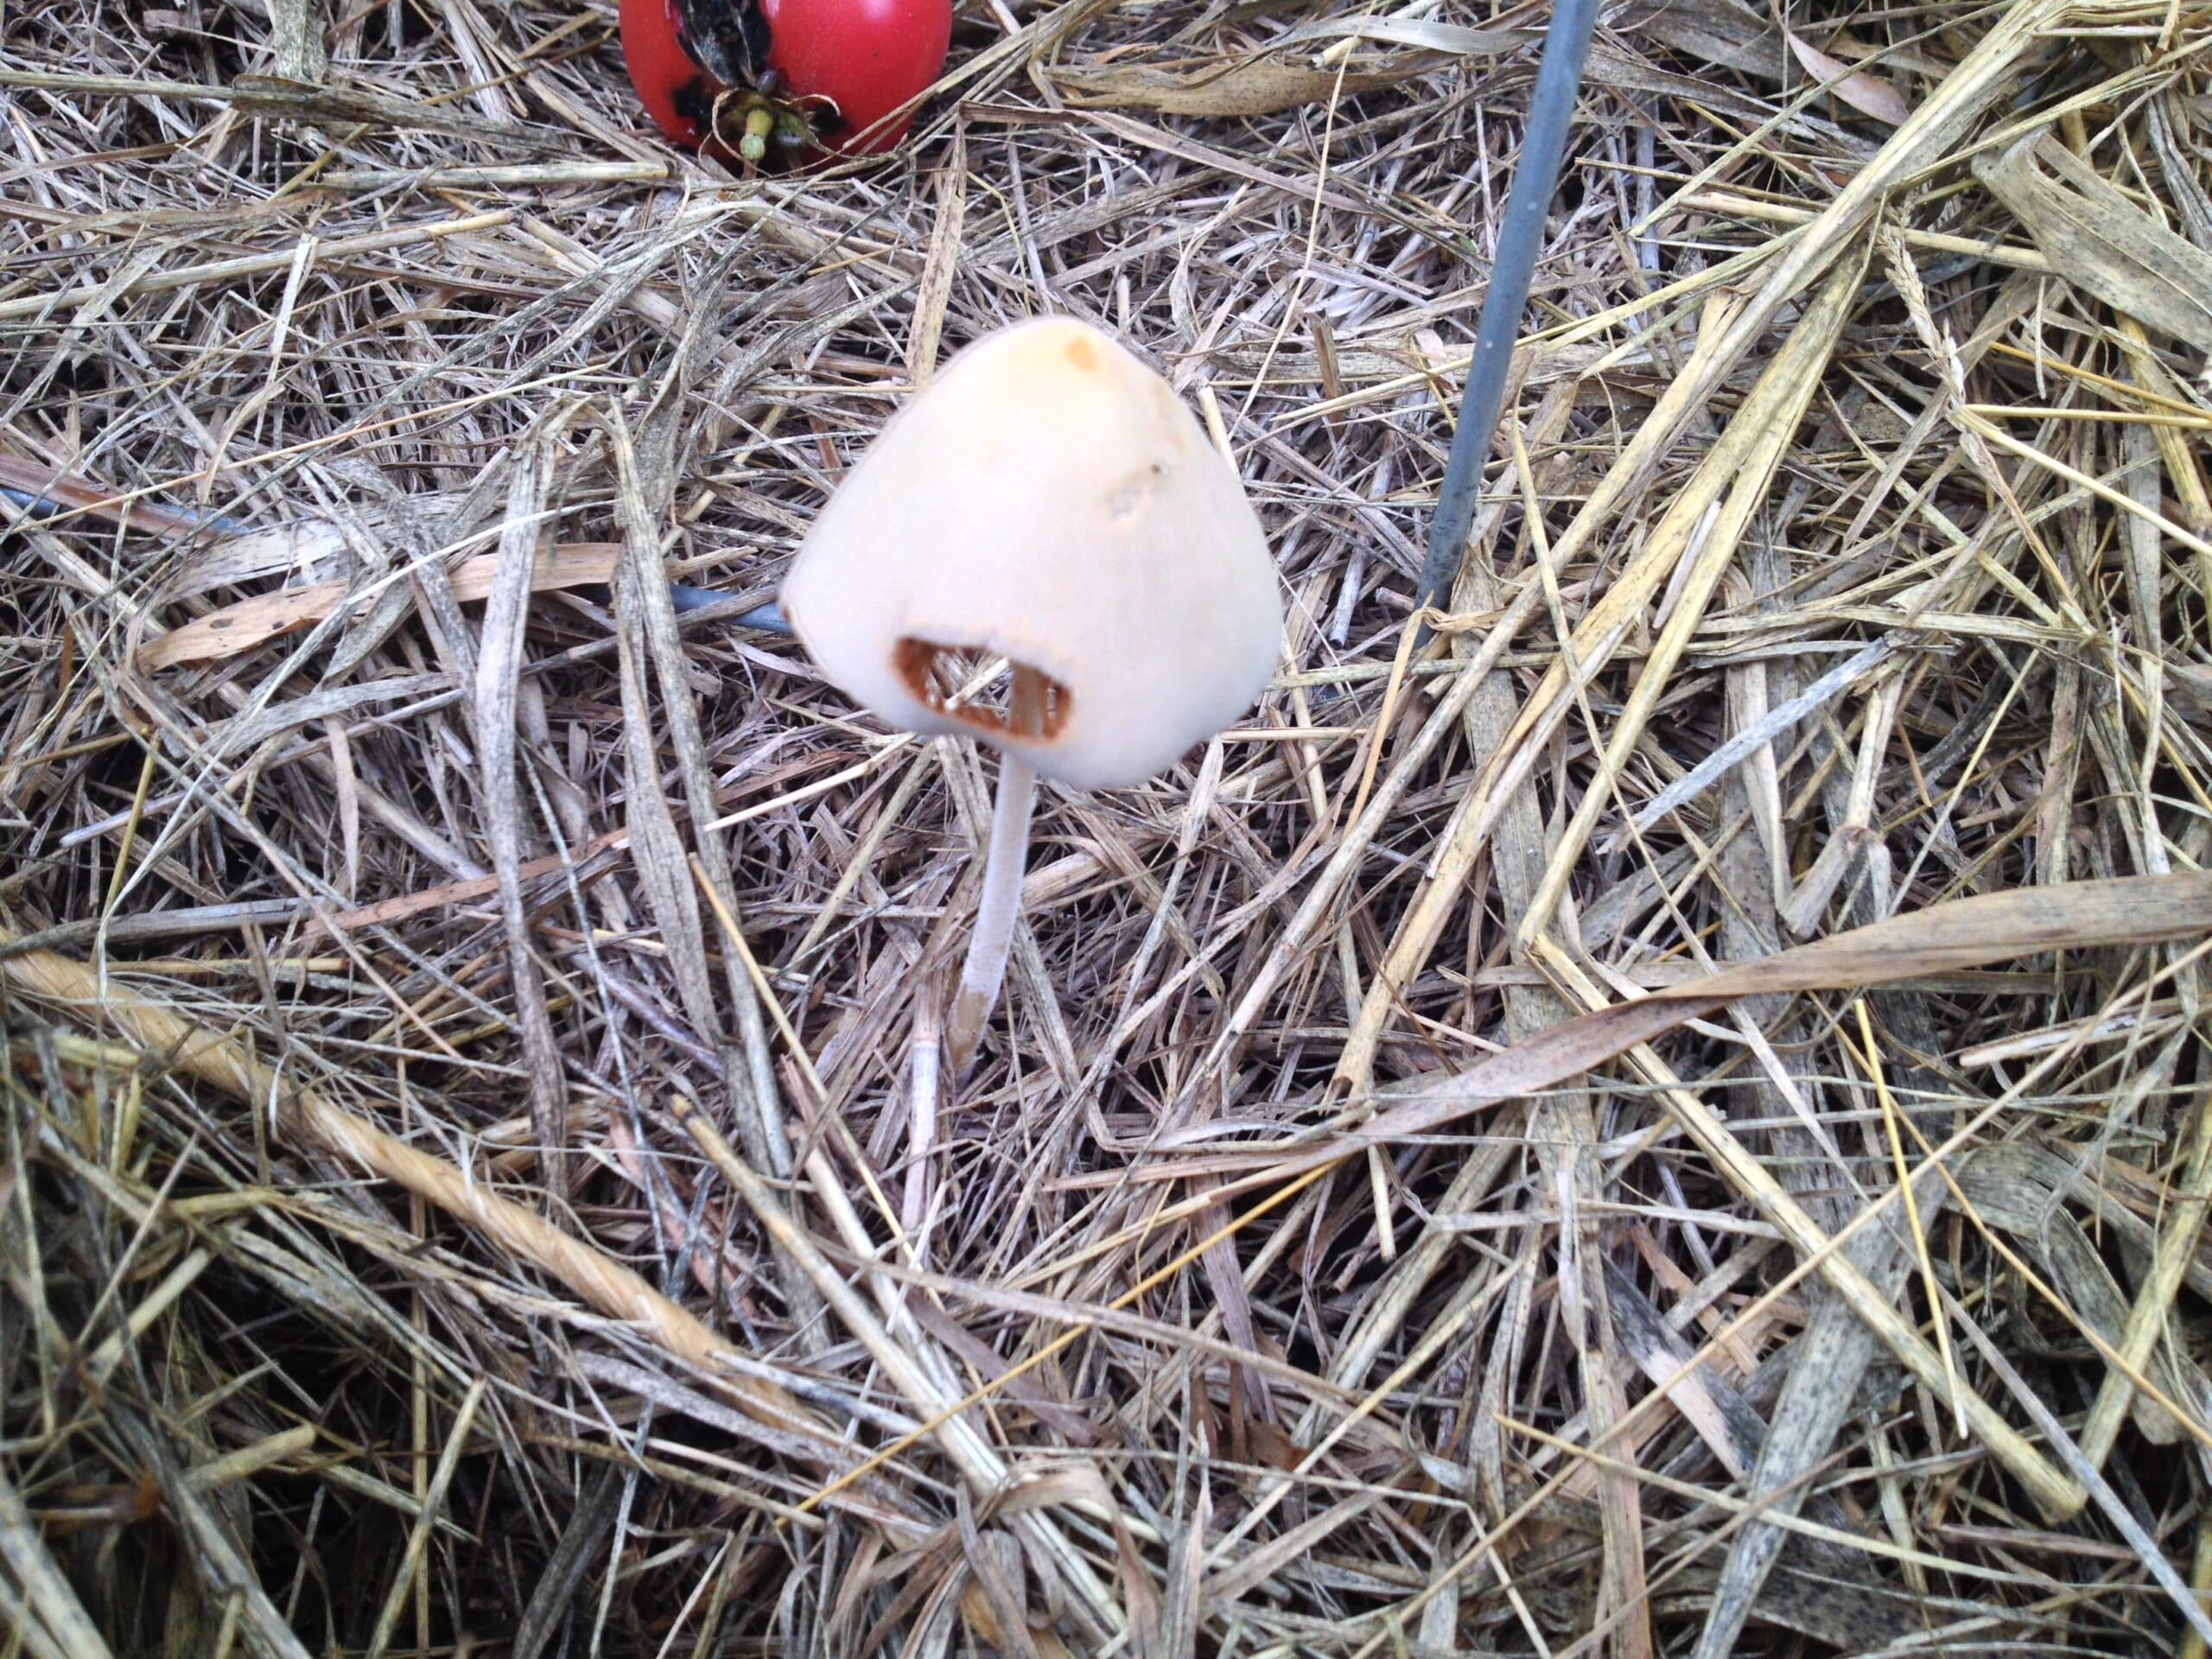
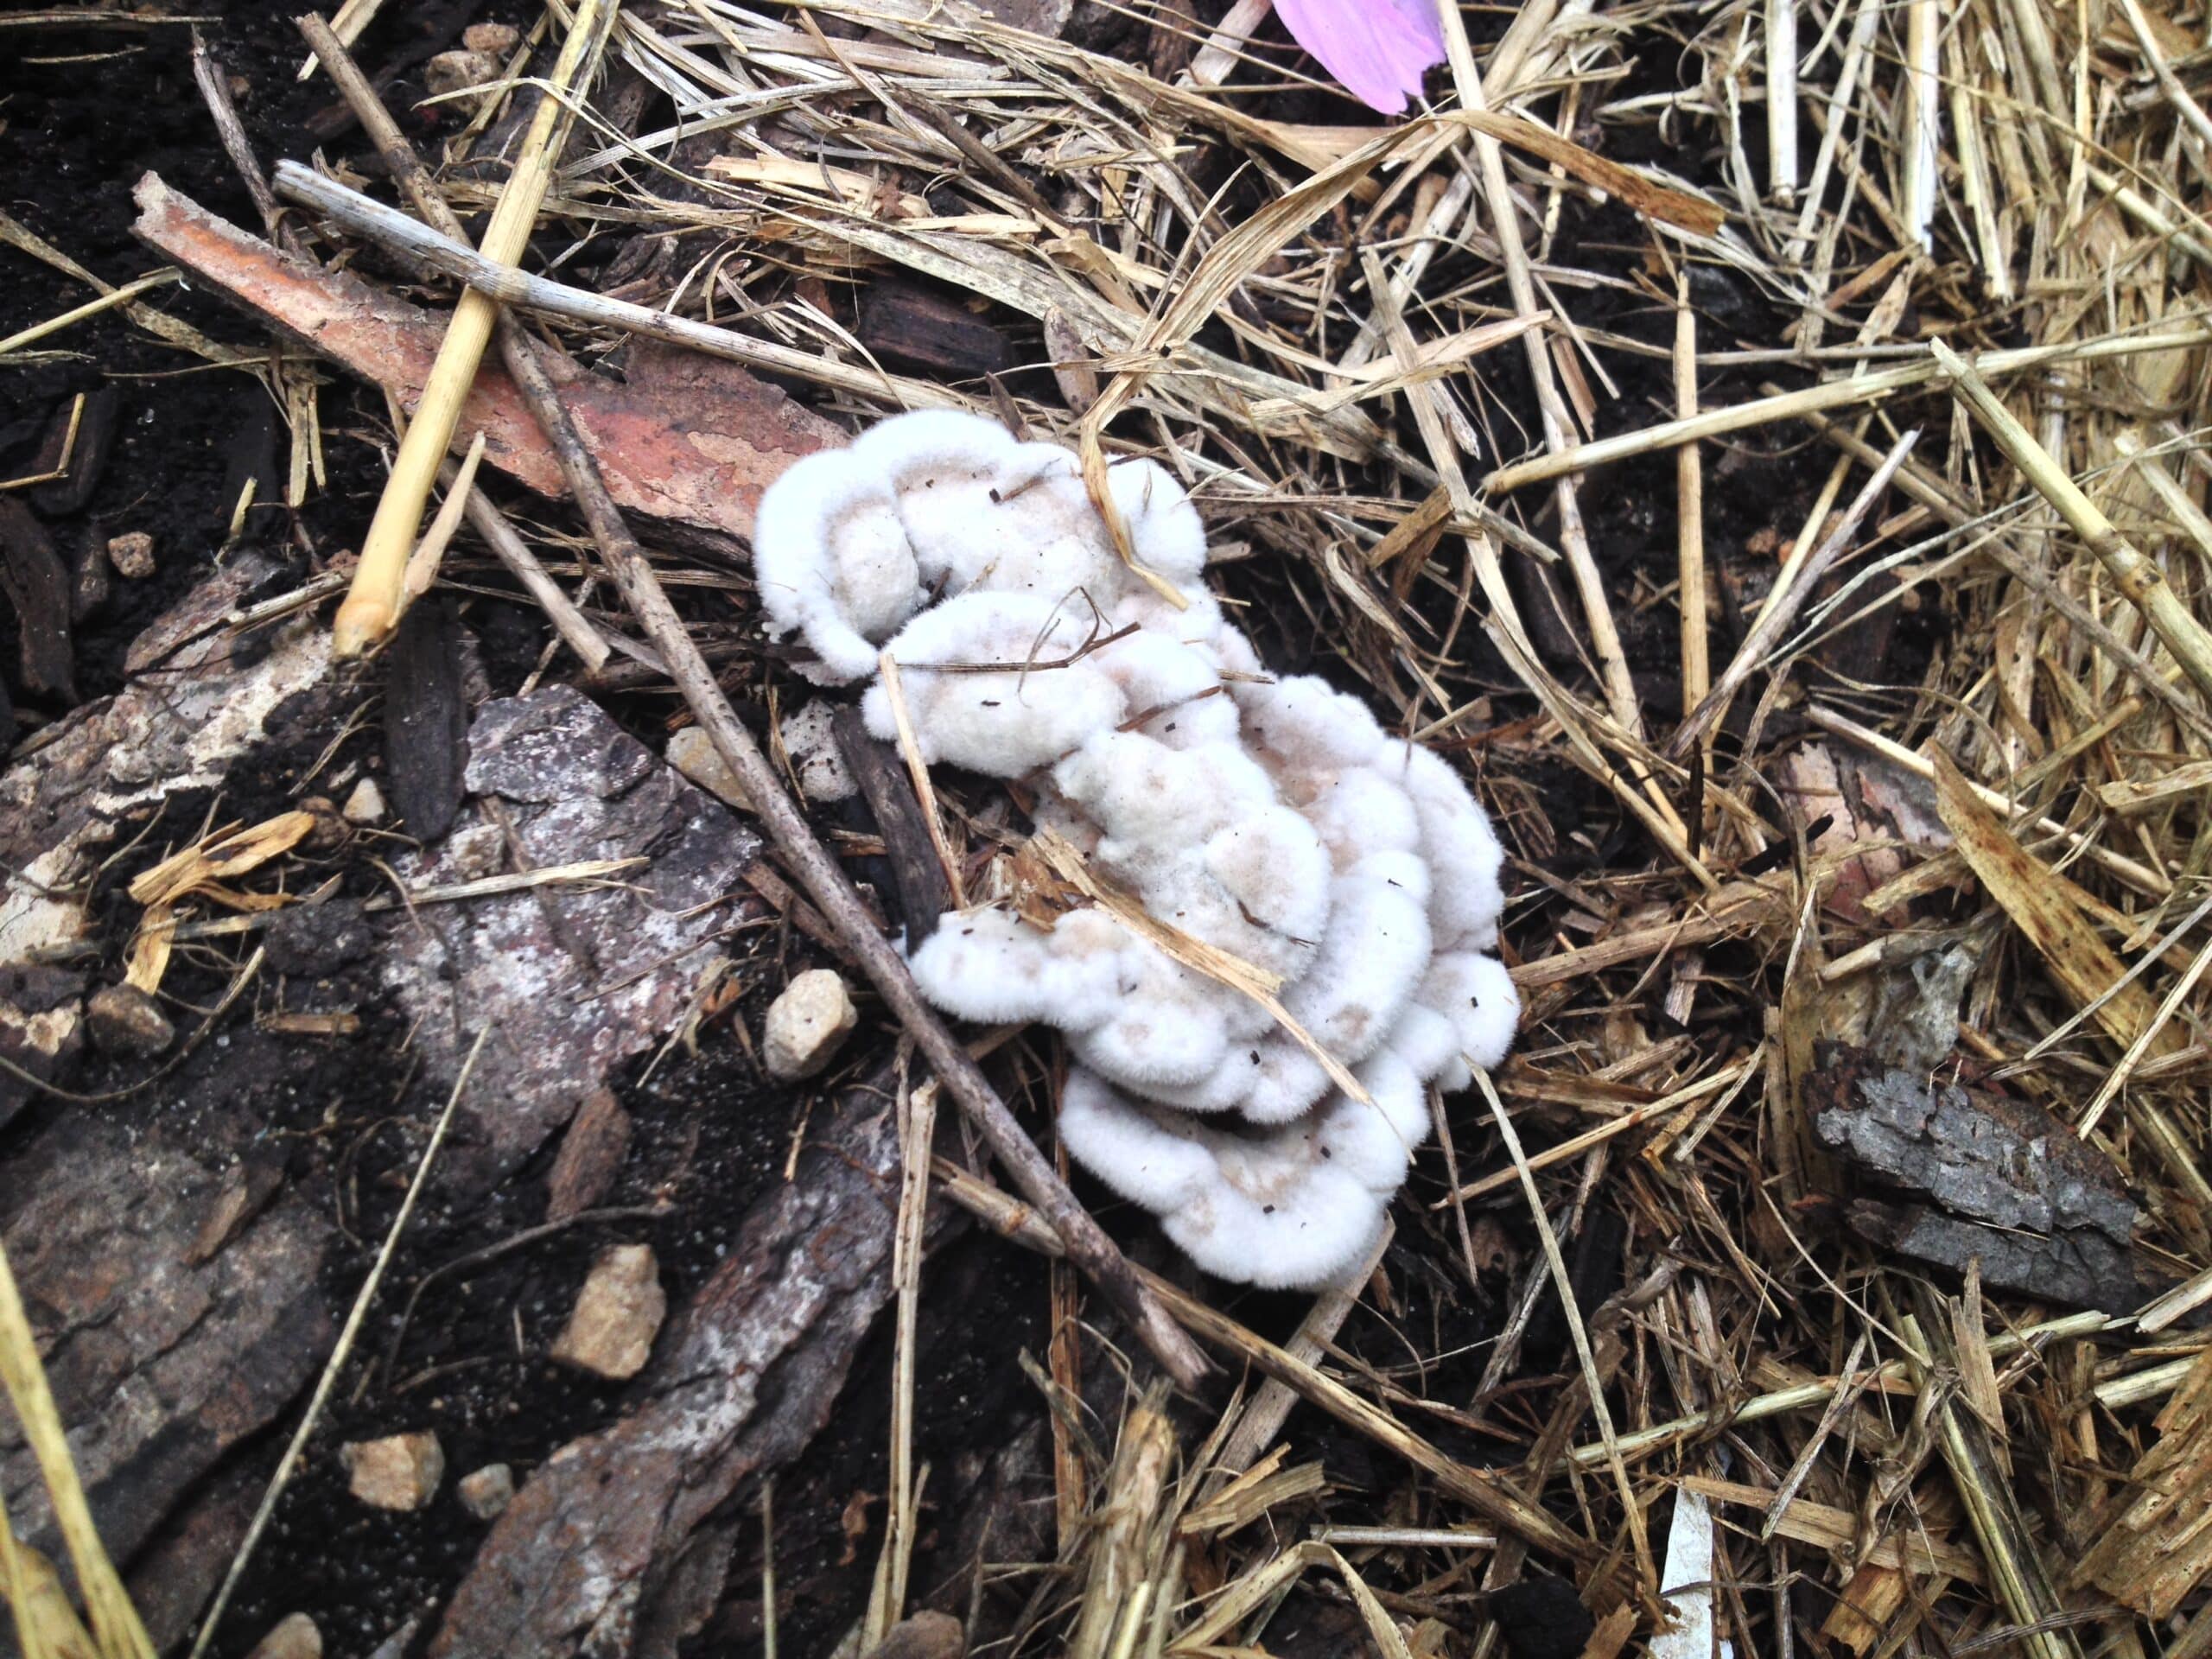
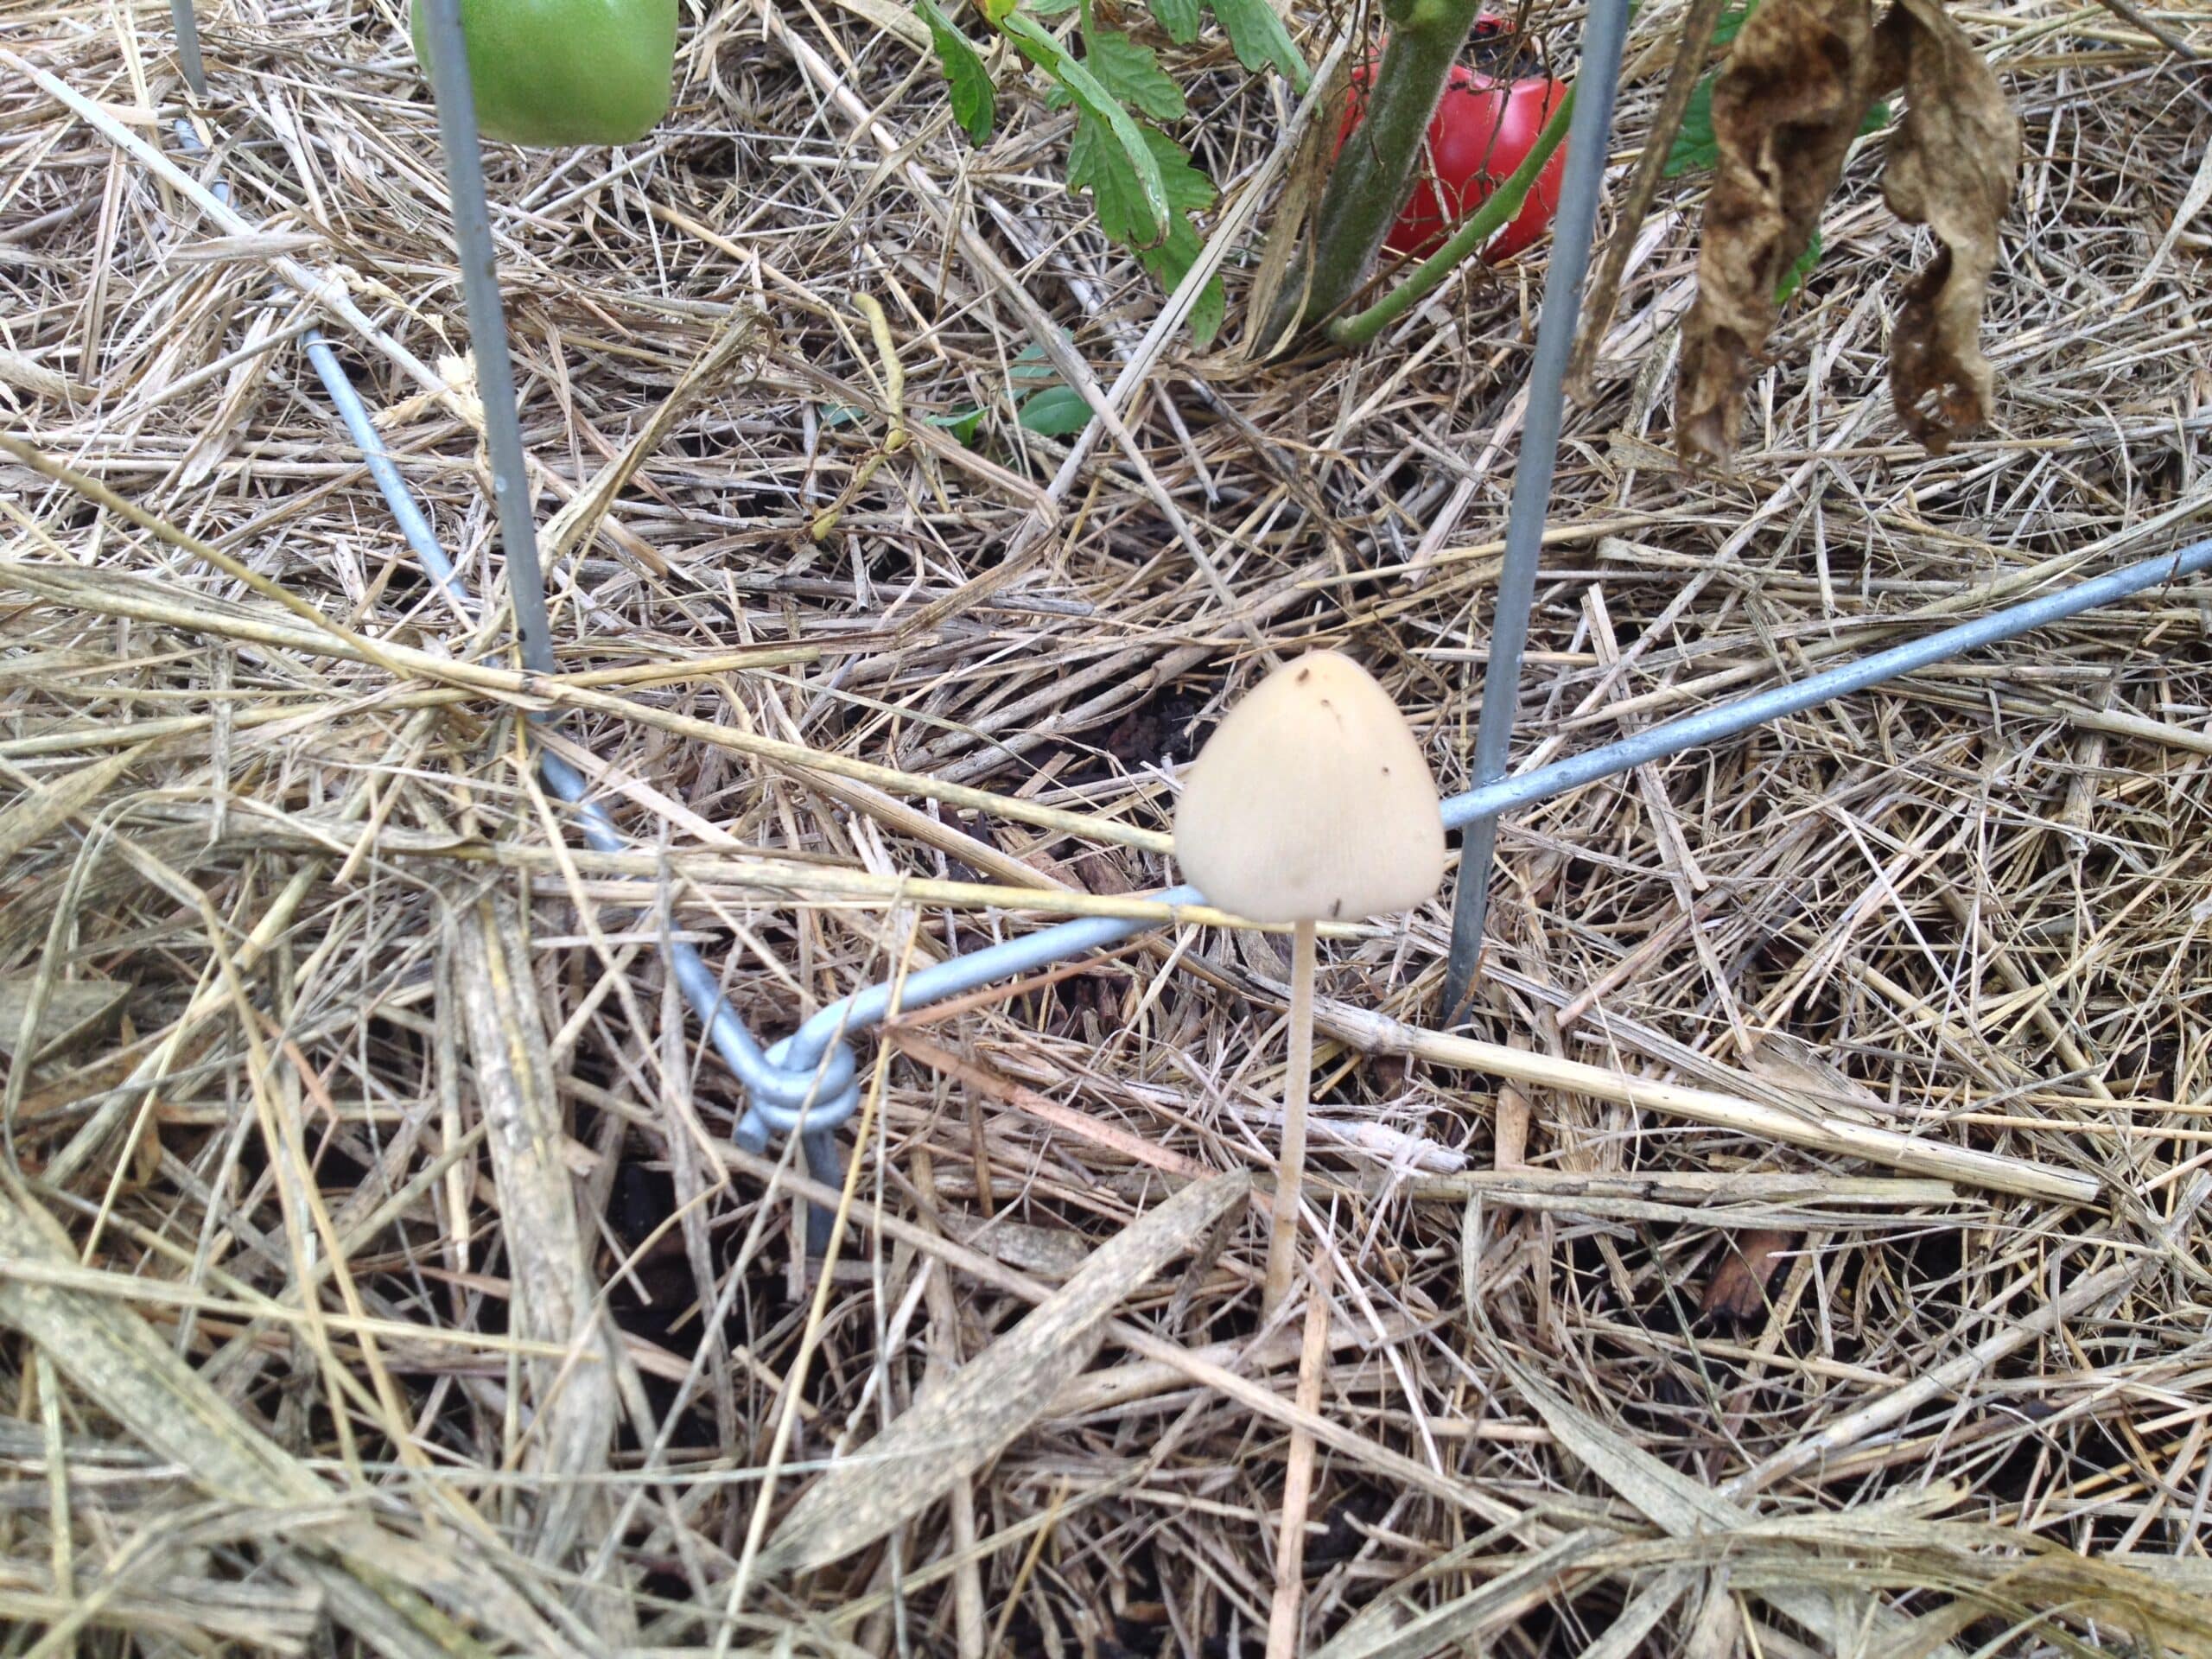
Mushrooms (not edible as far as I know) indicate there are some mycelium networks running through the garden!
Sheet Mulching
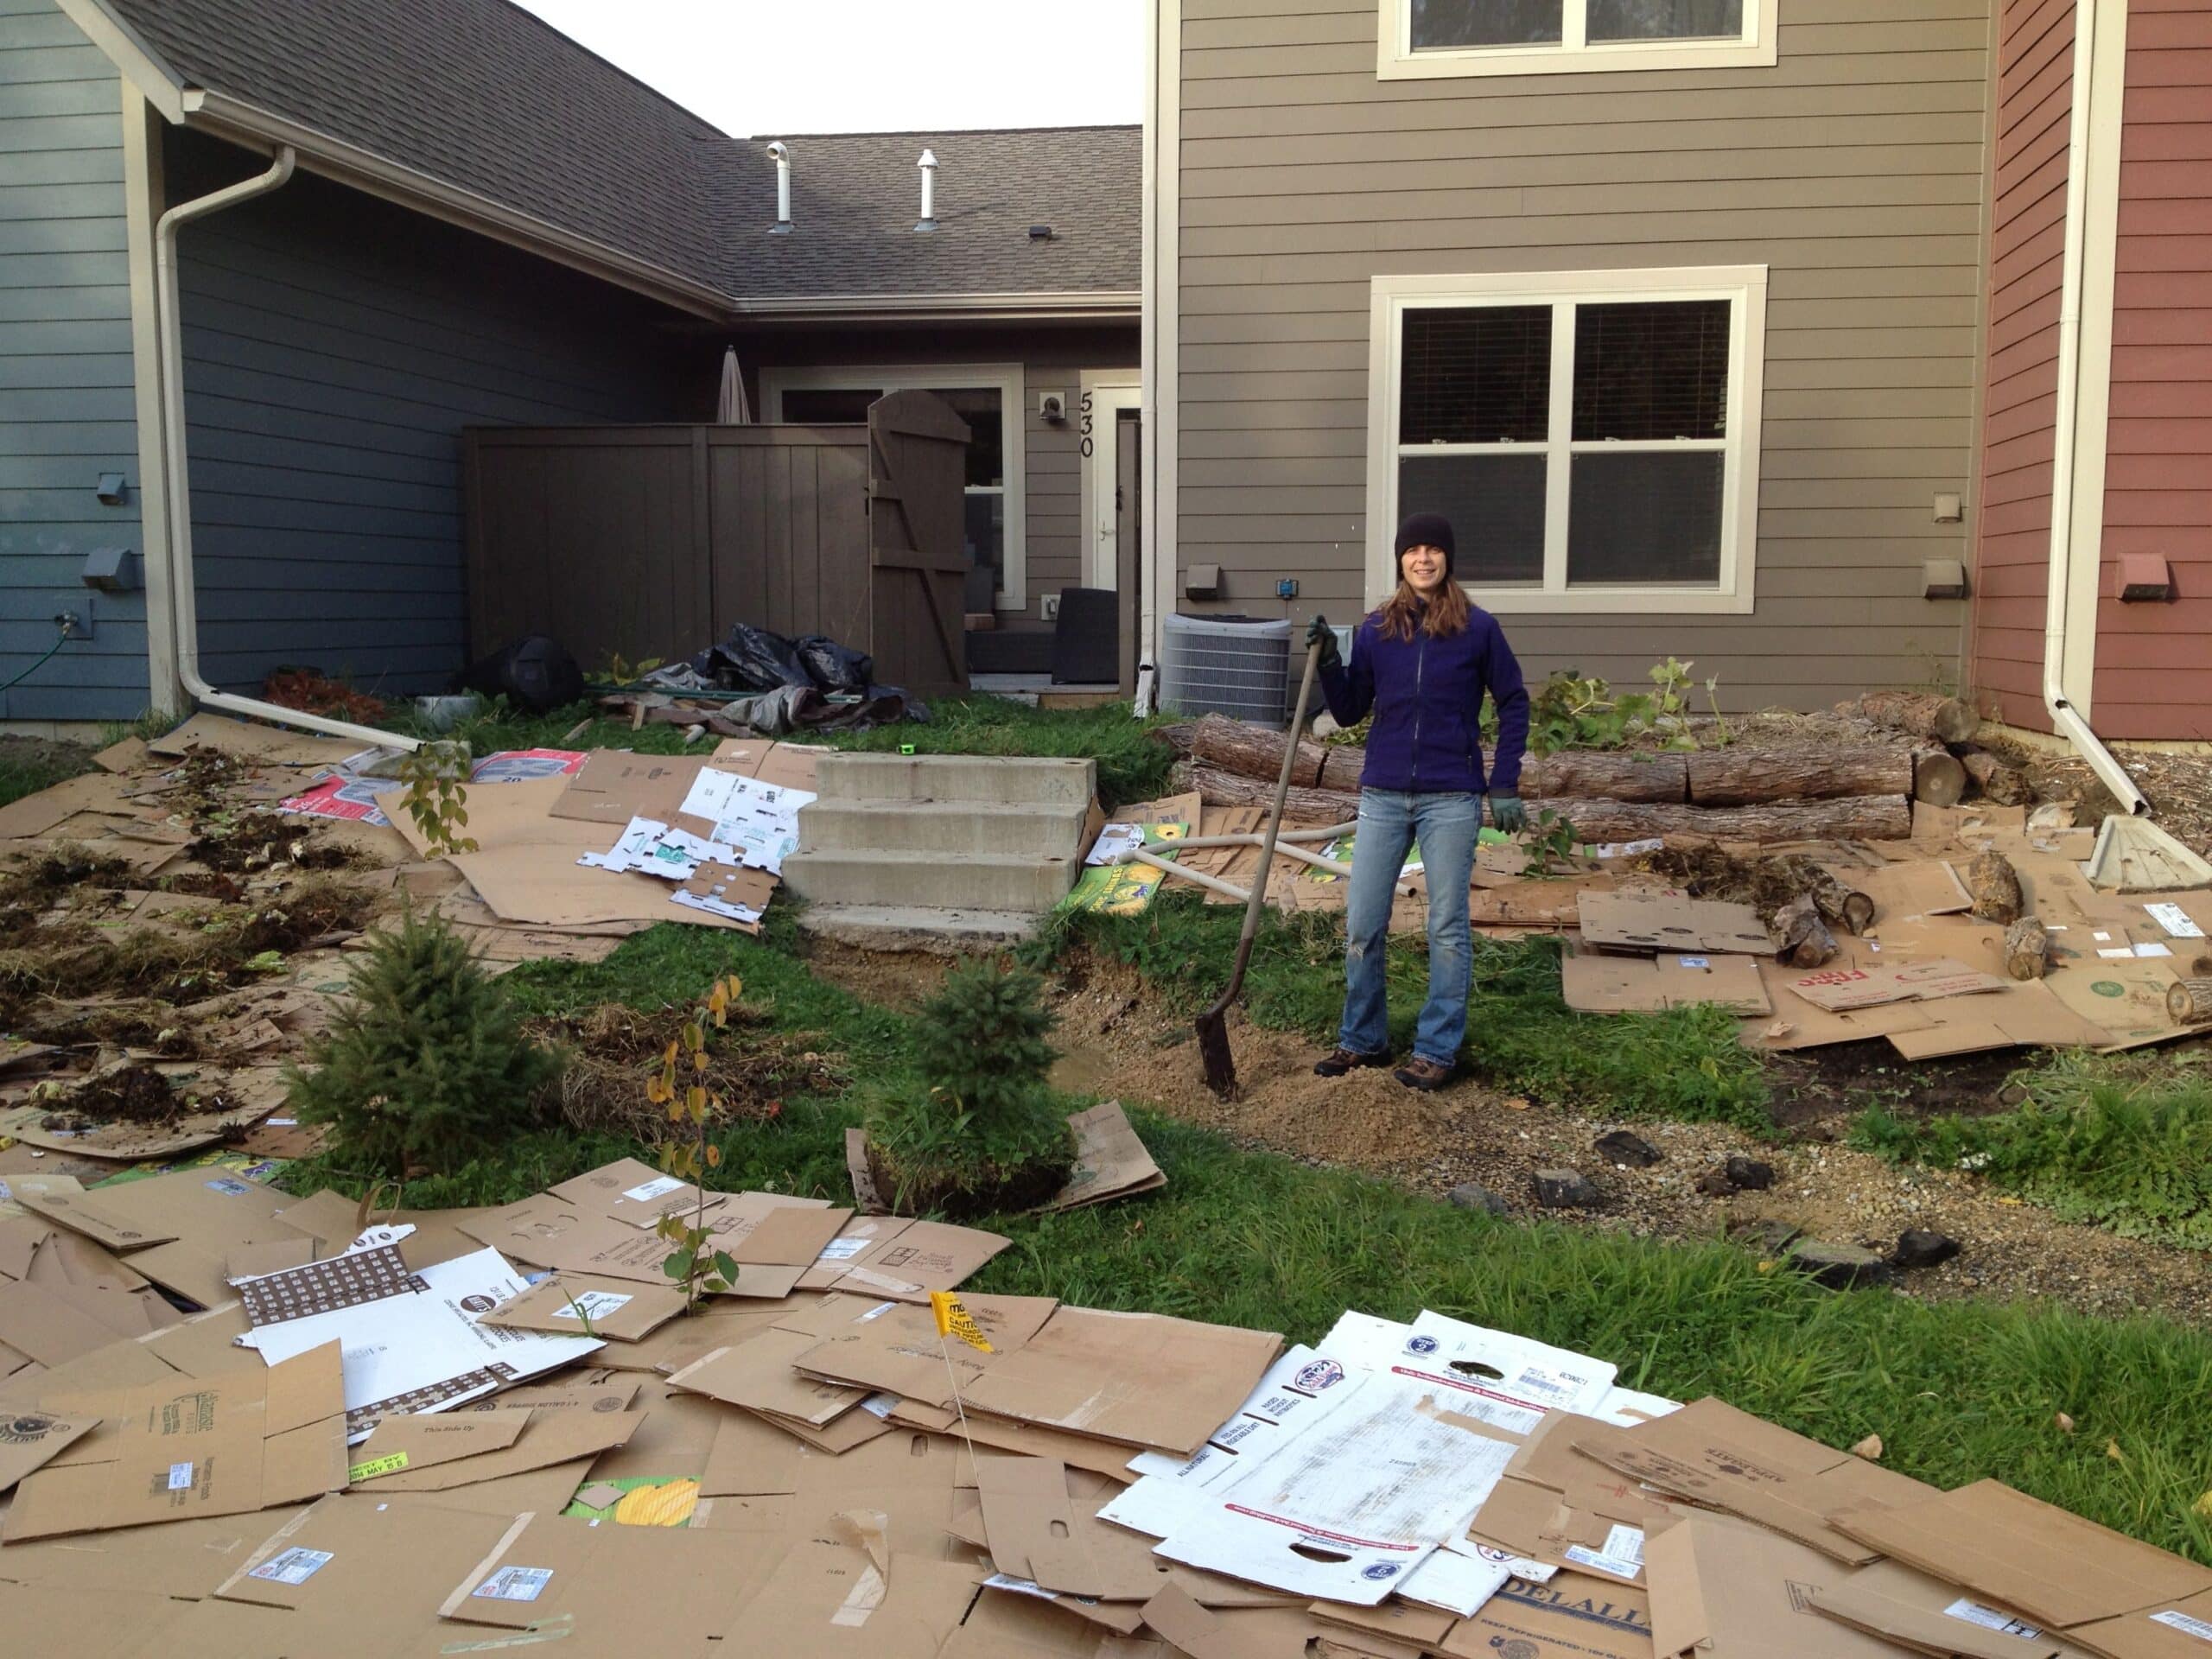
The first step was covering the 21′ x 27′ area with sheet mulch to create great soil and remove the grass at the same time. We used a sheet mulch recipe from Gaia’s Garden (by Toby Hemenway) with these layers from bottom to top: (1) a layer or two of cardboard, (2) 8-12″ of untreated/unpoisoned straw, (3) 2″ organic compost (we ended up feeling like we needed more like 4″ to get coverage on the lumpy straw), (4) 2″ untreated/unpoisoned straw. We left the concrete steps as a heat “battery”, hoping it will soak up the sun with its significant thermal mass and radiate that heat back out to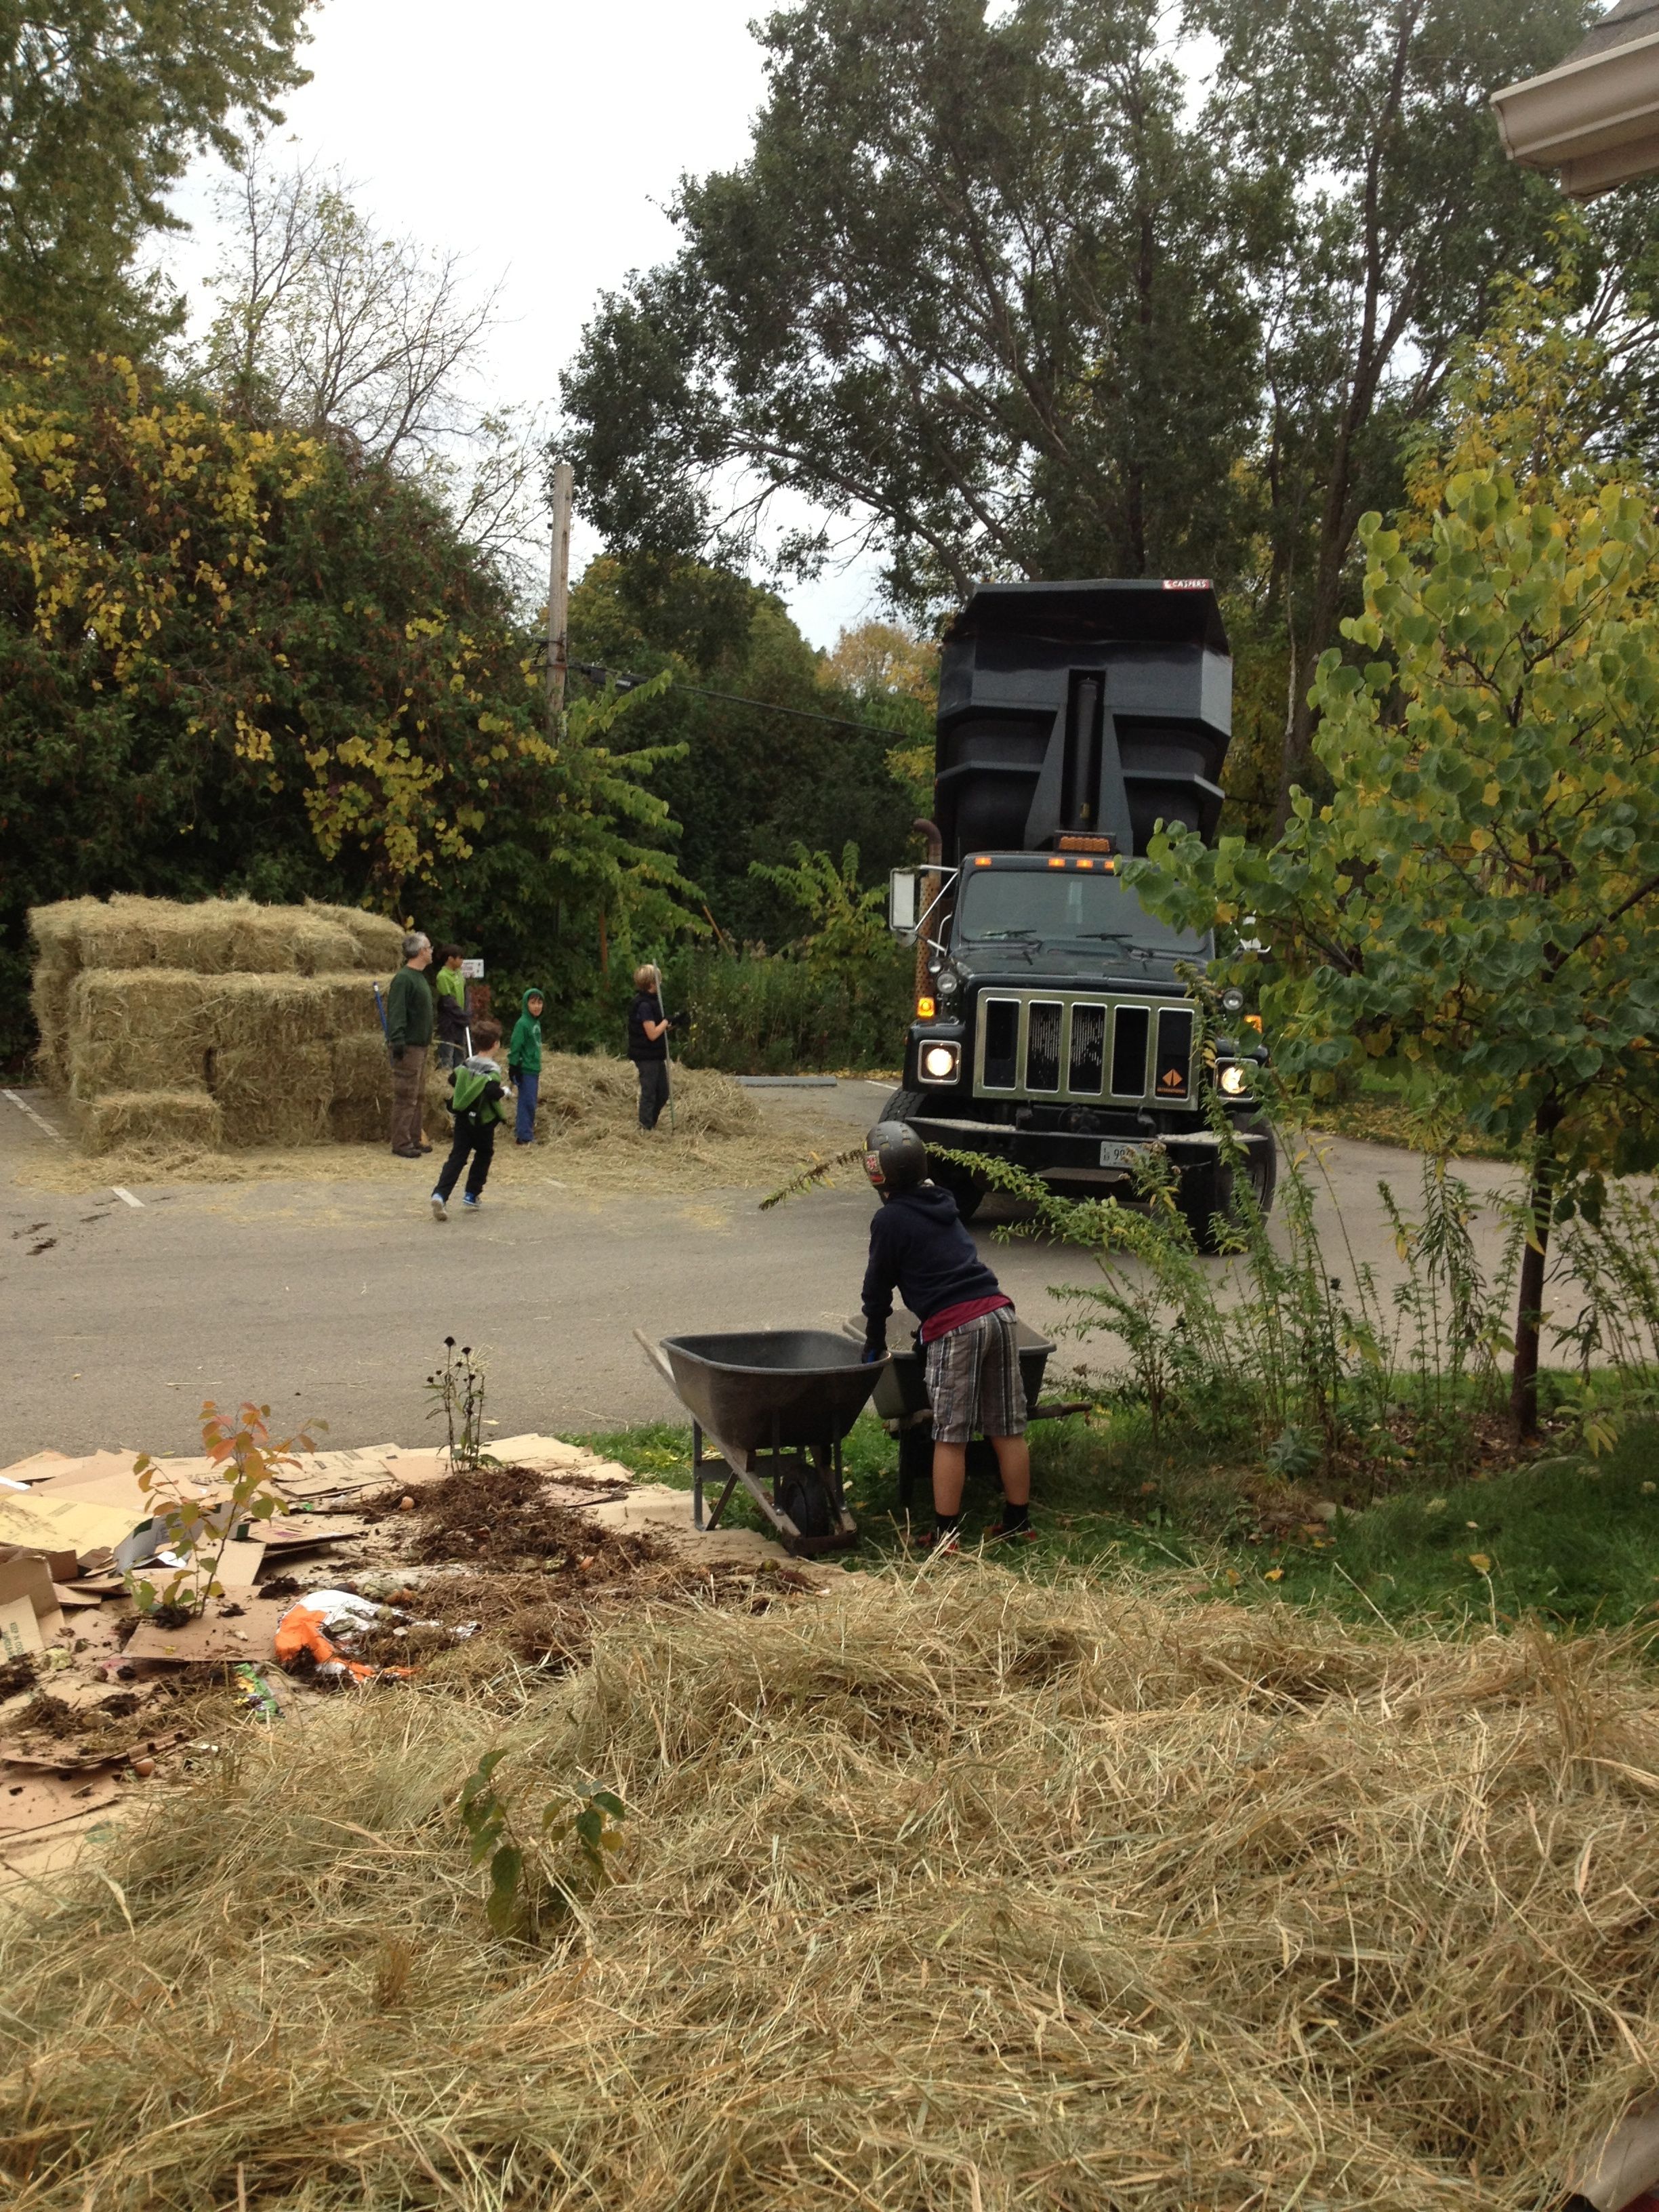
Sourcing materials: I went through two landscape contractors. When I asked about organic straw, dirt, and compost, I never heard from either again. So, I sourced the materials on my own. We ended up finding “marsh hay” that had not been sprayed, treated, or fertilized. We also found organic topsoil and compost.
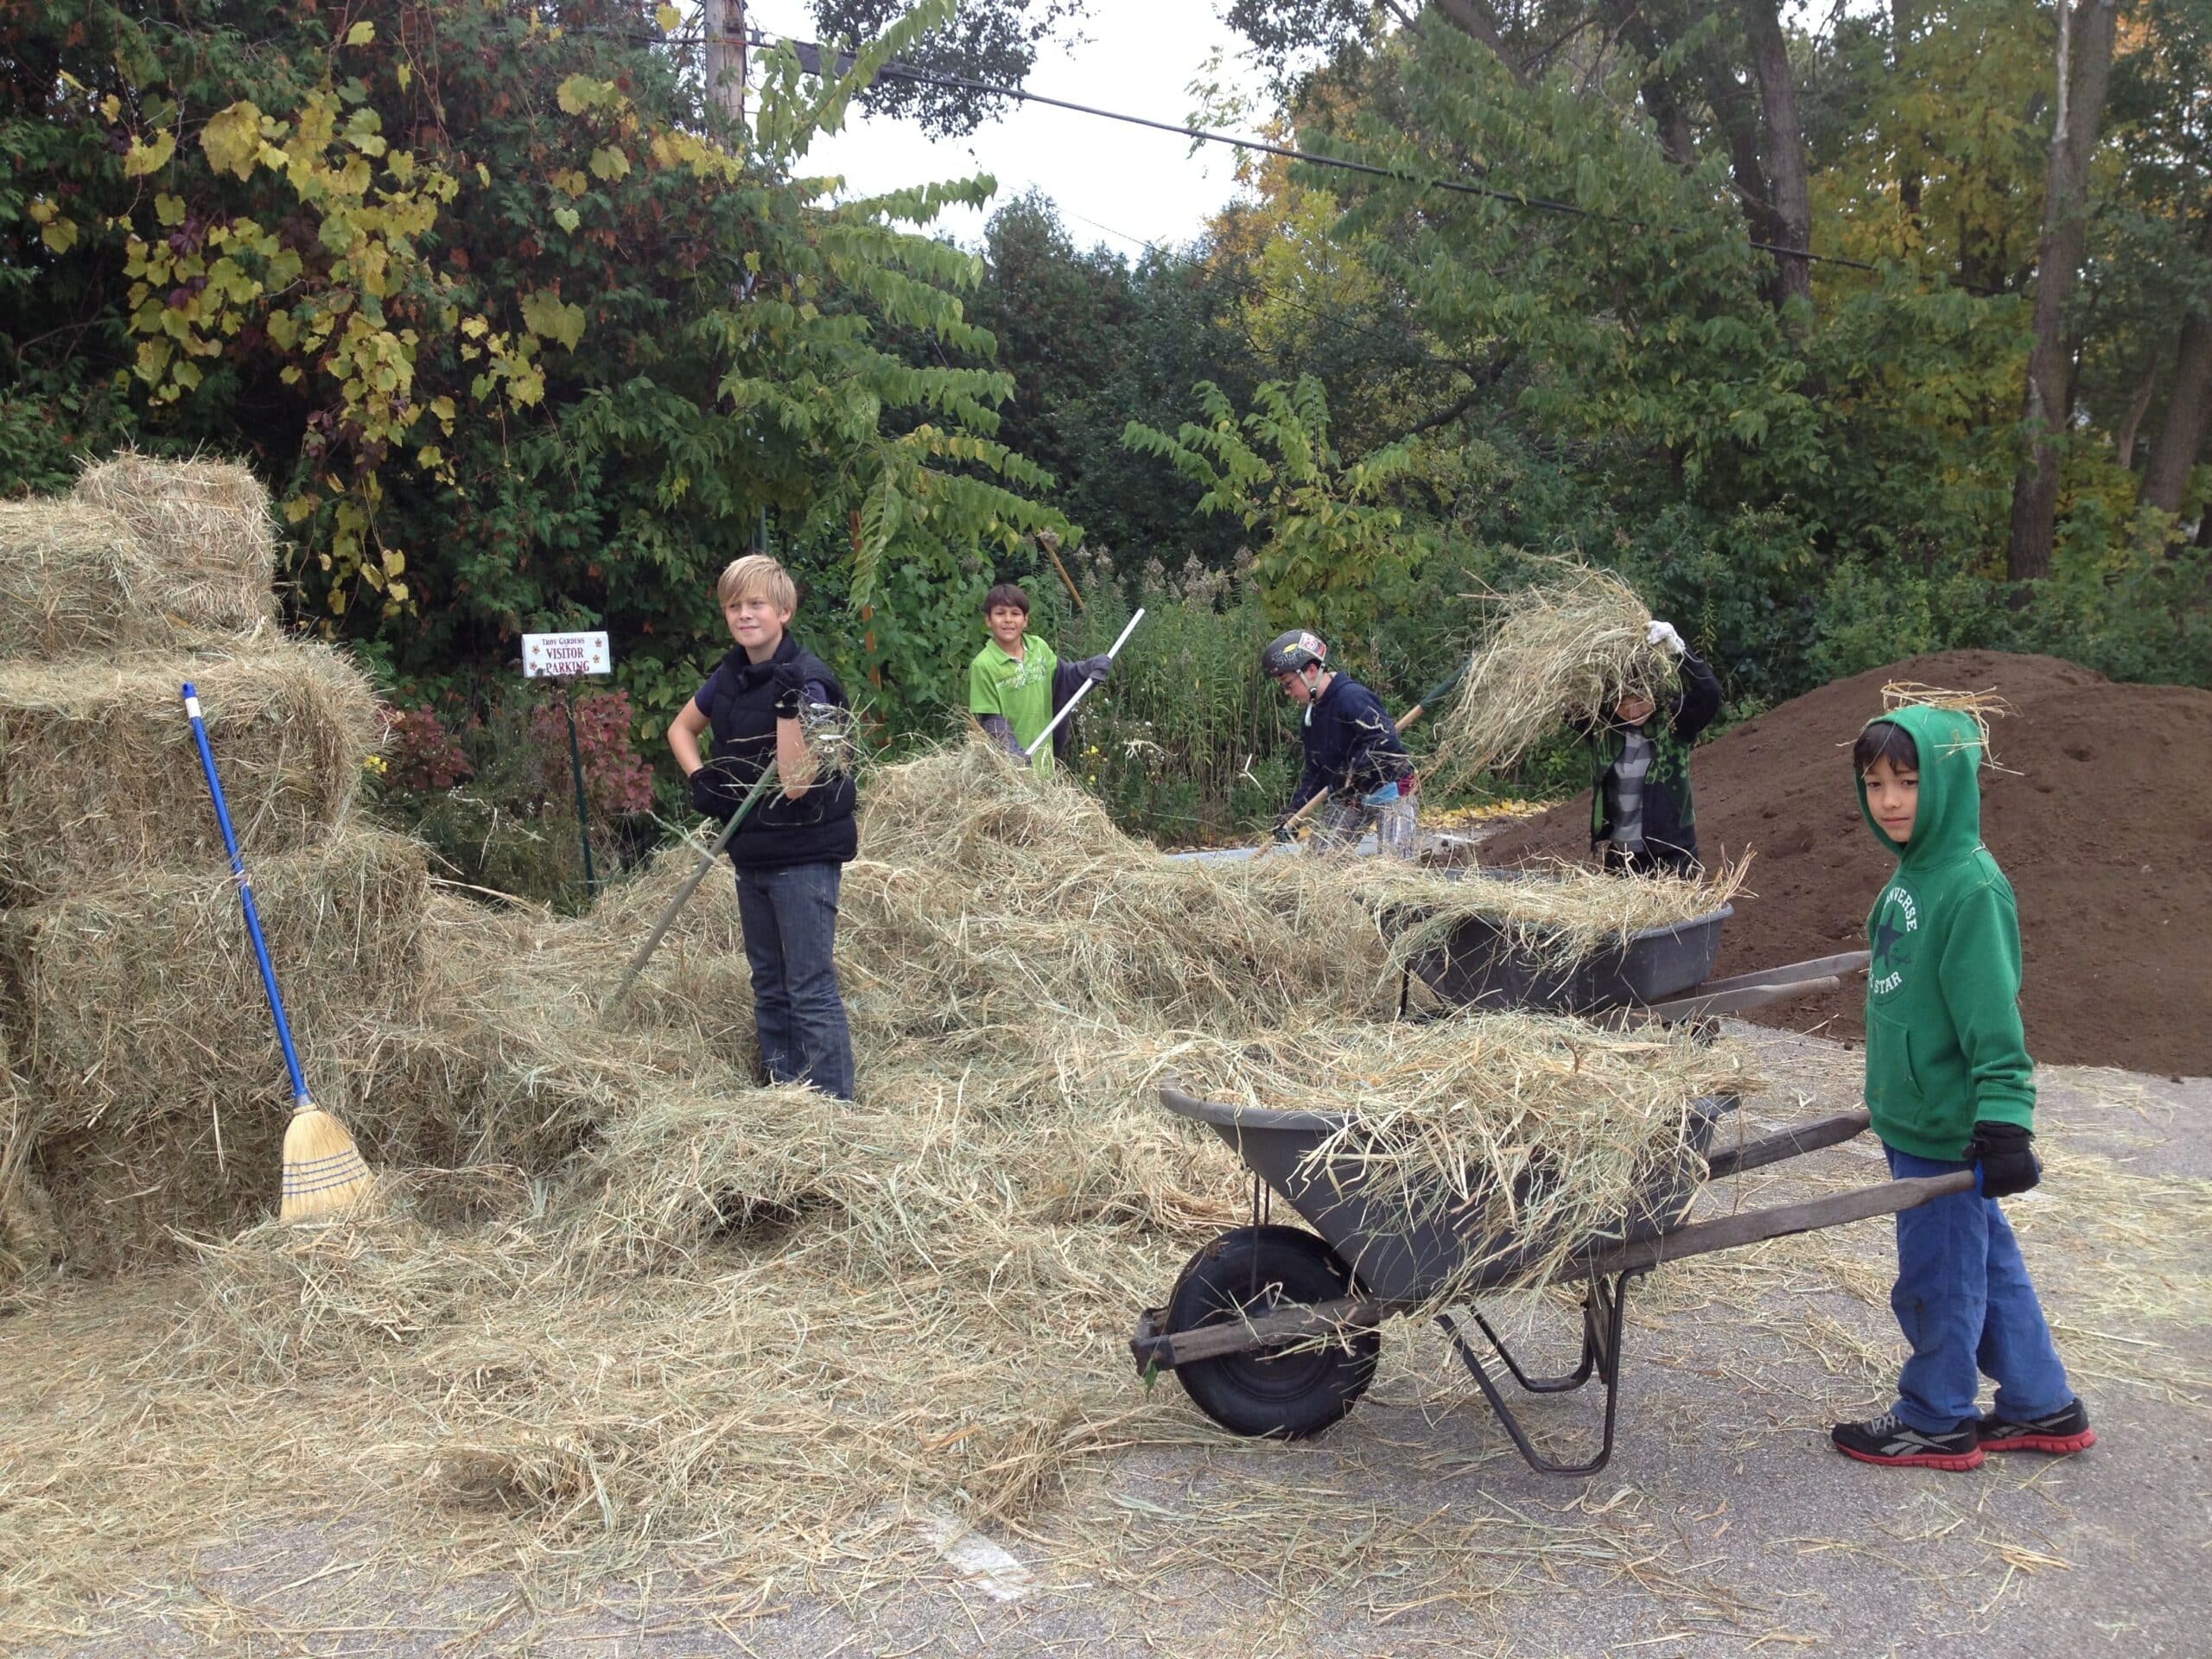
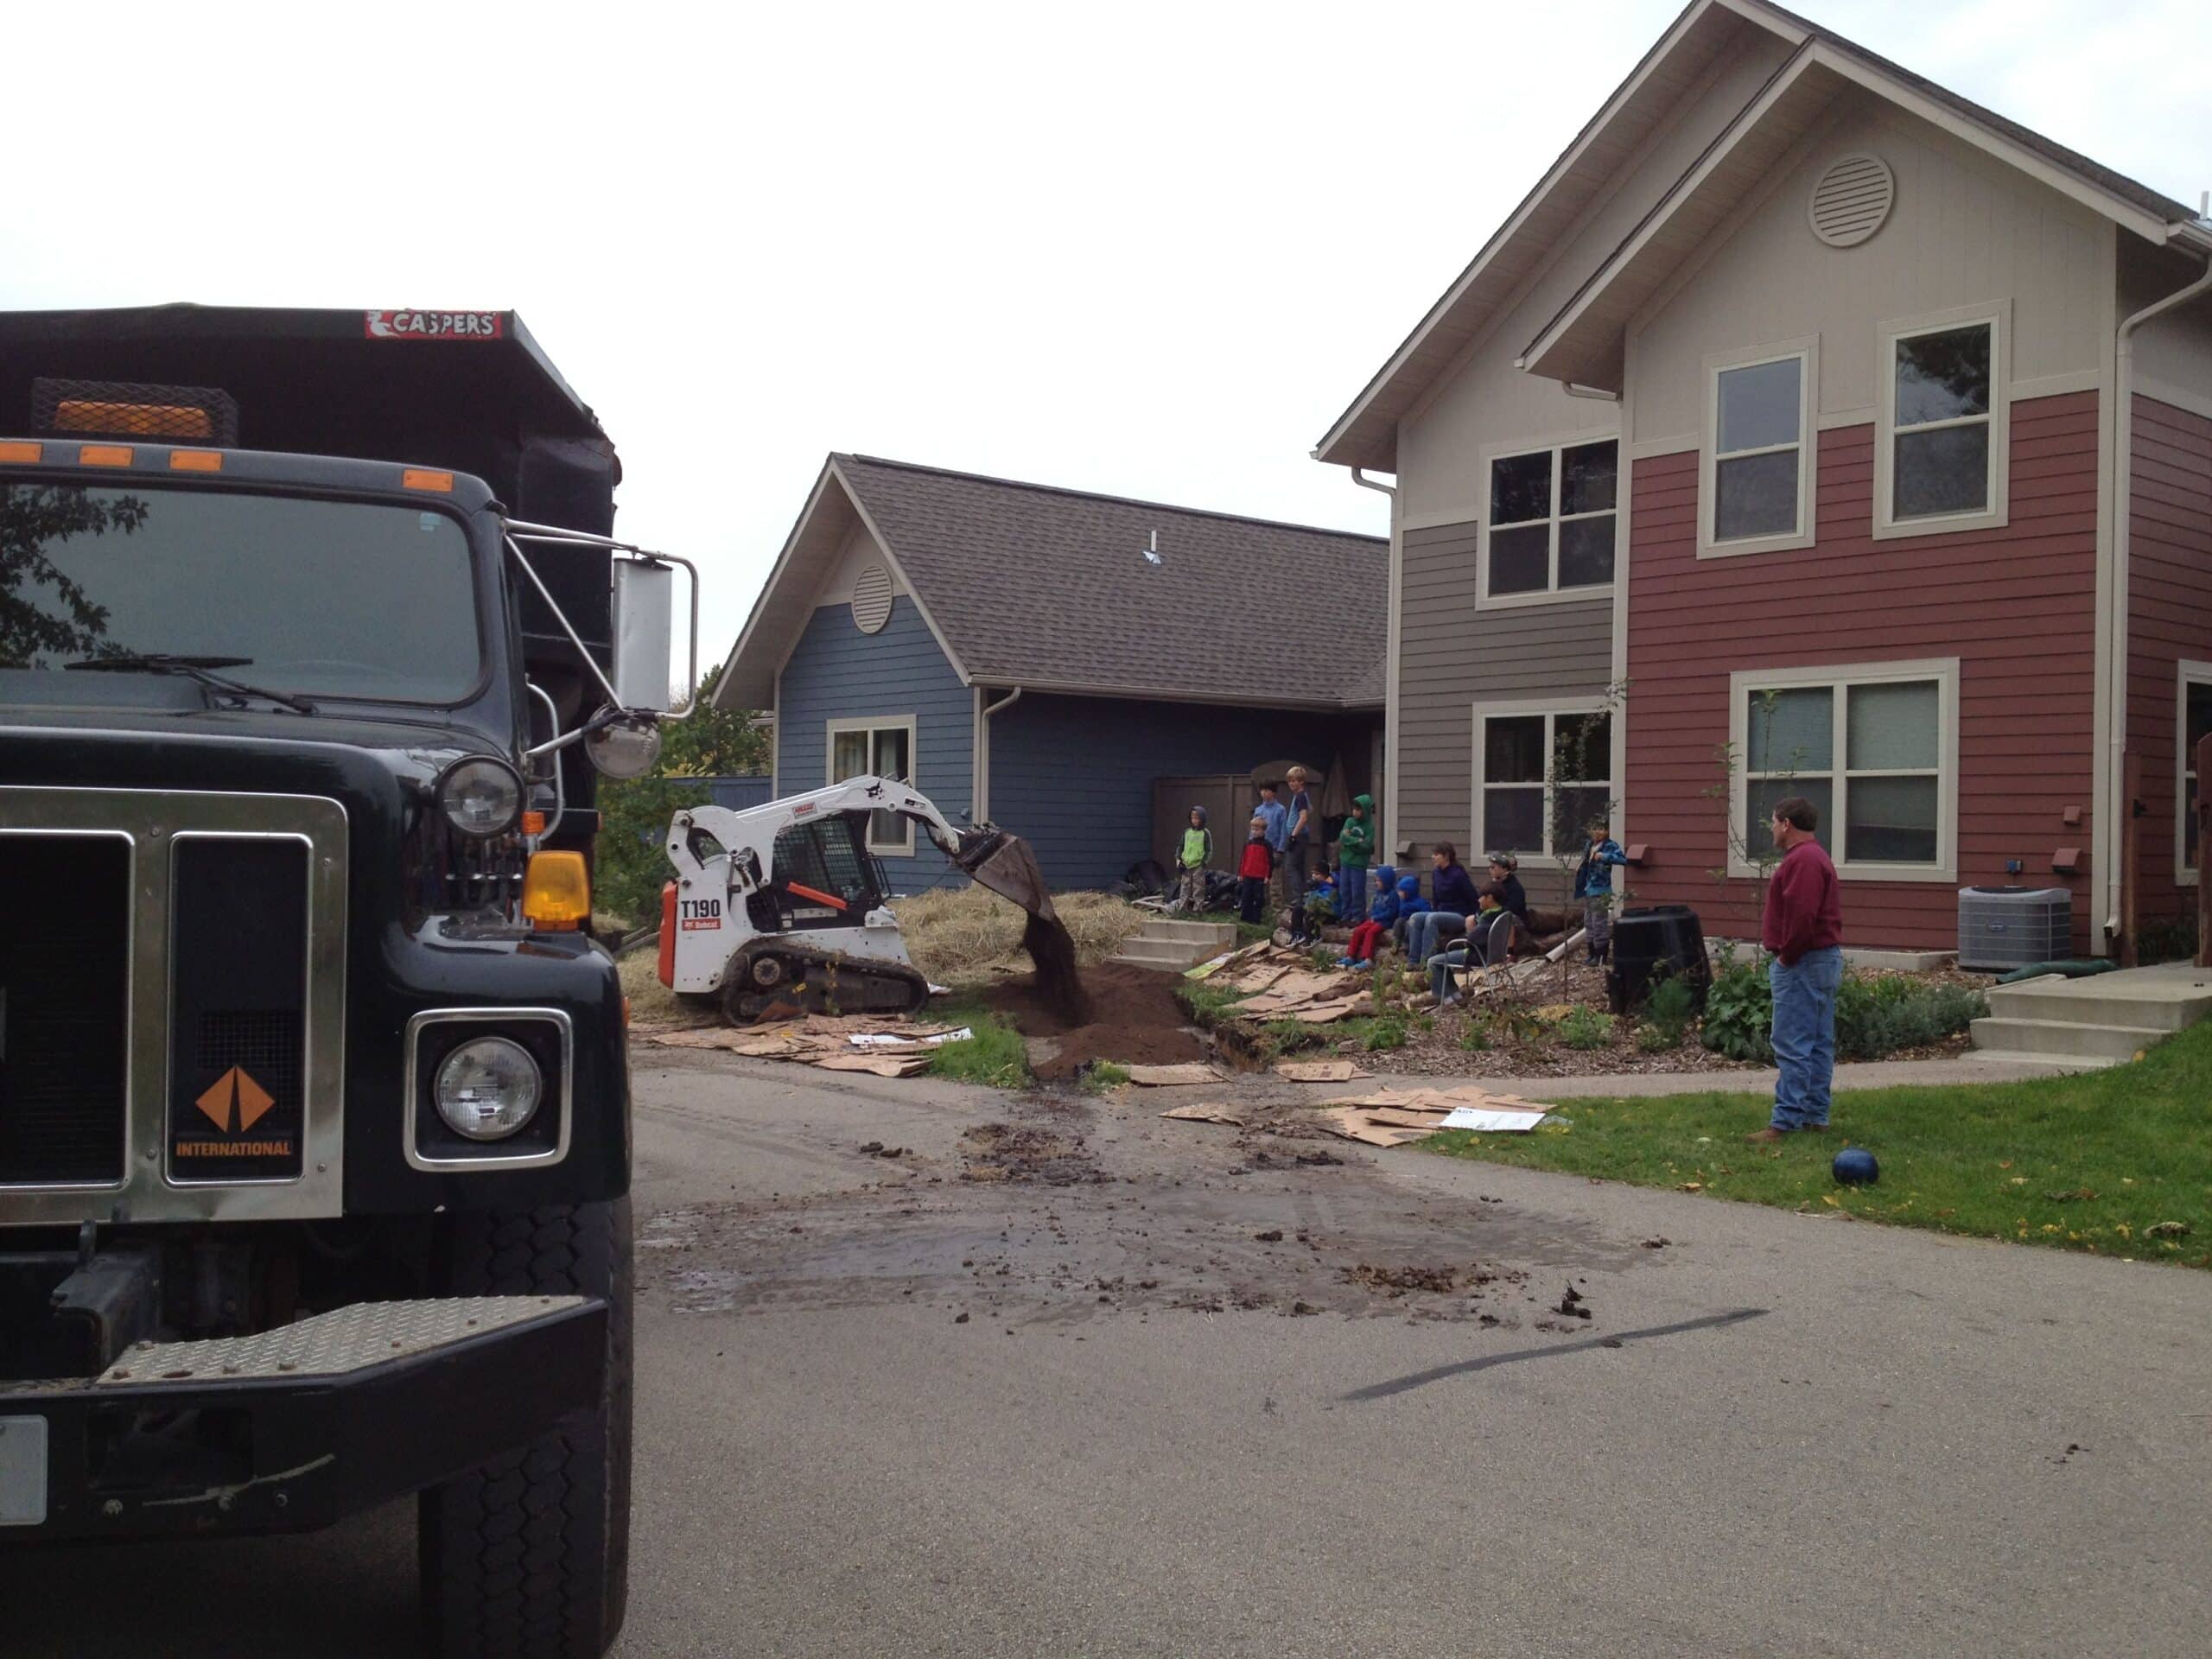
- 18 bales of marsh hay. We got 75 bales (seen to the left of the picture below) as figured by our local landscape store but only needed about 15 bales for the 10″ coverage layer. We figure about 3 bales for the top 2″. So, that was a significant “fluff” factor on the hay. Our local landscape store offered to take back the extra bales.
- 11 cubic yards of topsoil (comes in the truck pictured above)
- 8.5 cubic yards of compost. We started with 3.5 cubic yards which is about what we probably need for 2″ coverage of our square footage, but some of it falls down in the hay, and we felt that we should really pile it on more to encourage break down so we ordered 5 more cubic yards
Before sheet mulching the area, we opted to take out the asphalt path and dig out the limestone choker, fill that area with organic topsoil and start the sheet mulching. We were surprised at how much bigger the space felt without the asphalt path cutting it in half. We pre-prepped the area with cardboard, leaving 3 small hazelnut bushes in for now, as much as possible so the bobcat could help spread the hay and the compost.
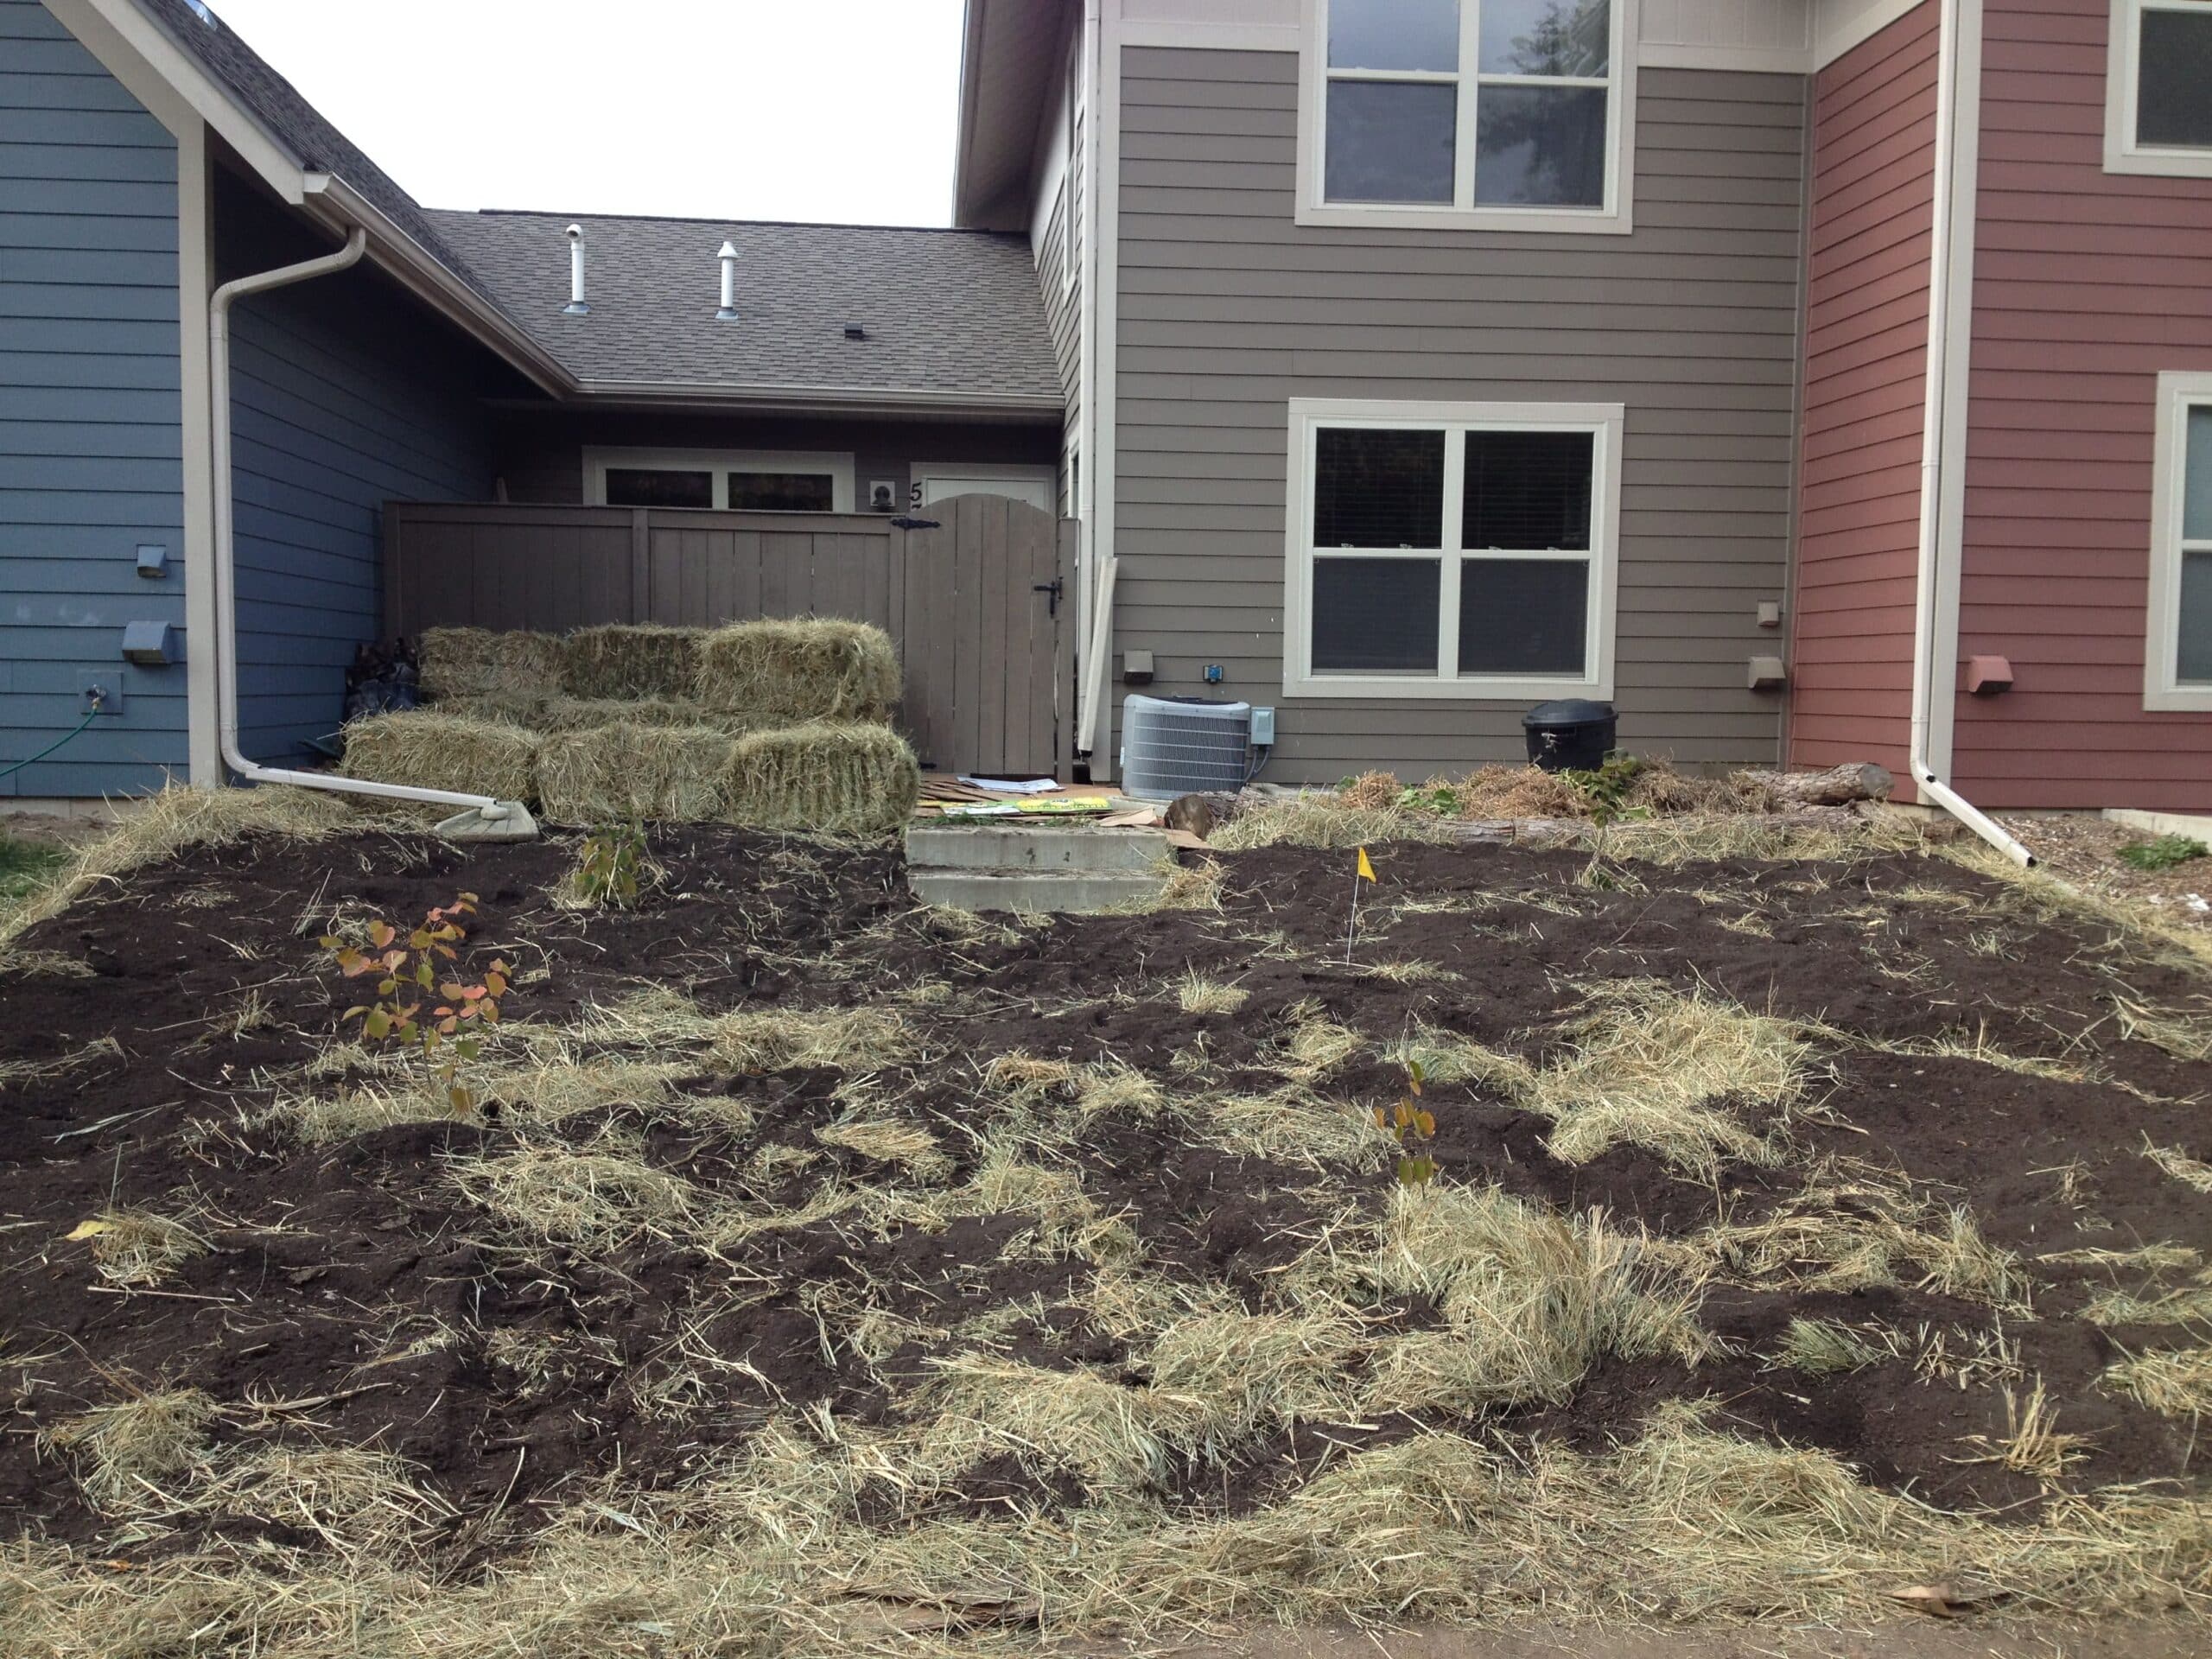
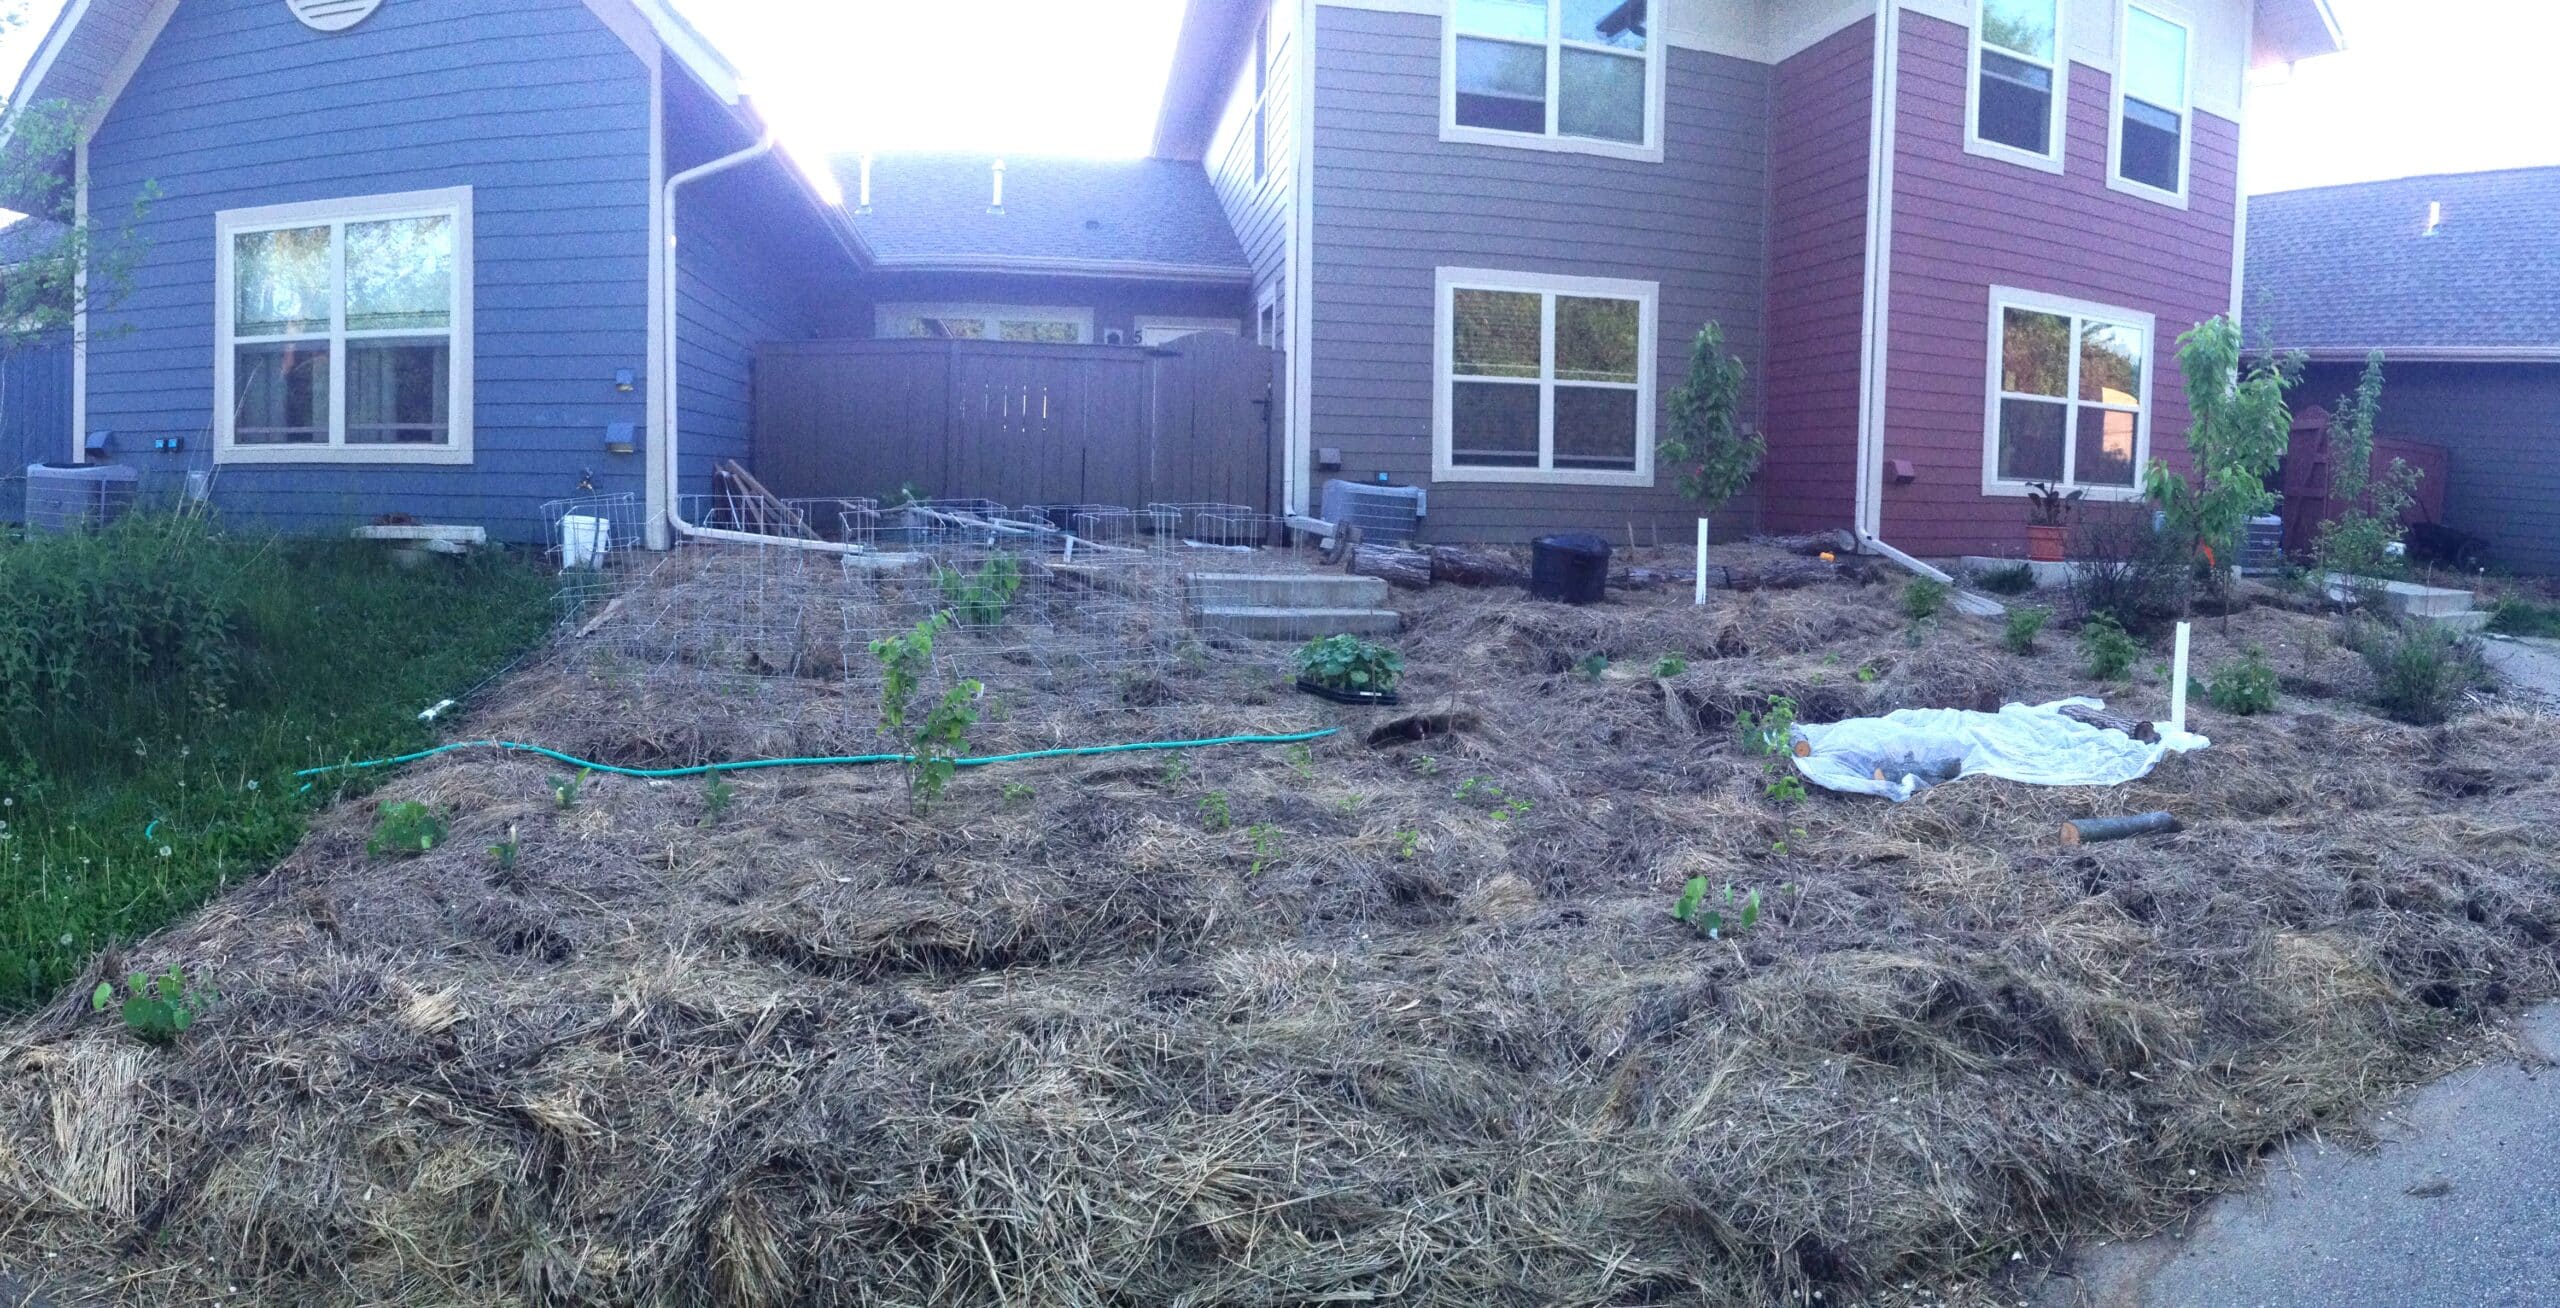
Pictured to the left is the “done for now” version of the project. The final blank canvas was finished when we added about 5 more cubic yards of compost (to be delivered in two days) plus 2″ of straw to finish it off. Interestingly, the 2″ of straw do not blow off even in fairly high wind. We let this cook away for the rest of the year and through the winter. I was surprised at the sense of satisfaction I got all winter thinking about that tucked in potential food canvas.
We did some planning during the winter for the coming Spring. This included consideration of plant guilds but with the slower realization that this zone 1 location is probably best suited for our kitchen garden rather than a full-out (albeit tiny) experiment in creating a permaculture food forest (forest-ette?). Still, the north side of the garden will be treated like a forest edge, in an attempt to leave as much sunlight as possible for the rest of the yard while not blocking too much sun from our northern neighbor’s yard who is doing something similar with apple trees and blueberries.
Cherry Tree Plant Guild: cosmos, cabbage, calendula, sunflower, horseradish, nicotiana
Russian comfrey [sources: 1,]. Stay forever, be careful where you plant. We decided not to plant.
Jerusalem artichokes [8-10 pounds of tubers per plant, grow up to 10′ high with yellow flowers, sources: 1, 2, 3]. These suckers are more appropriate for a zone 2 and we decided not to put them in here.
4 Sisters Guild: Corn, Pole beans, Squash, & Bee plant (from Gaia’s Garden by Toby Hemenway)
Blueberry Guild: Chives & Borage
Pepper-Tomato Guild: tomatoes, peppers, celery, basil, parsley, eggplant, rosemary, oregano (from Gaia’s Garden by Toby Hemenway)
Red Raspberry Guild (summer-bearing Nova)
Spring, 2014: Planting
The fertility seems really promising given the huge number of worms in the soil. Digging in the soil a little reveals mostly topsoil but with some thick straw in places still not fully decomposed. It has not been a barrier to planing at all. Also, I’ve noticed when it rains there’s a trail of colored water coming off the new land. Mixed feelings about this: on the one hand, there’s a lot of nutrients and life; on the other hand, it’s leaching away to the parking lot. I console myself that it finally ends up in our community’s front rain garden/prairie. Perhaps a cover crop would have been wise though.
We started with two sweet cherry trees and two kinds of raspberry bushes. Then, we dug out paths, using the dirt to form terraced raised beds. The idea is to keep water flowing from drain pipes on the land as long as possible by having each path double as a swale in which water can slowly soak in, feeding the bed below. [2016 update: This has worked well. The only problem is the center aisle acts too much like a river. So, I will have to find way to slow the water in this central channel.] We then planted our usual set of annuals, including tomatoes, peppers, broccoli, parsley, sweet potatoes, and cucumbers. I’ve also ordered some Giant Mushroom spawn from fungi.com that we may be able to start growing within our annual beds, providing benefits for the annuals and the soil, while potentially yielding some good food.
On my mind is really wanting to minimize the amount of weeding we’ll have to do. This can be a real challenge with grass and dandelions (I know they are soil building and edible) right next door. I installed a plastic (guilt) rhizome barrier, but I’m anxious to get some perennial ground cover started, perhaps with a belt of slightly taller varieties to act as a weed seed catcher. I’d rather evolve this system toward food forest without going through the heavy-duty pioneer (i.e., weed) phase. However, hitting the permaculture books can be intimidating — so many niches to create, edible or not: who works with who in what guilds?! So, for now, we’ve managed to put in mostly our usual annuals, and then a couple of cherry trees and some raspberries. Bought and chickened out on putting in comfrey (once in you’ll never be rid of it).
We noticed that our pepper plants and squash were a bit yellow and that pushed us over the lazy edge into getting our soil tested by UW-Madison Extension. Our results: 7.8 pH, 169 ppm Phosphorus (P), 503 Potassium (K), and 15% (yes, that’s right) organic matter. We needed to supplement with extra Nitrogen, just the excuse needed to urinate in the great outdoors (well, actually in a bucket and then dilute with water), a practice that improved the situation considerably, indicating a free, fun, easy-to-use source of N that would otherwise go to waste. Secondary nutrients were: 3158 Ca (high), 786 Mg (high), 14 Mn (optimum), 13.8 Zn (optimum), 1.6 B (low), and 2.2 S (very low). Compare these numbers to our control plot in the front of the house that has not been amended: 7.7 pH, 101 P, 123 K, 4.6% organic matter. Secondary nutrients were: 1774 Ca (high), 359 Mg (optimum), 30 Mn (optimum), 8.9 Zn (optimum), .6 B (low), 1.9 S (very low).
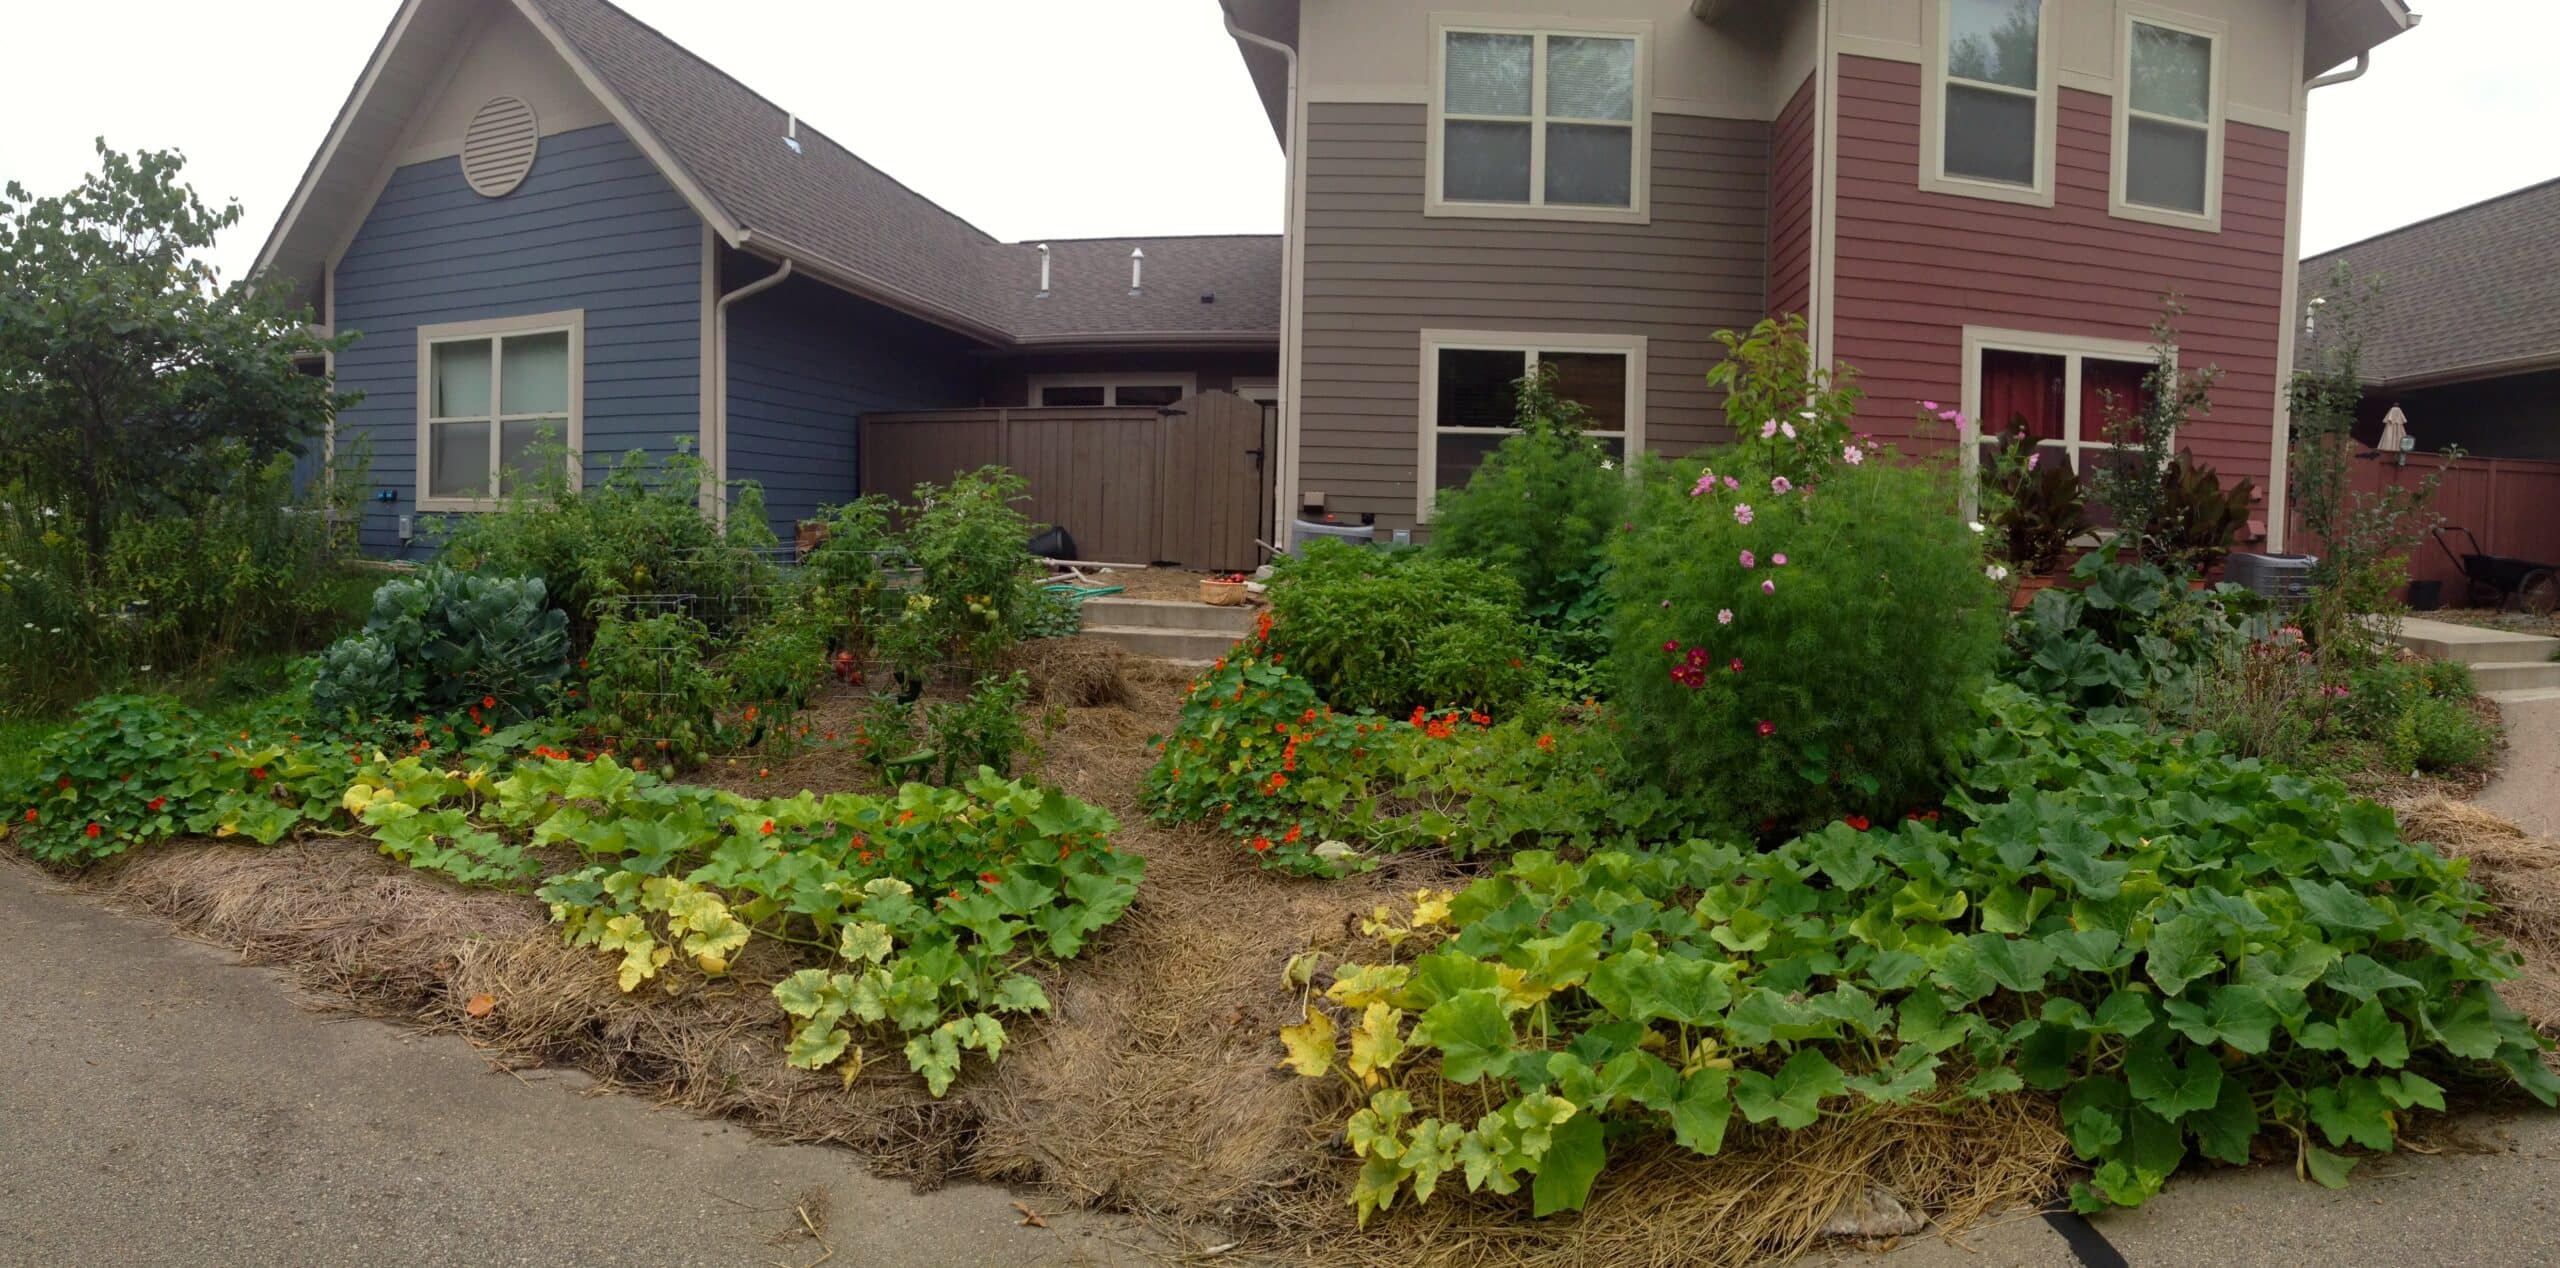
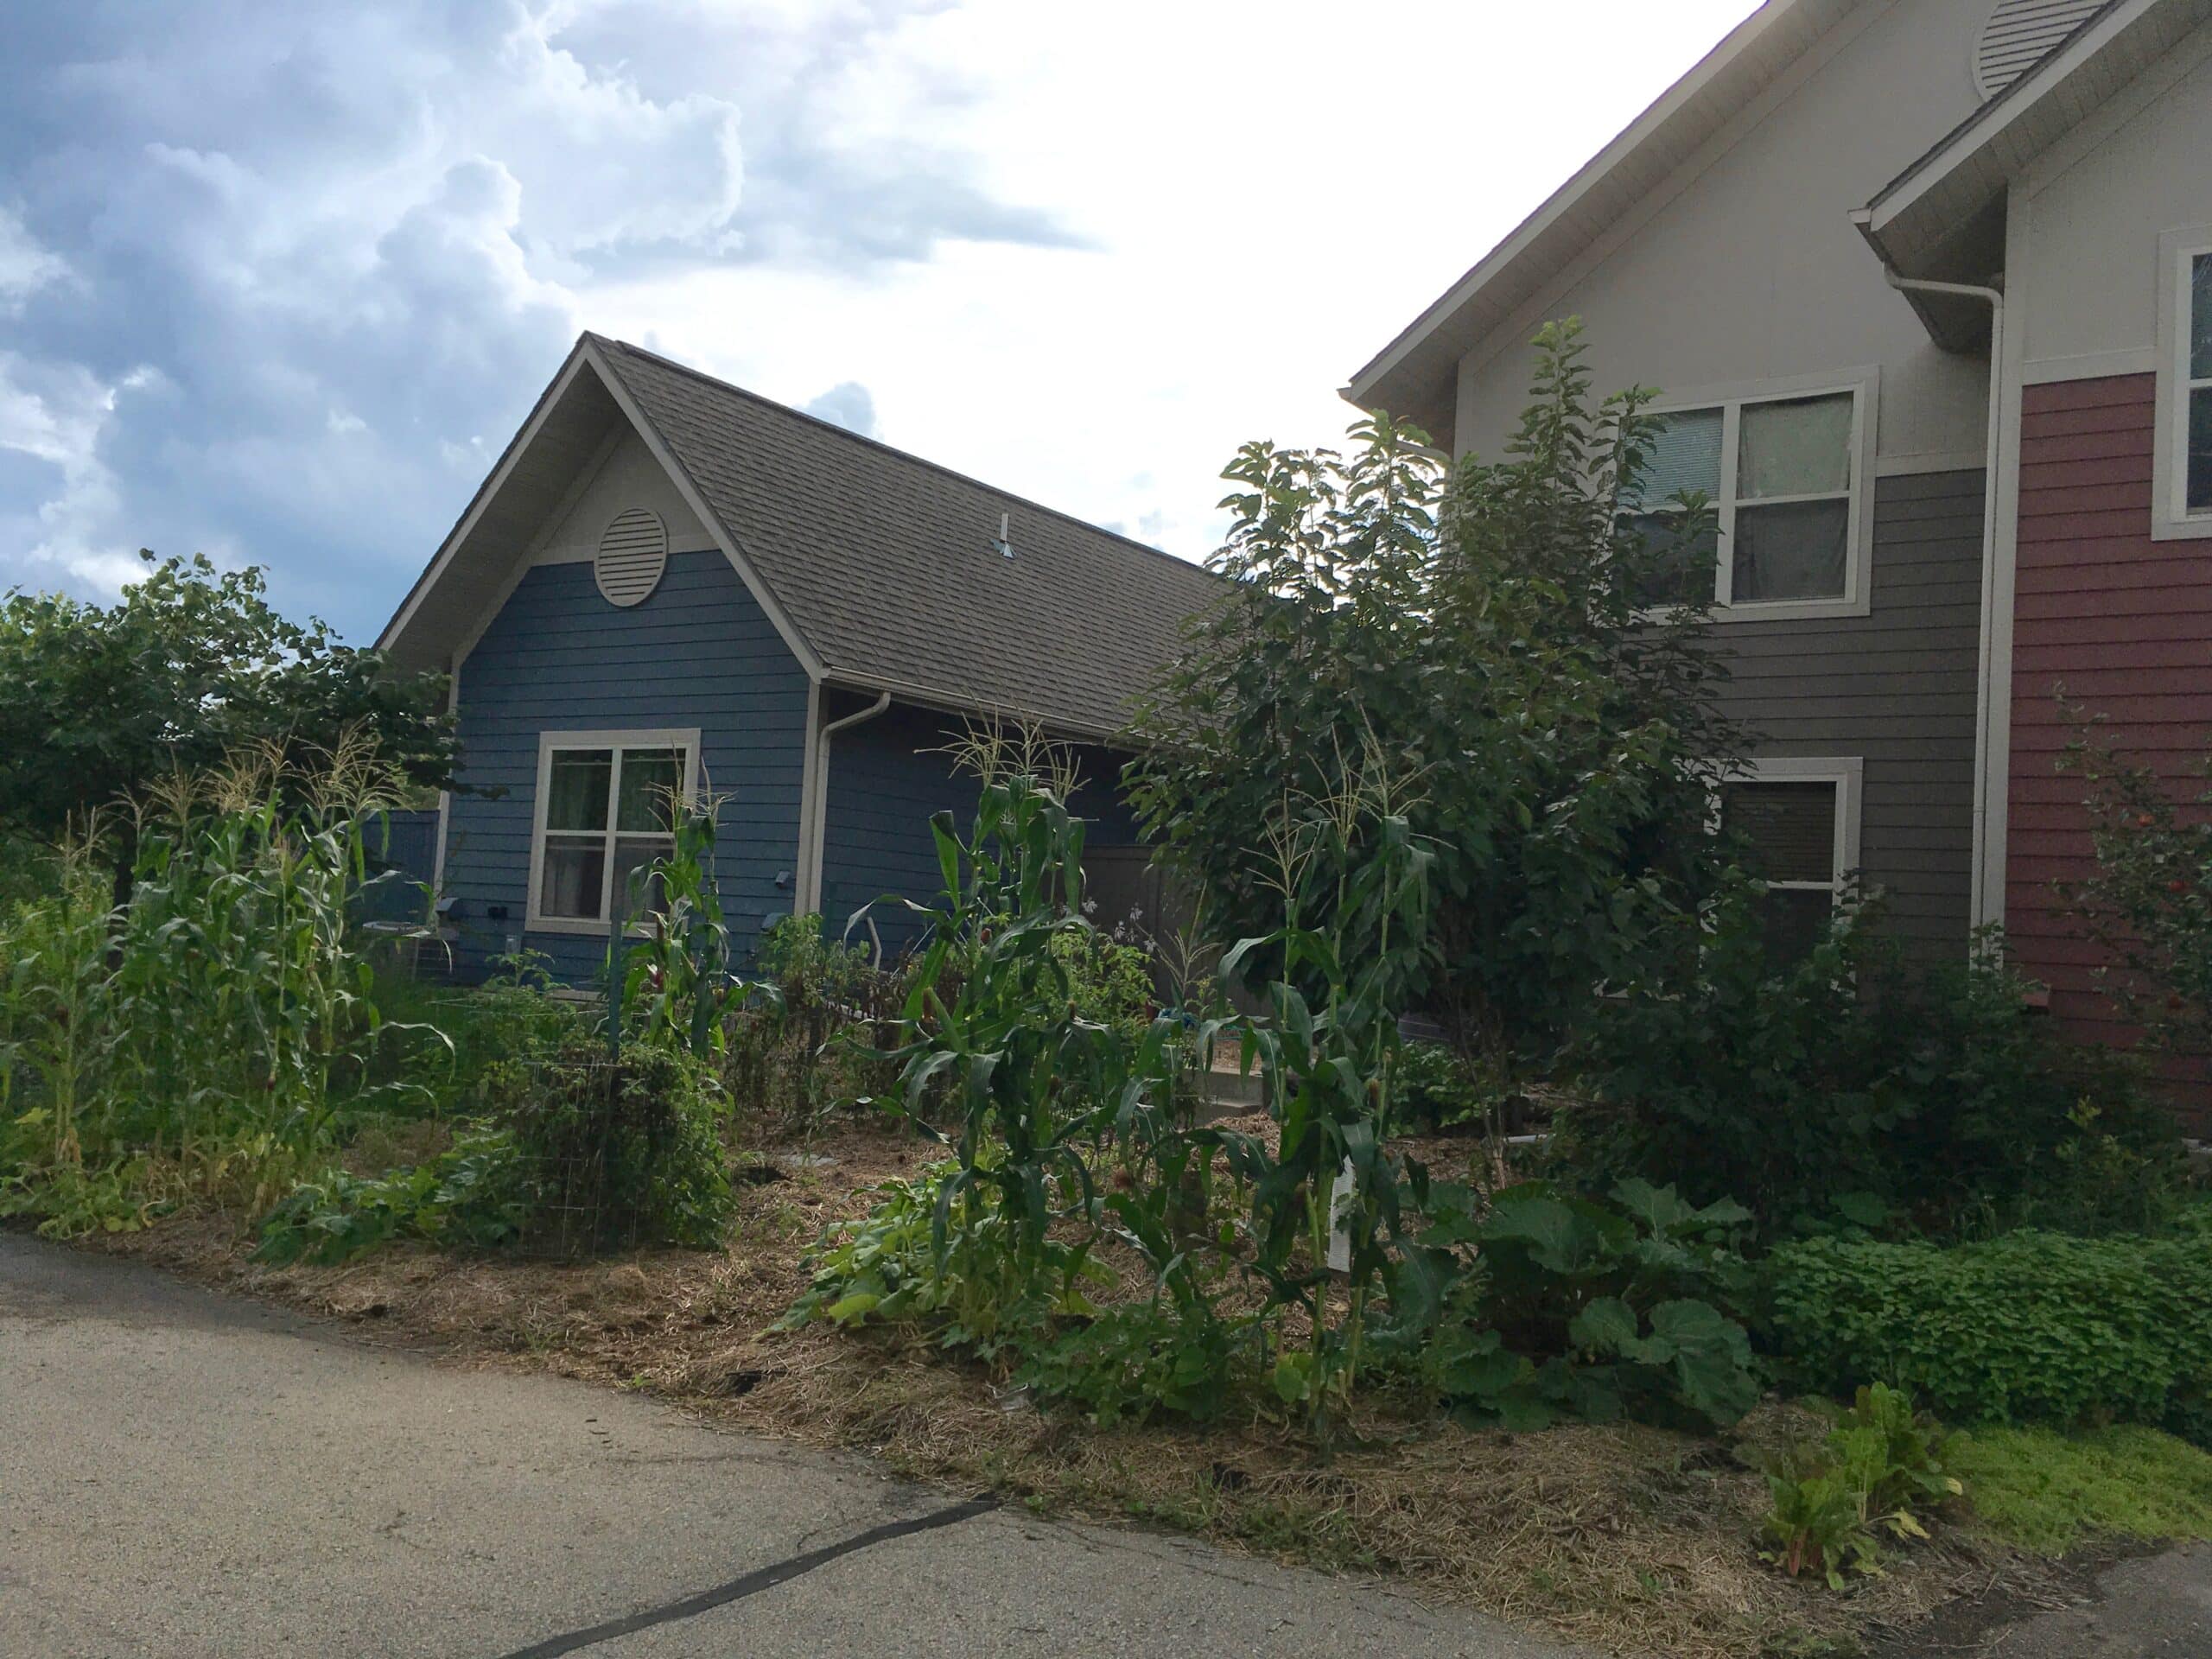
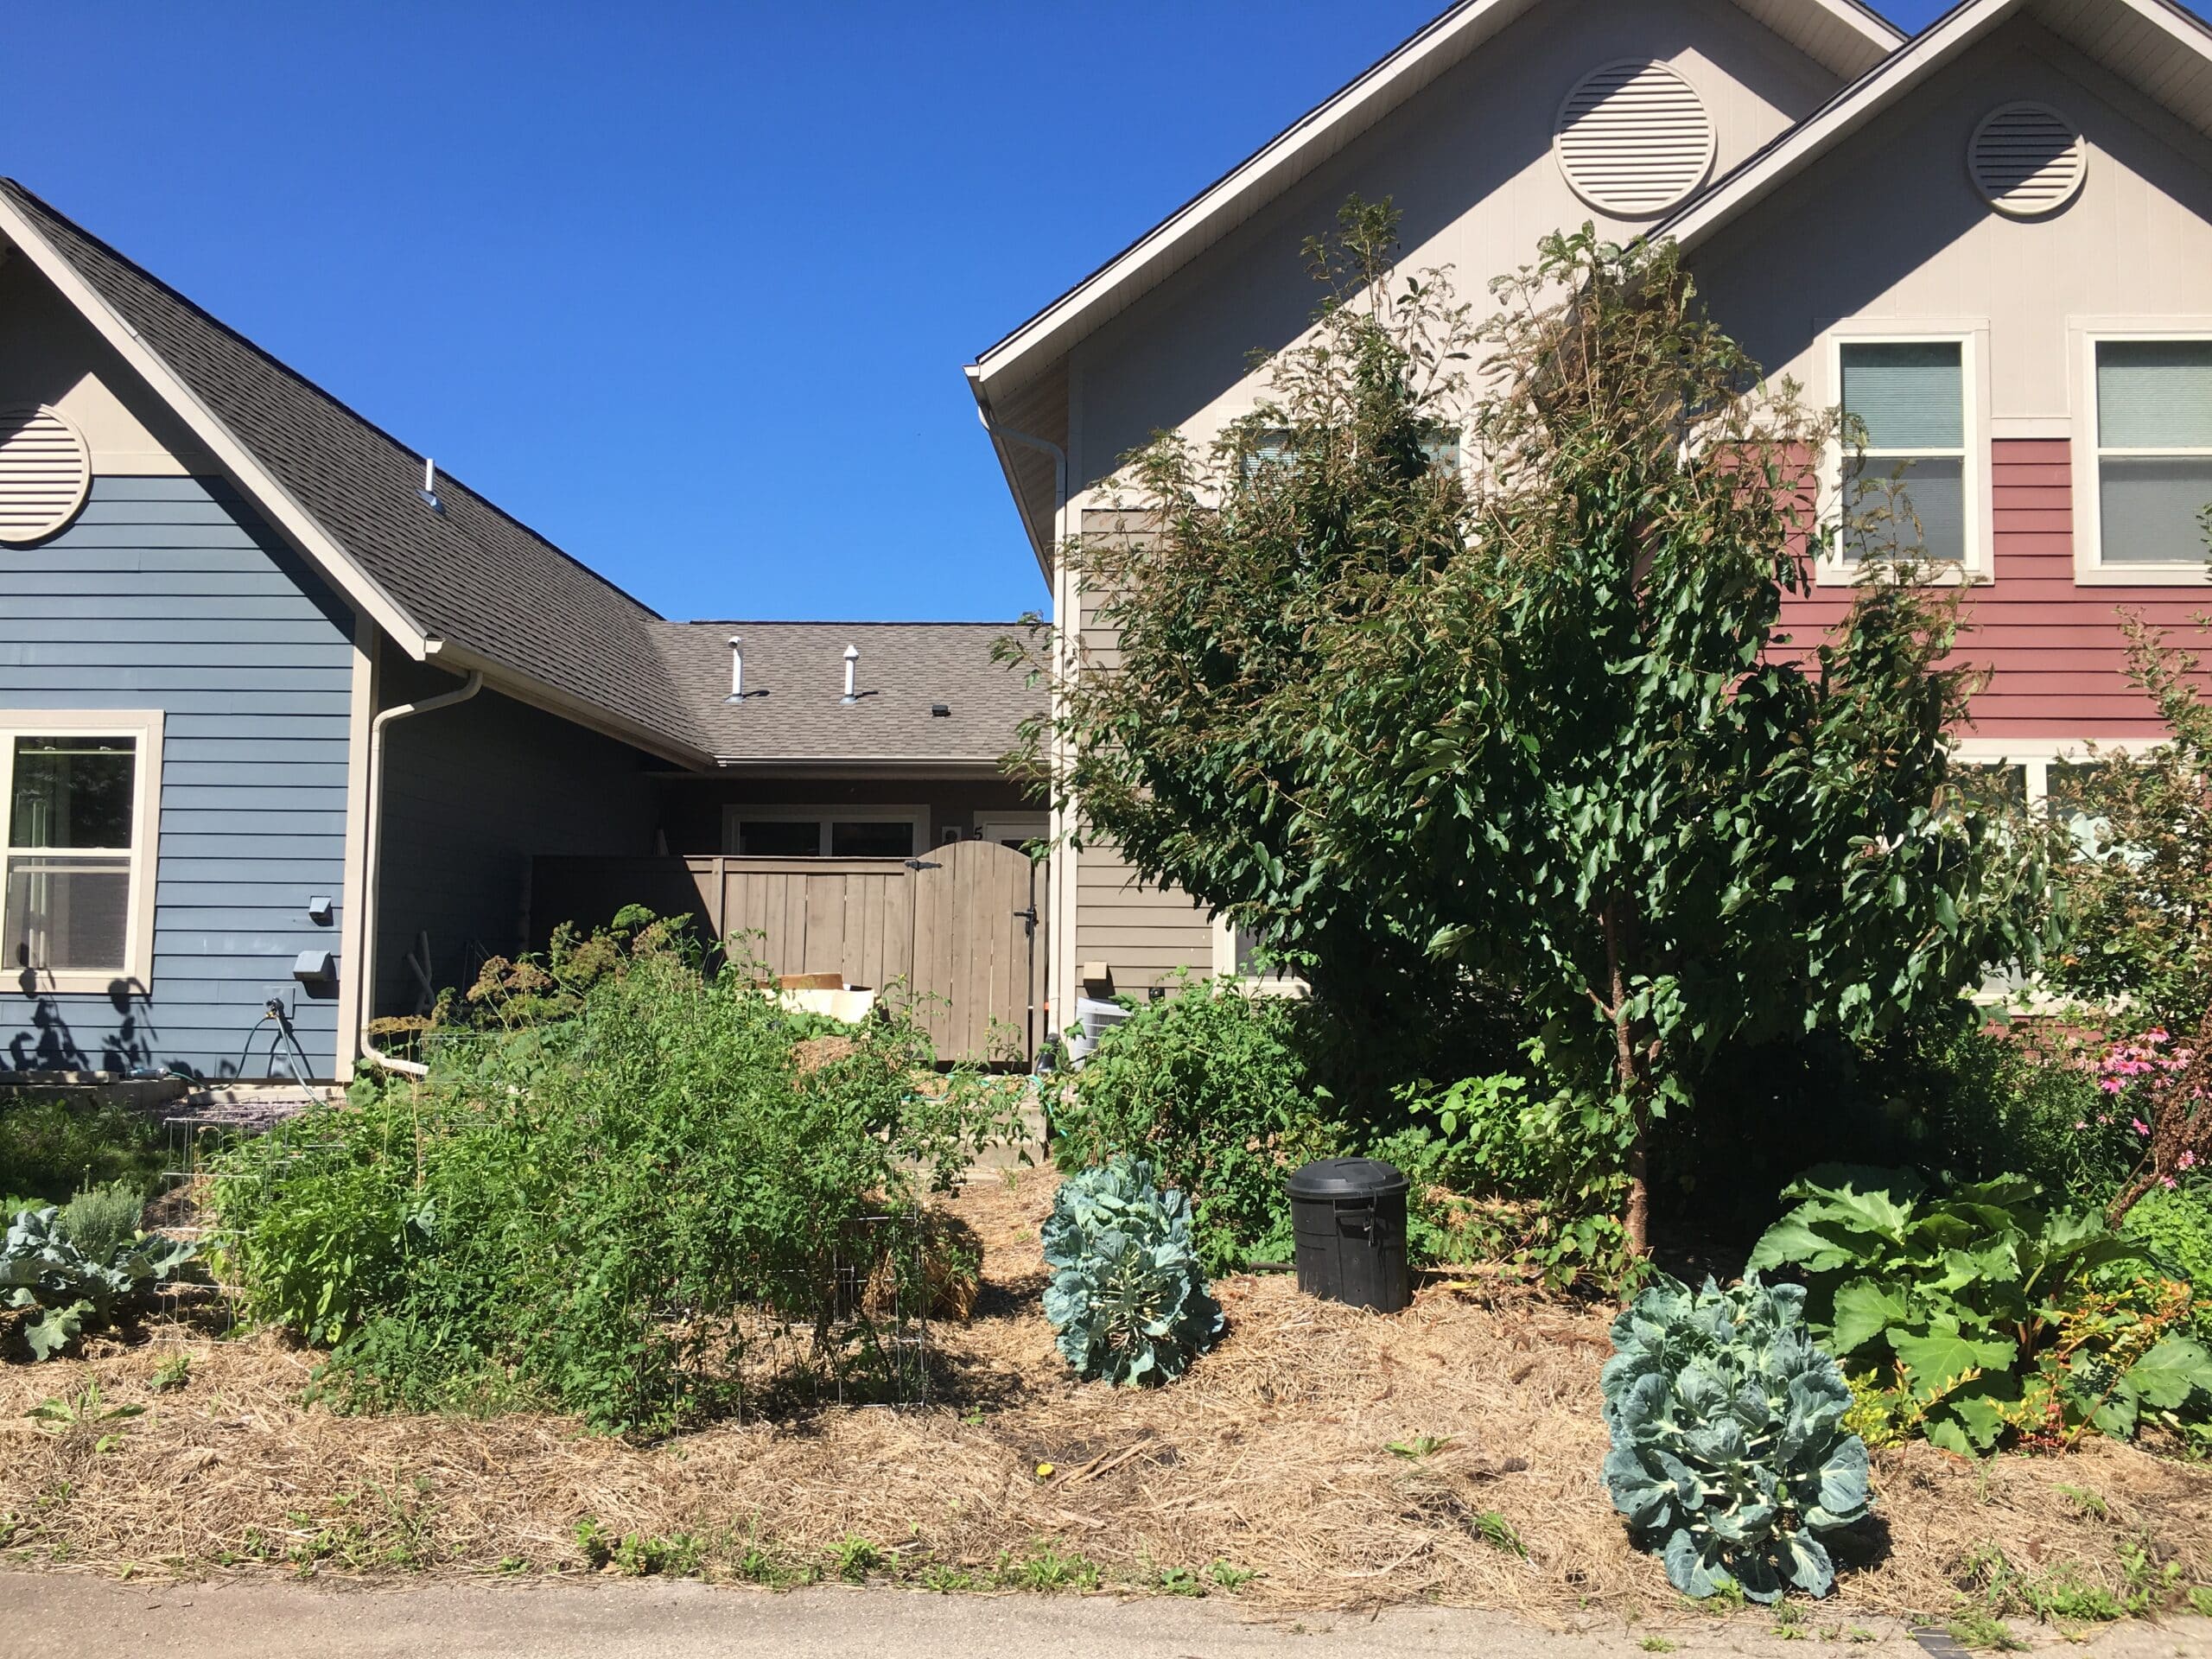
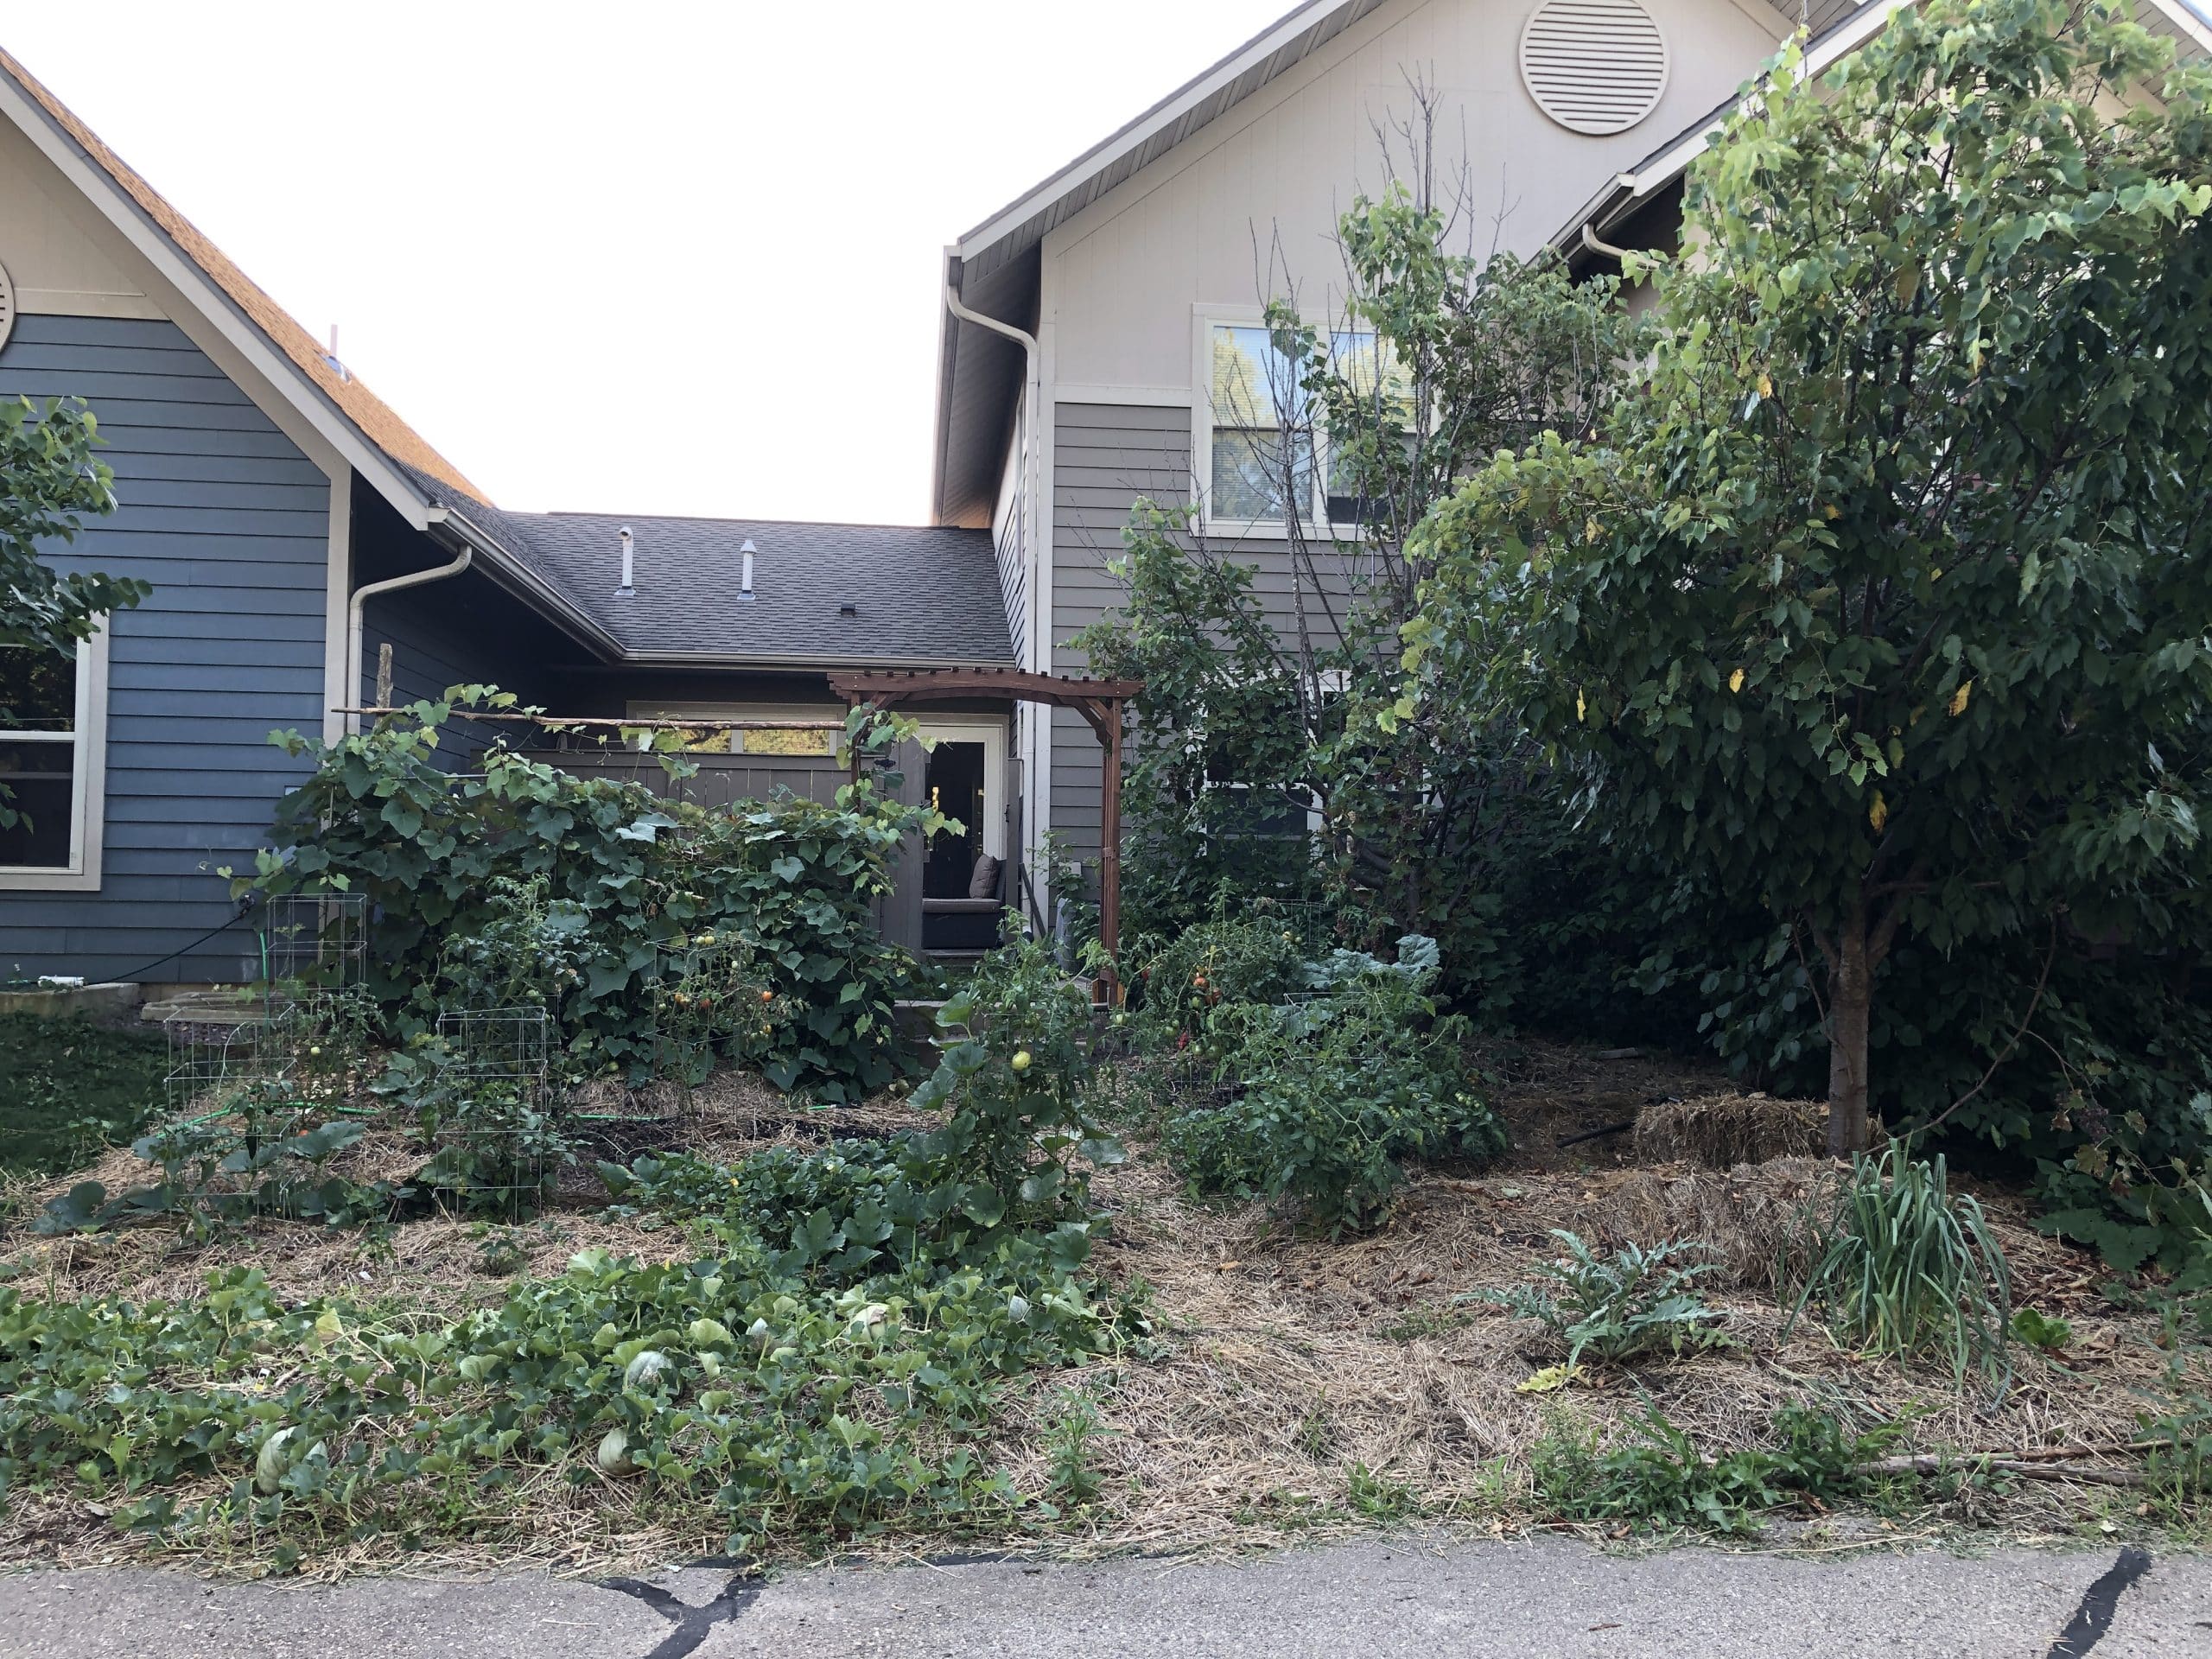
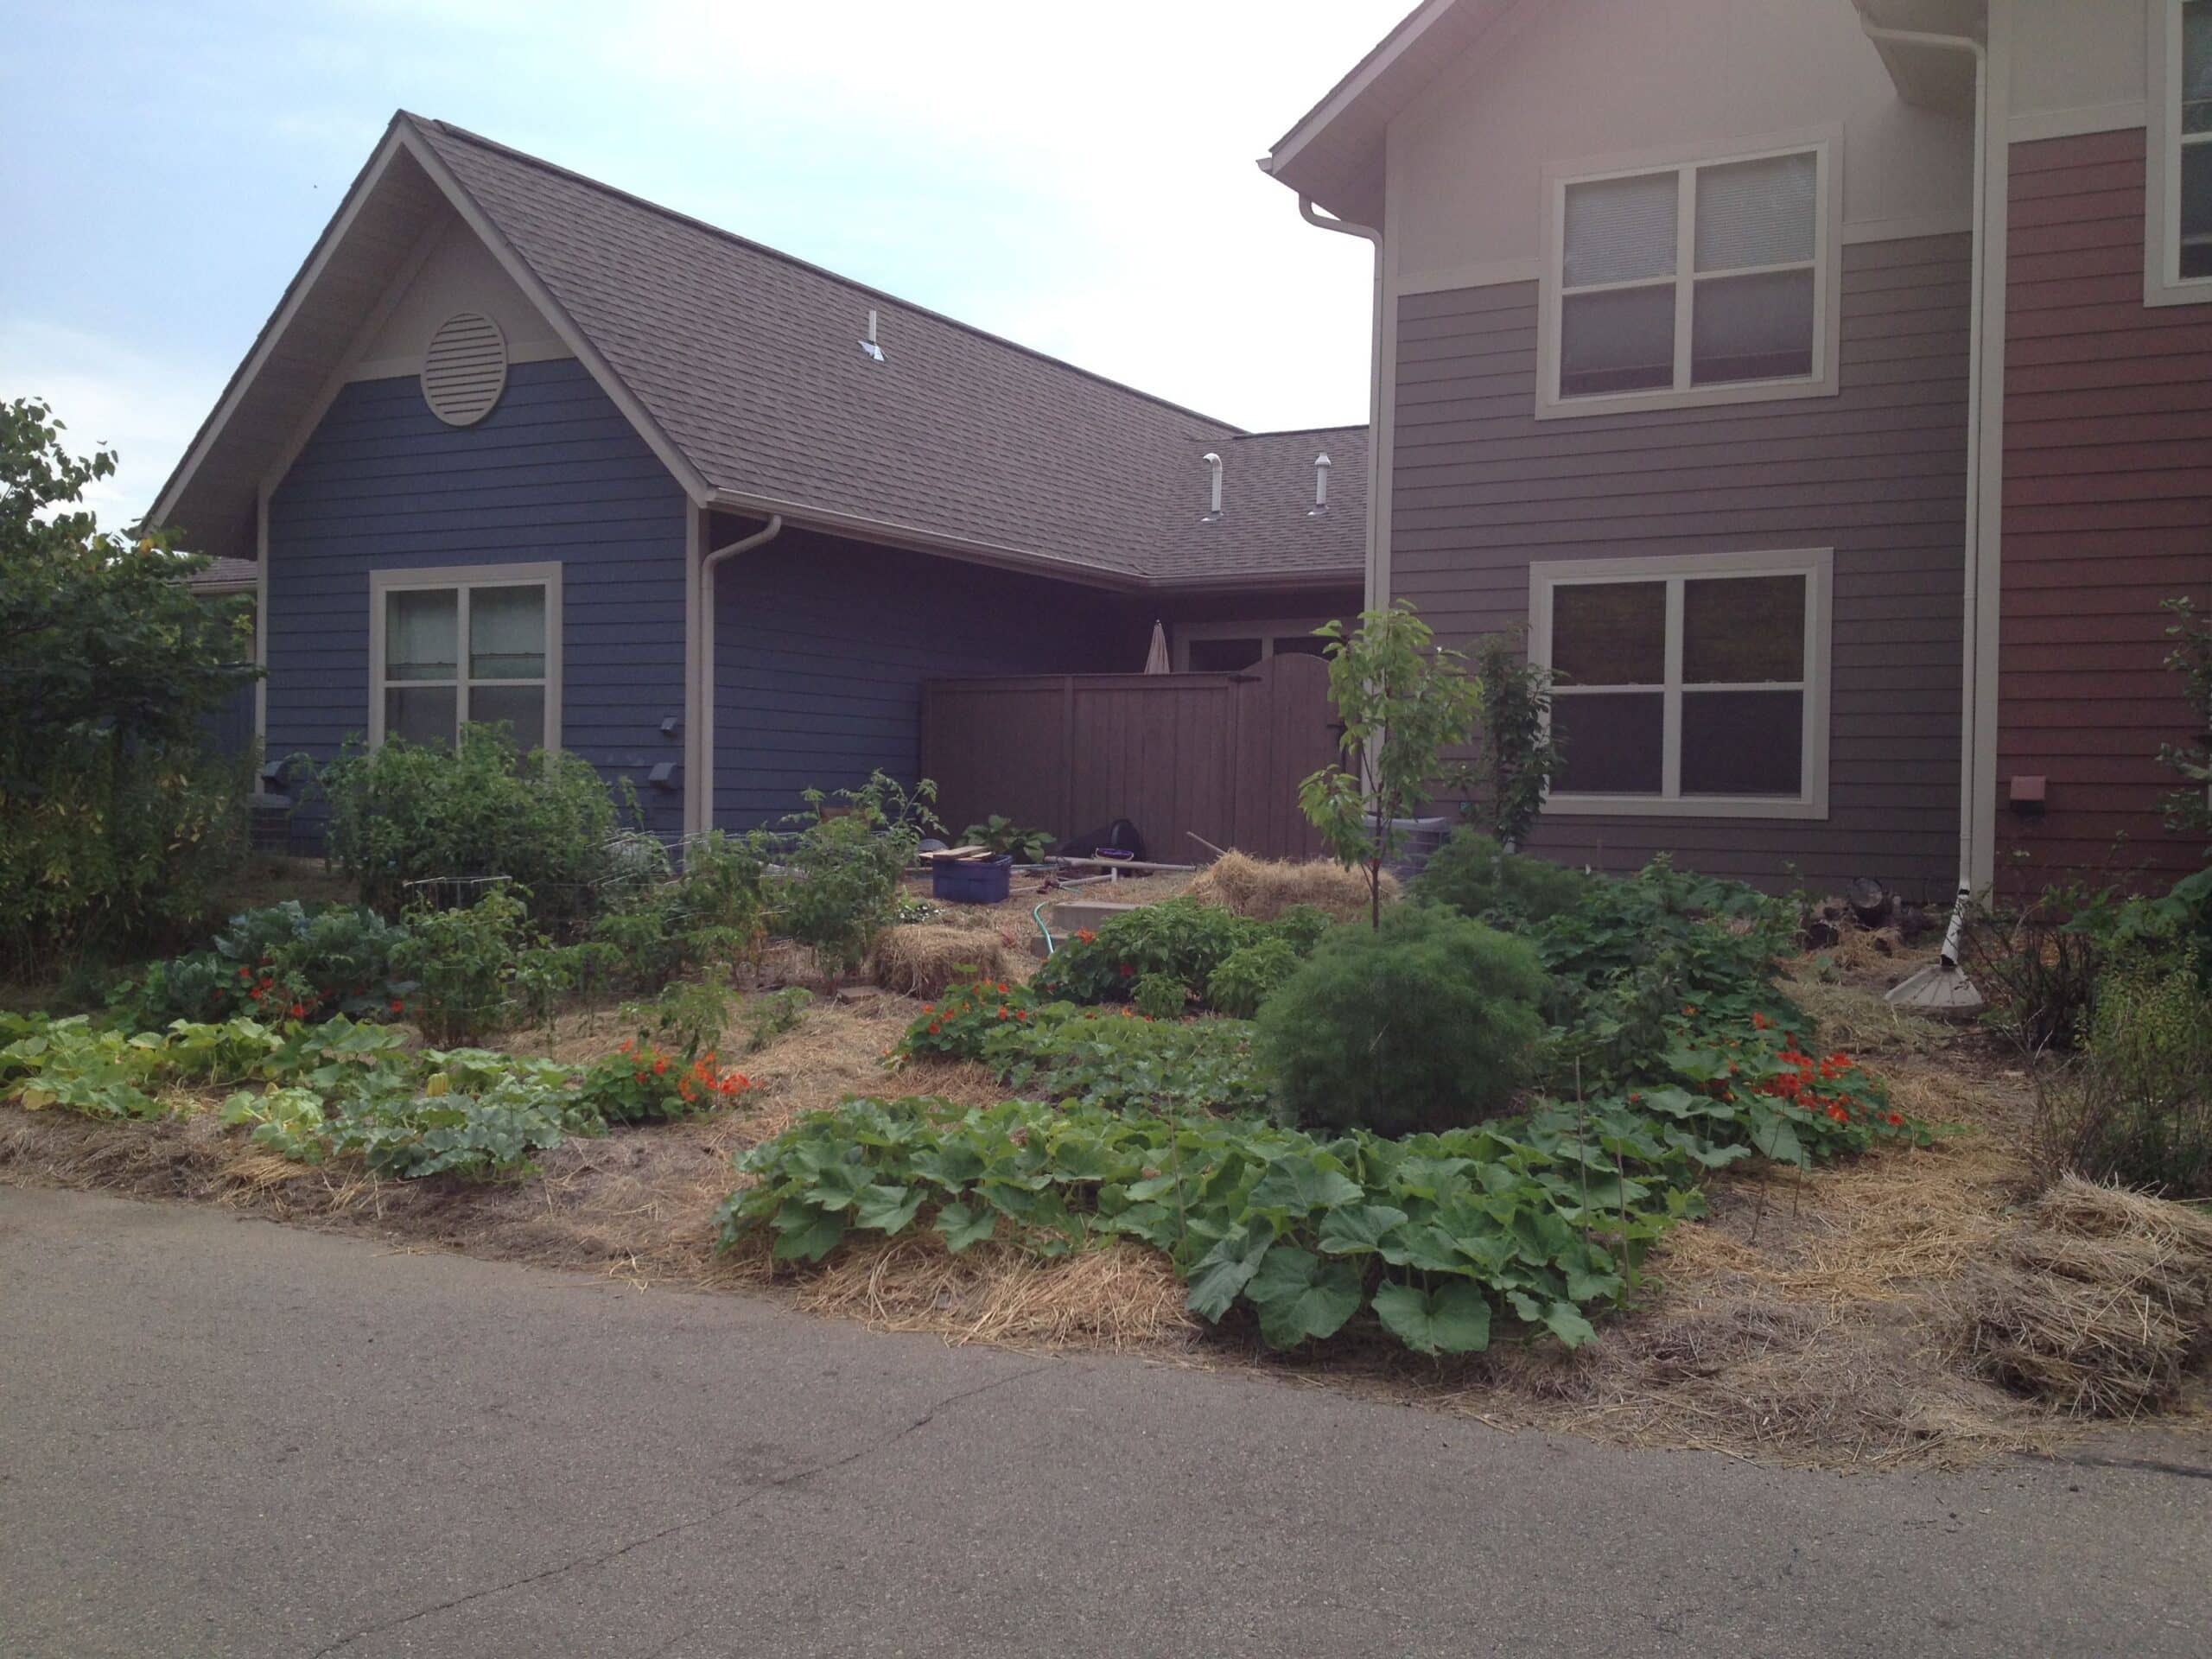
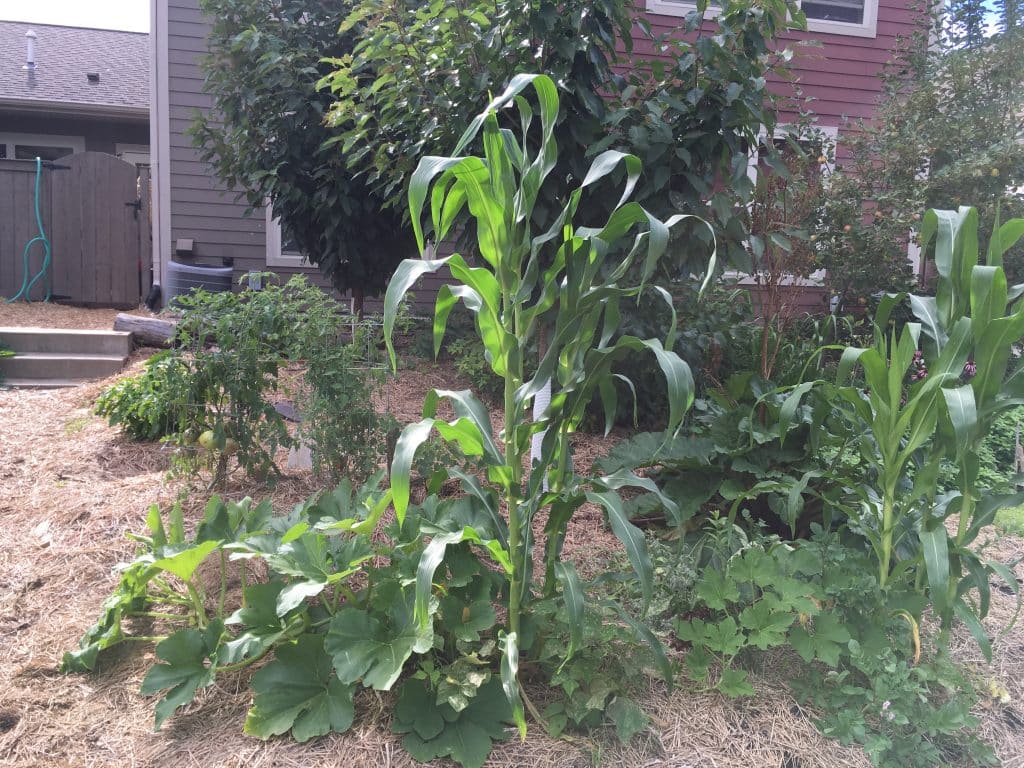
By August, 2016, we have some maturing raspberry plants, the cherry trees are looking bigger (but still not producing many sweet cherries – same for 2017), the hazelnut bushes (2017 – still not producing) and rhubarb plants are getting large. This year, we planted one grape vine per cherry tree trellis (2017 – they are producing their first round of grapes). These pictures below label some of the plants.
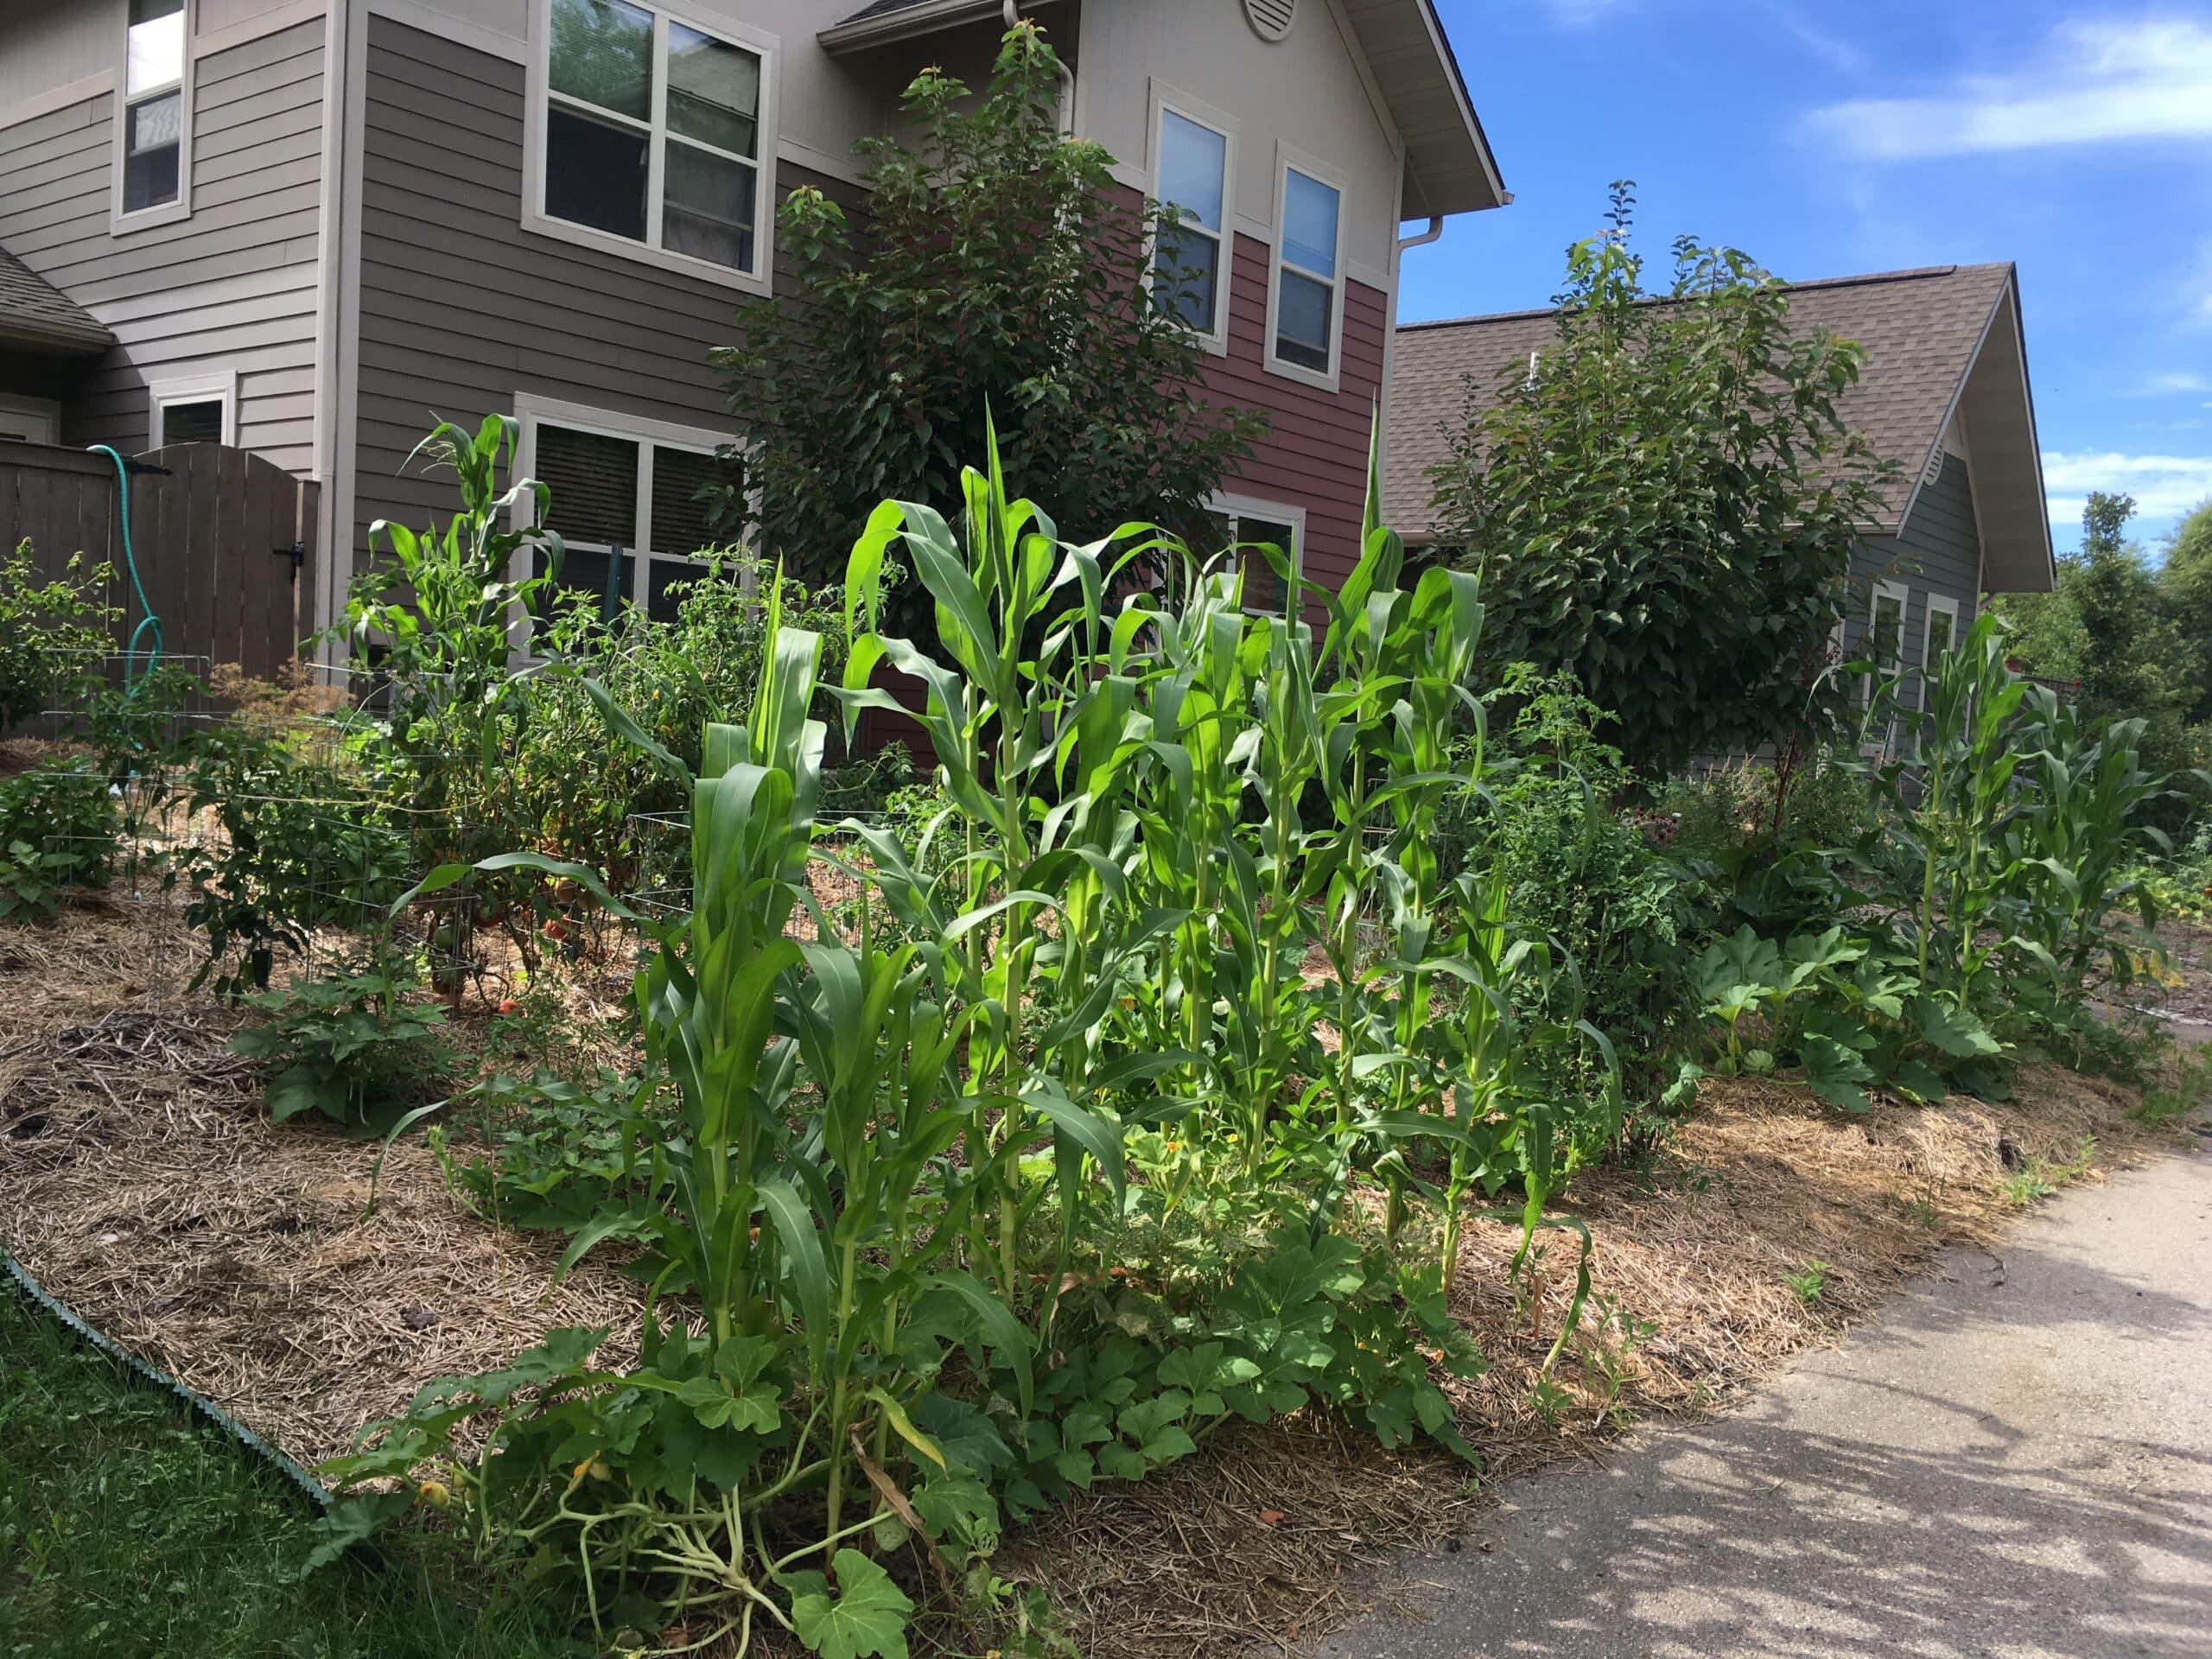
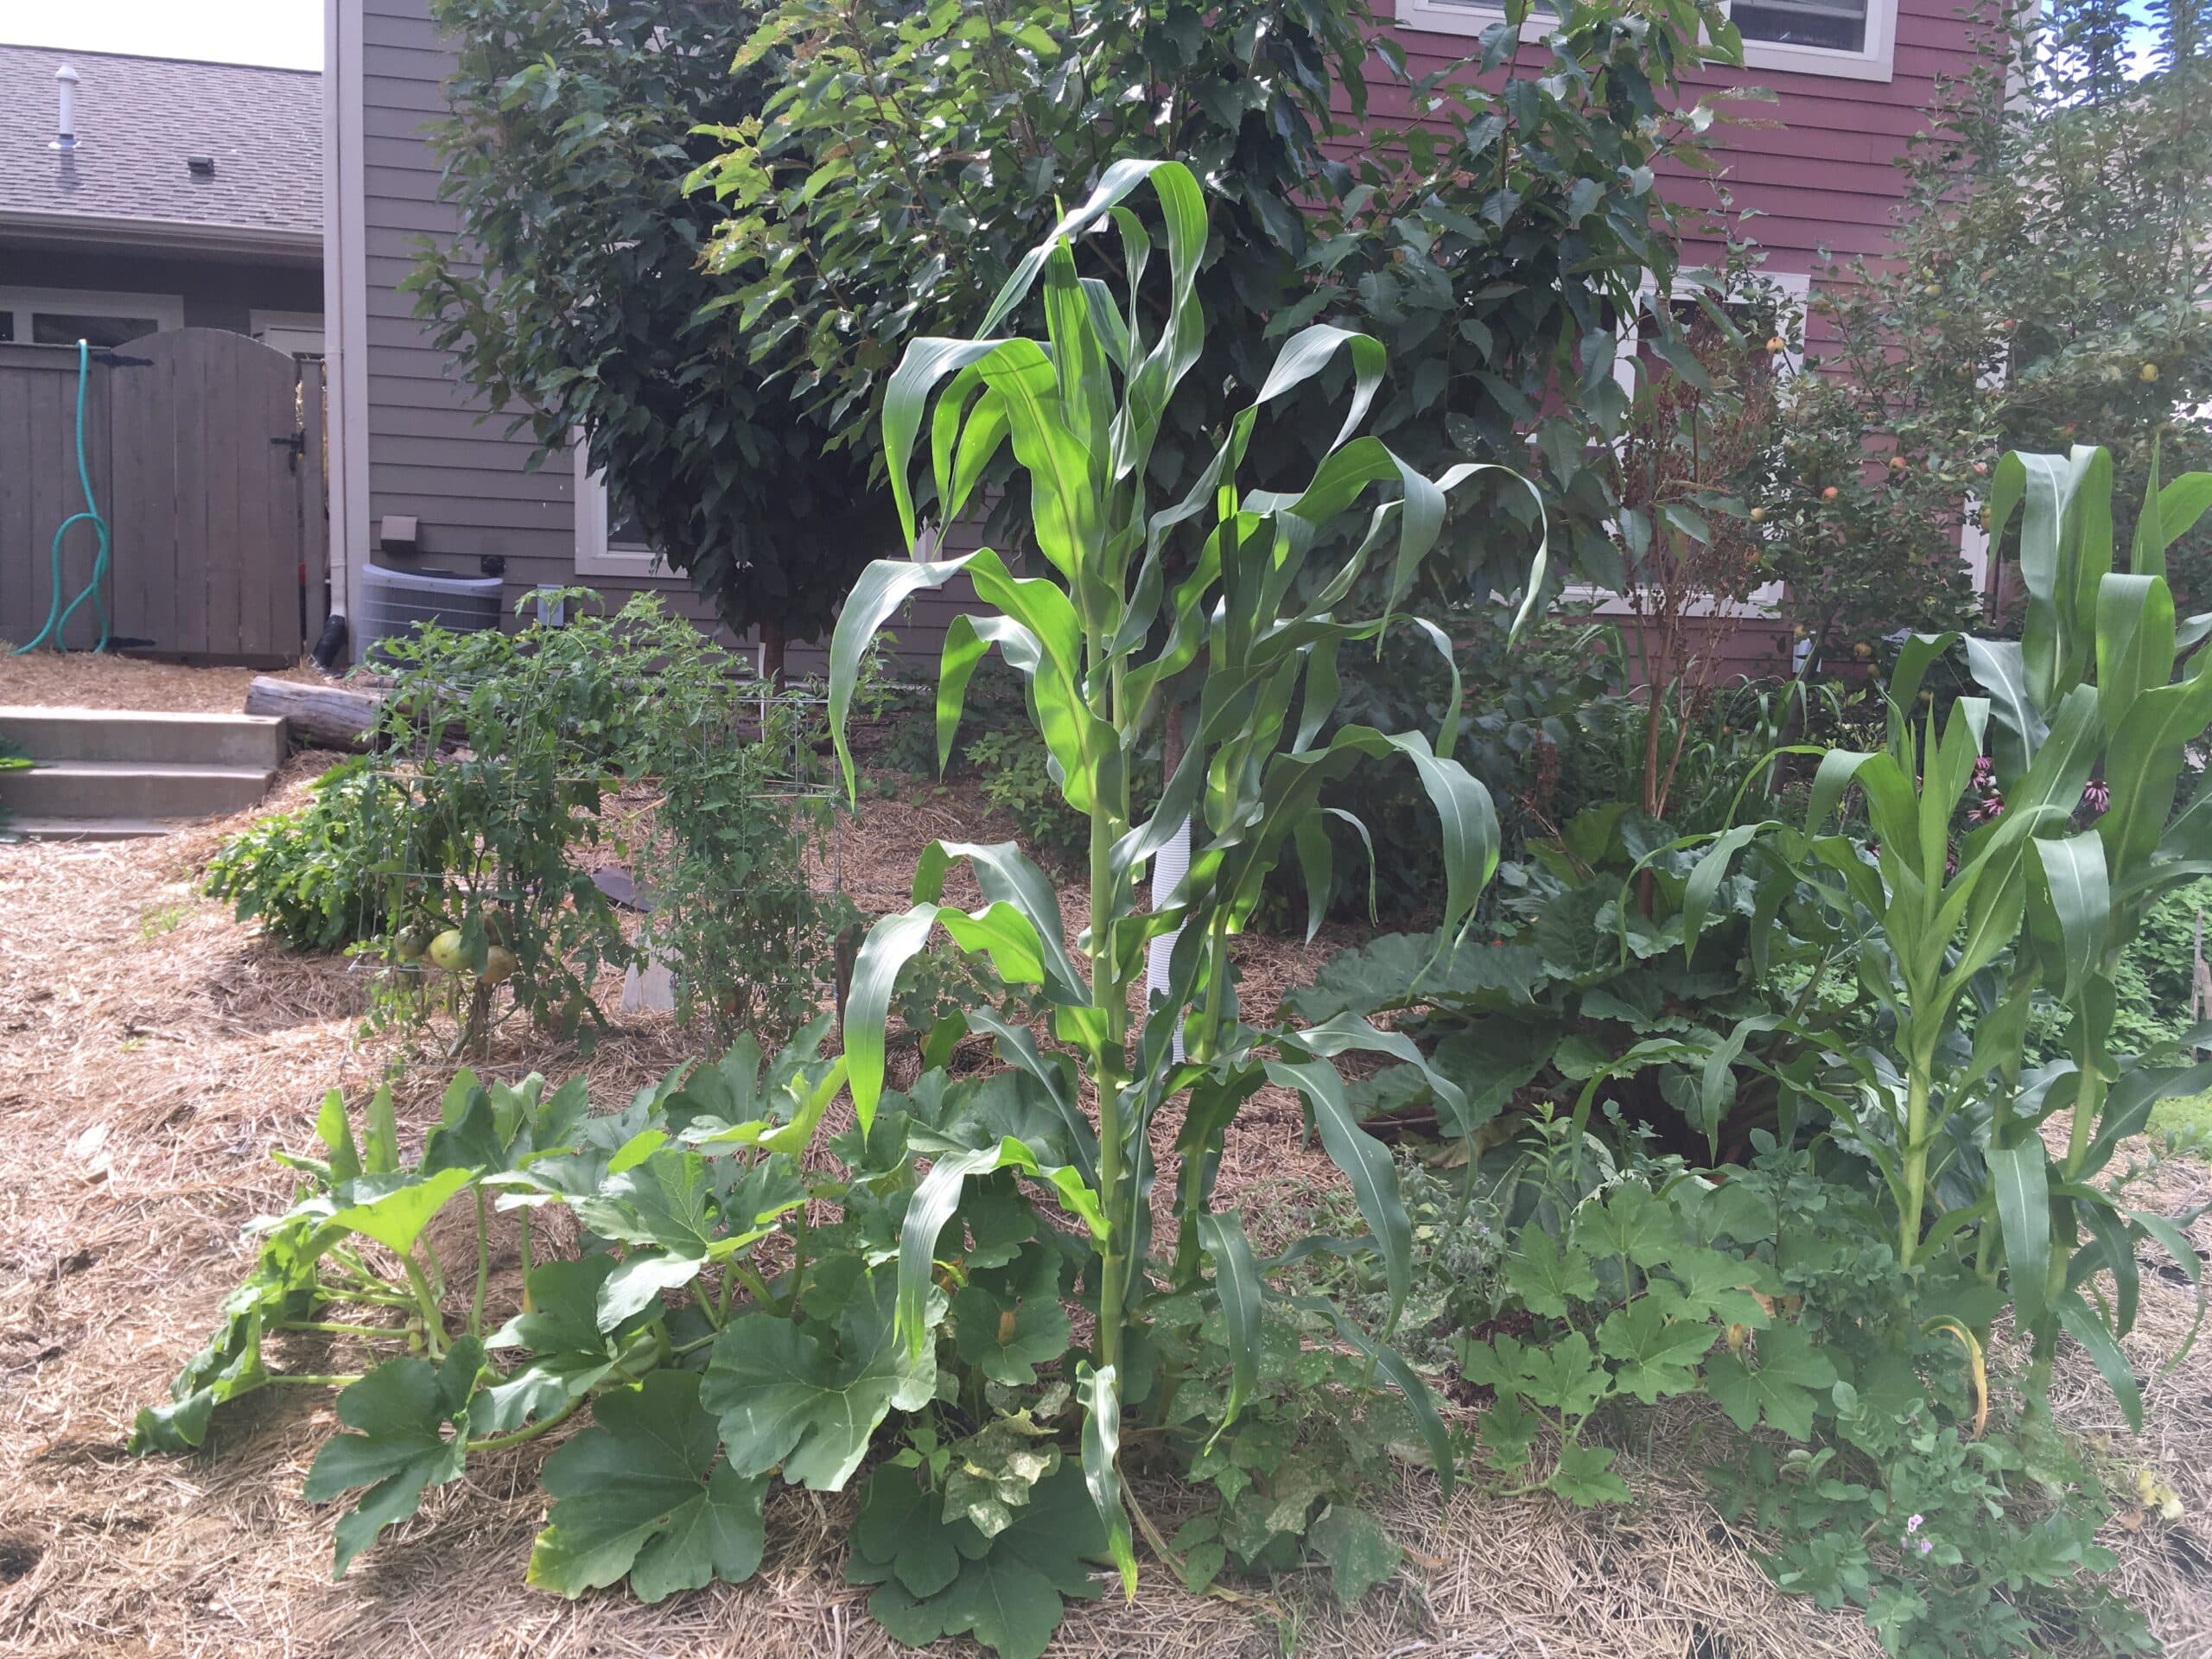
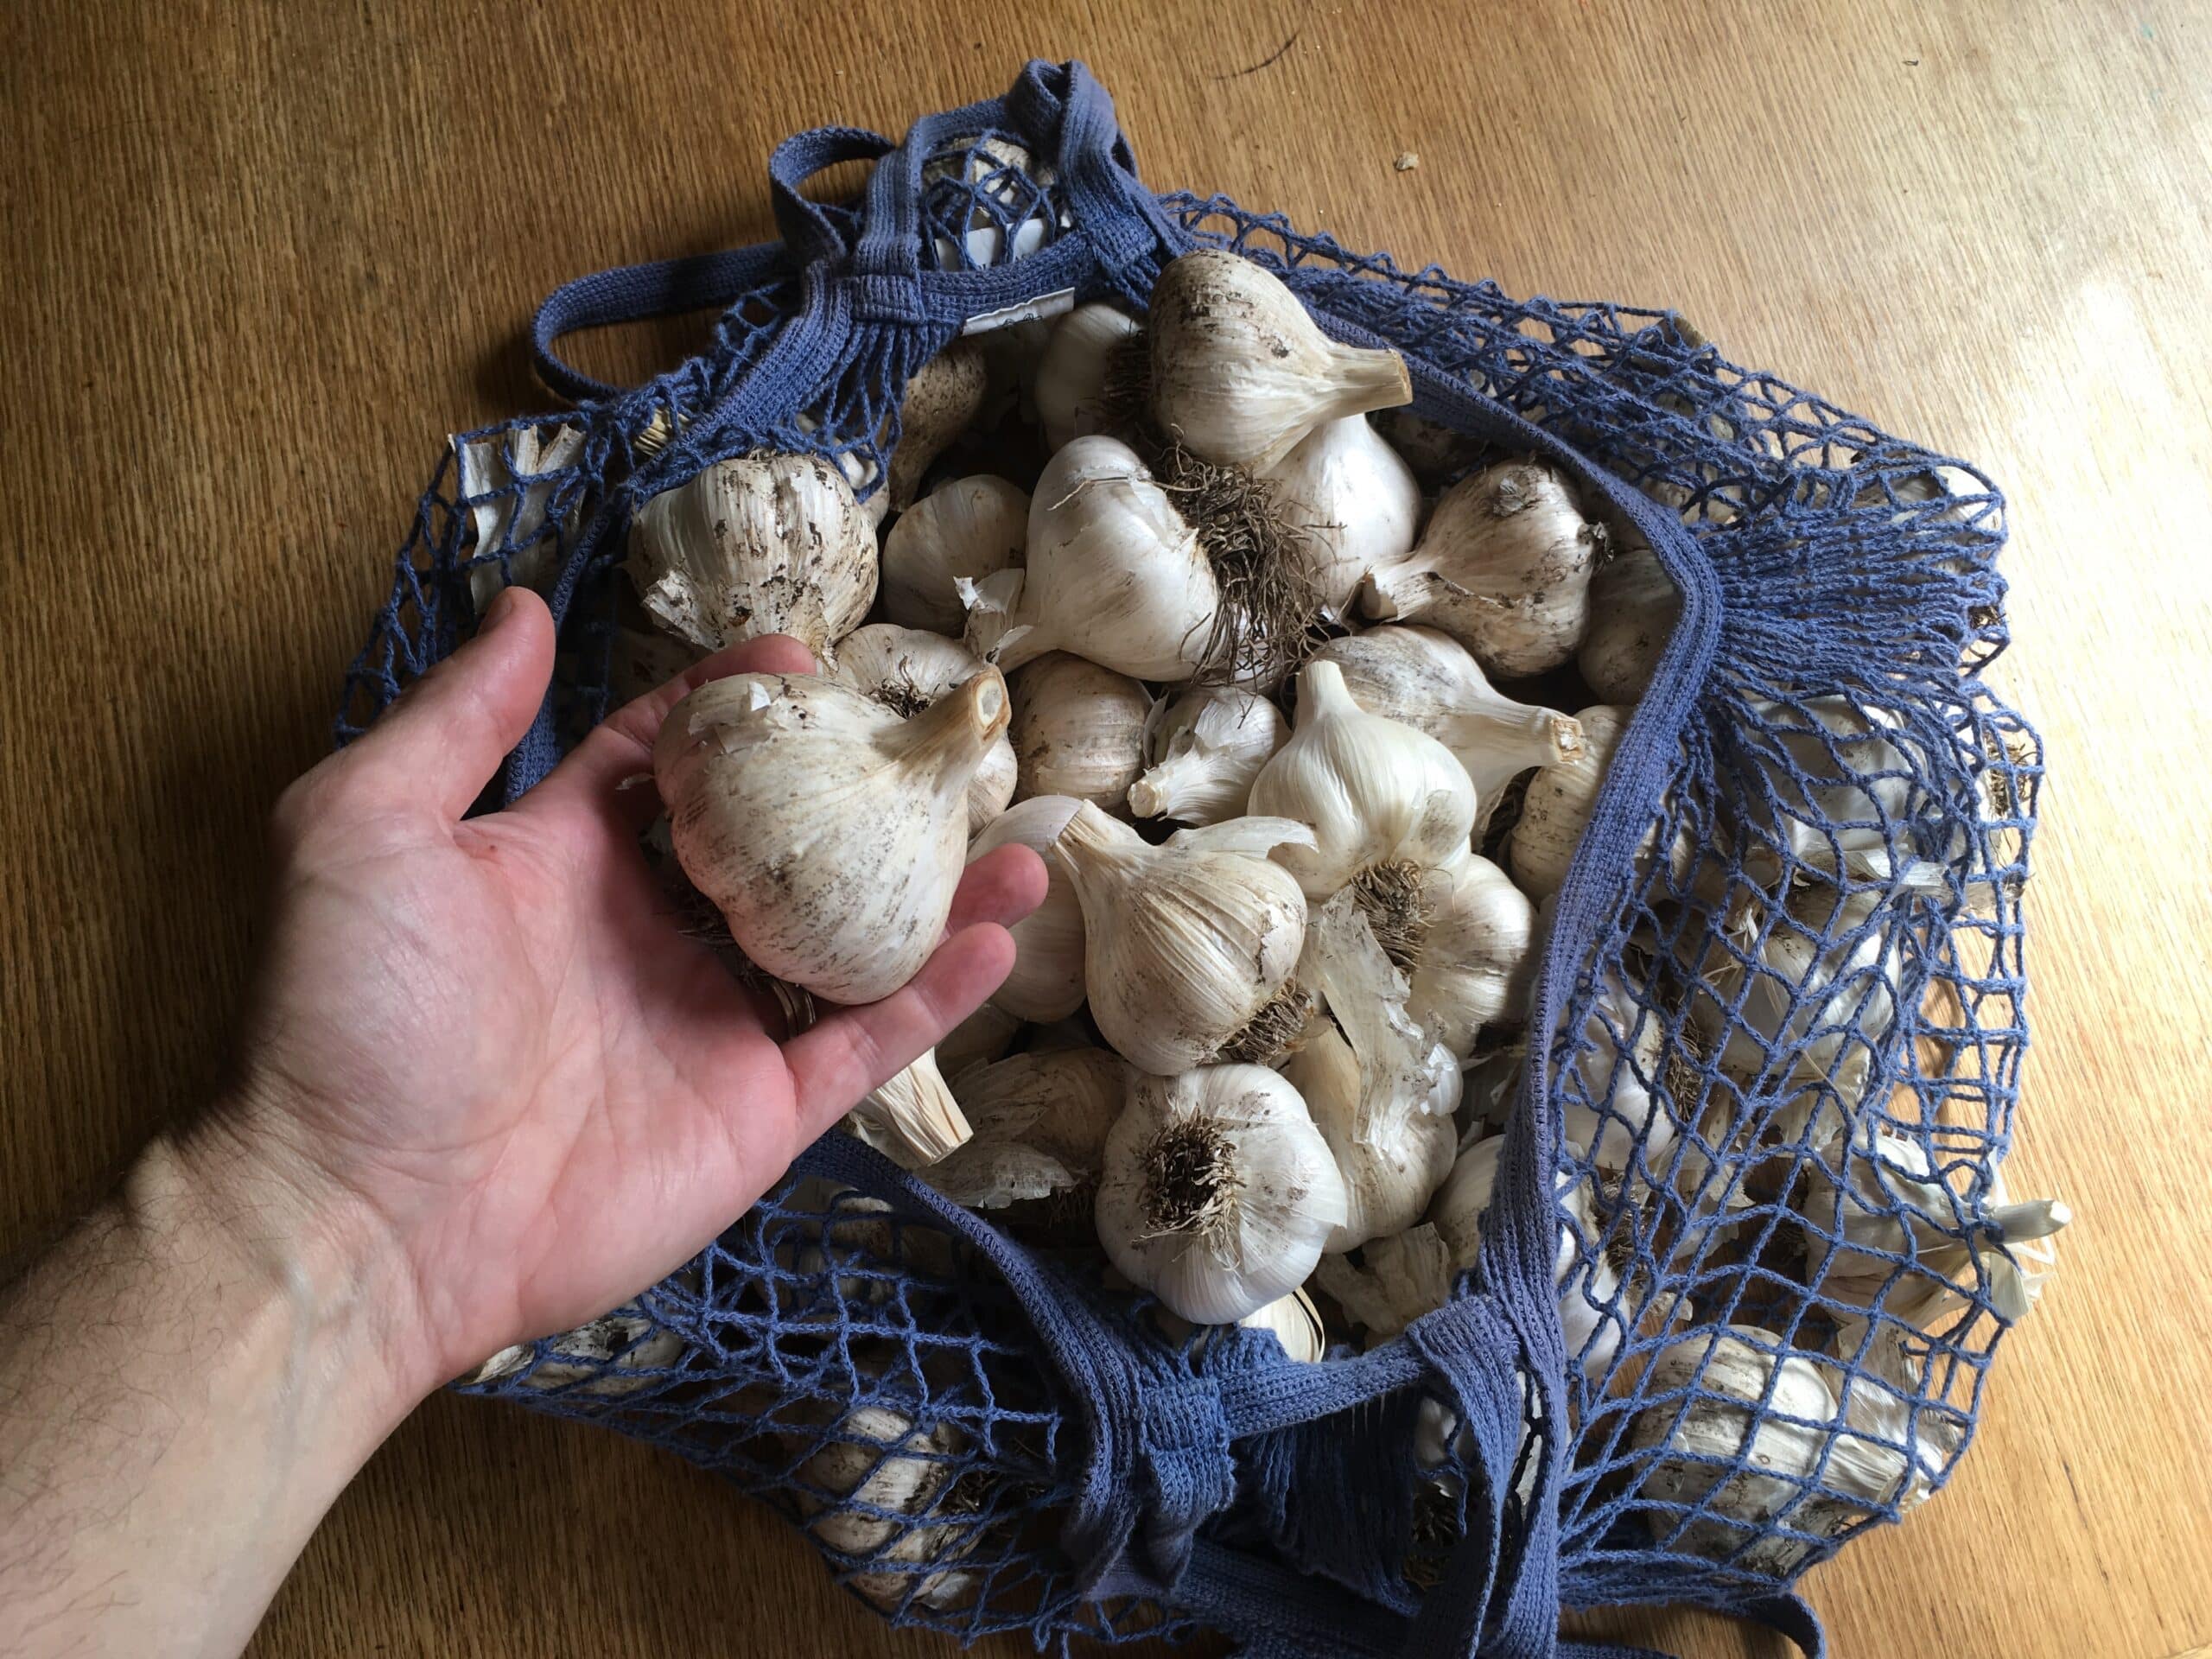
In 2016 we harvested 60 heads of garlic (we gave about 10 heads to a neighbor for seed). After taking out cloves needed for pesto and our own seed garlic, we had about 9 heads (47 useable cloves) left by the time the new garlic was ready in 2017 — enough to make another round of pesto to use it all up. In 2017 the harvest was 61 heads of garlic but the average size head was smaller, with smaller cloves. Anyway, the 2016 harvest was about 10 lbs of organic garlic and would cost about $96 at our local coop. The size of the cloves varies, mostly not due to the genetics of the plants anymore, but because of conditions. That’s because every year we select the garlic heads with the largest cloves as our seed garlic — that way, every year we get larger cloves. Most of our cloves are the larger size 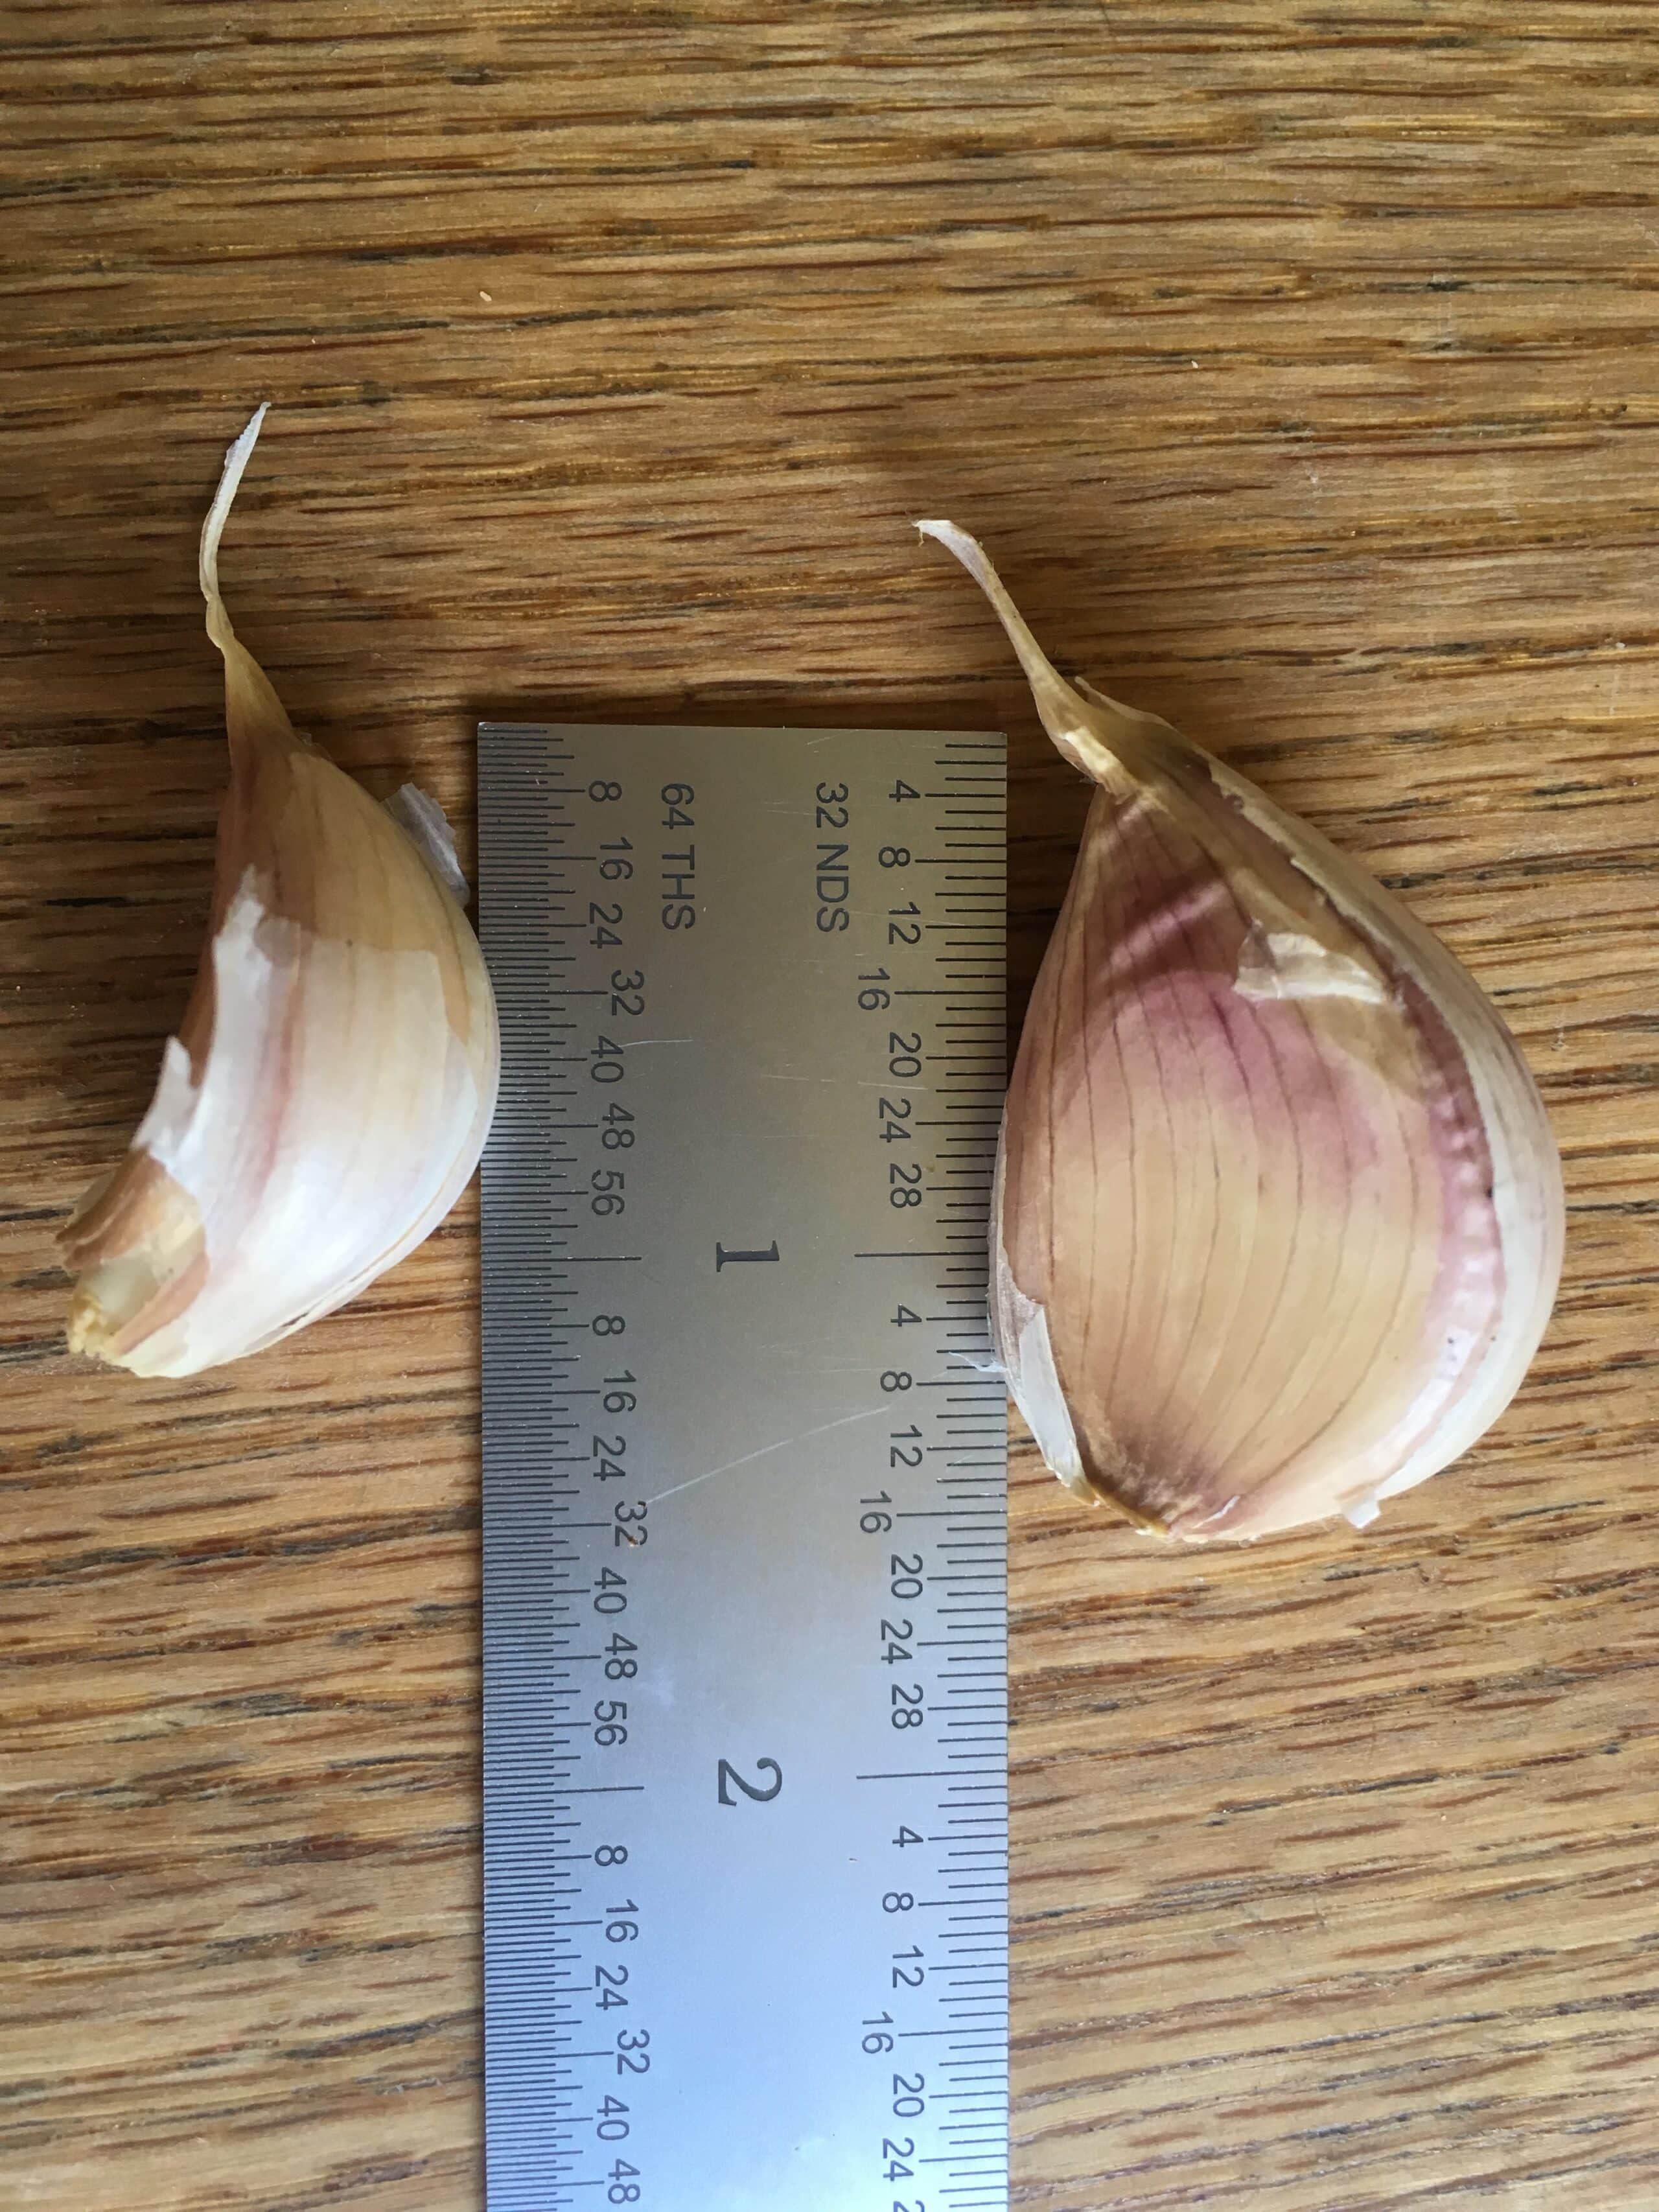
This year we measured how much pesto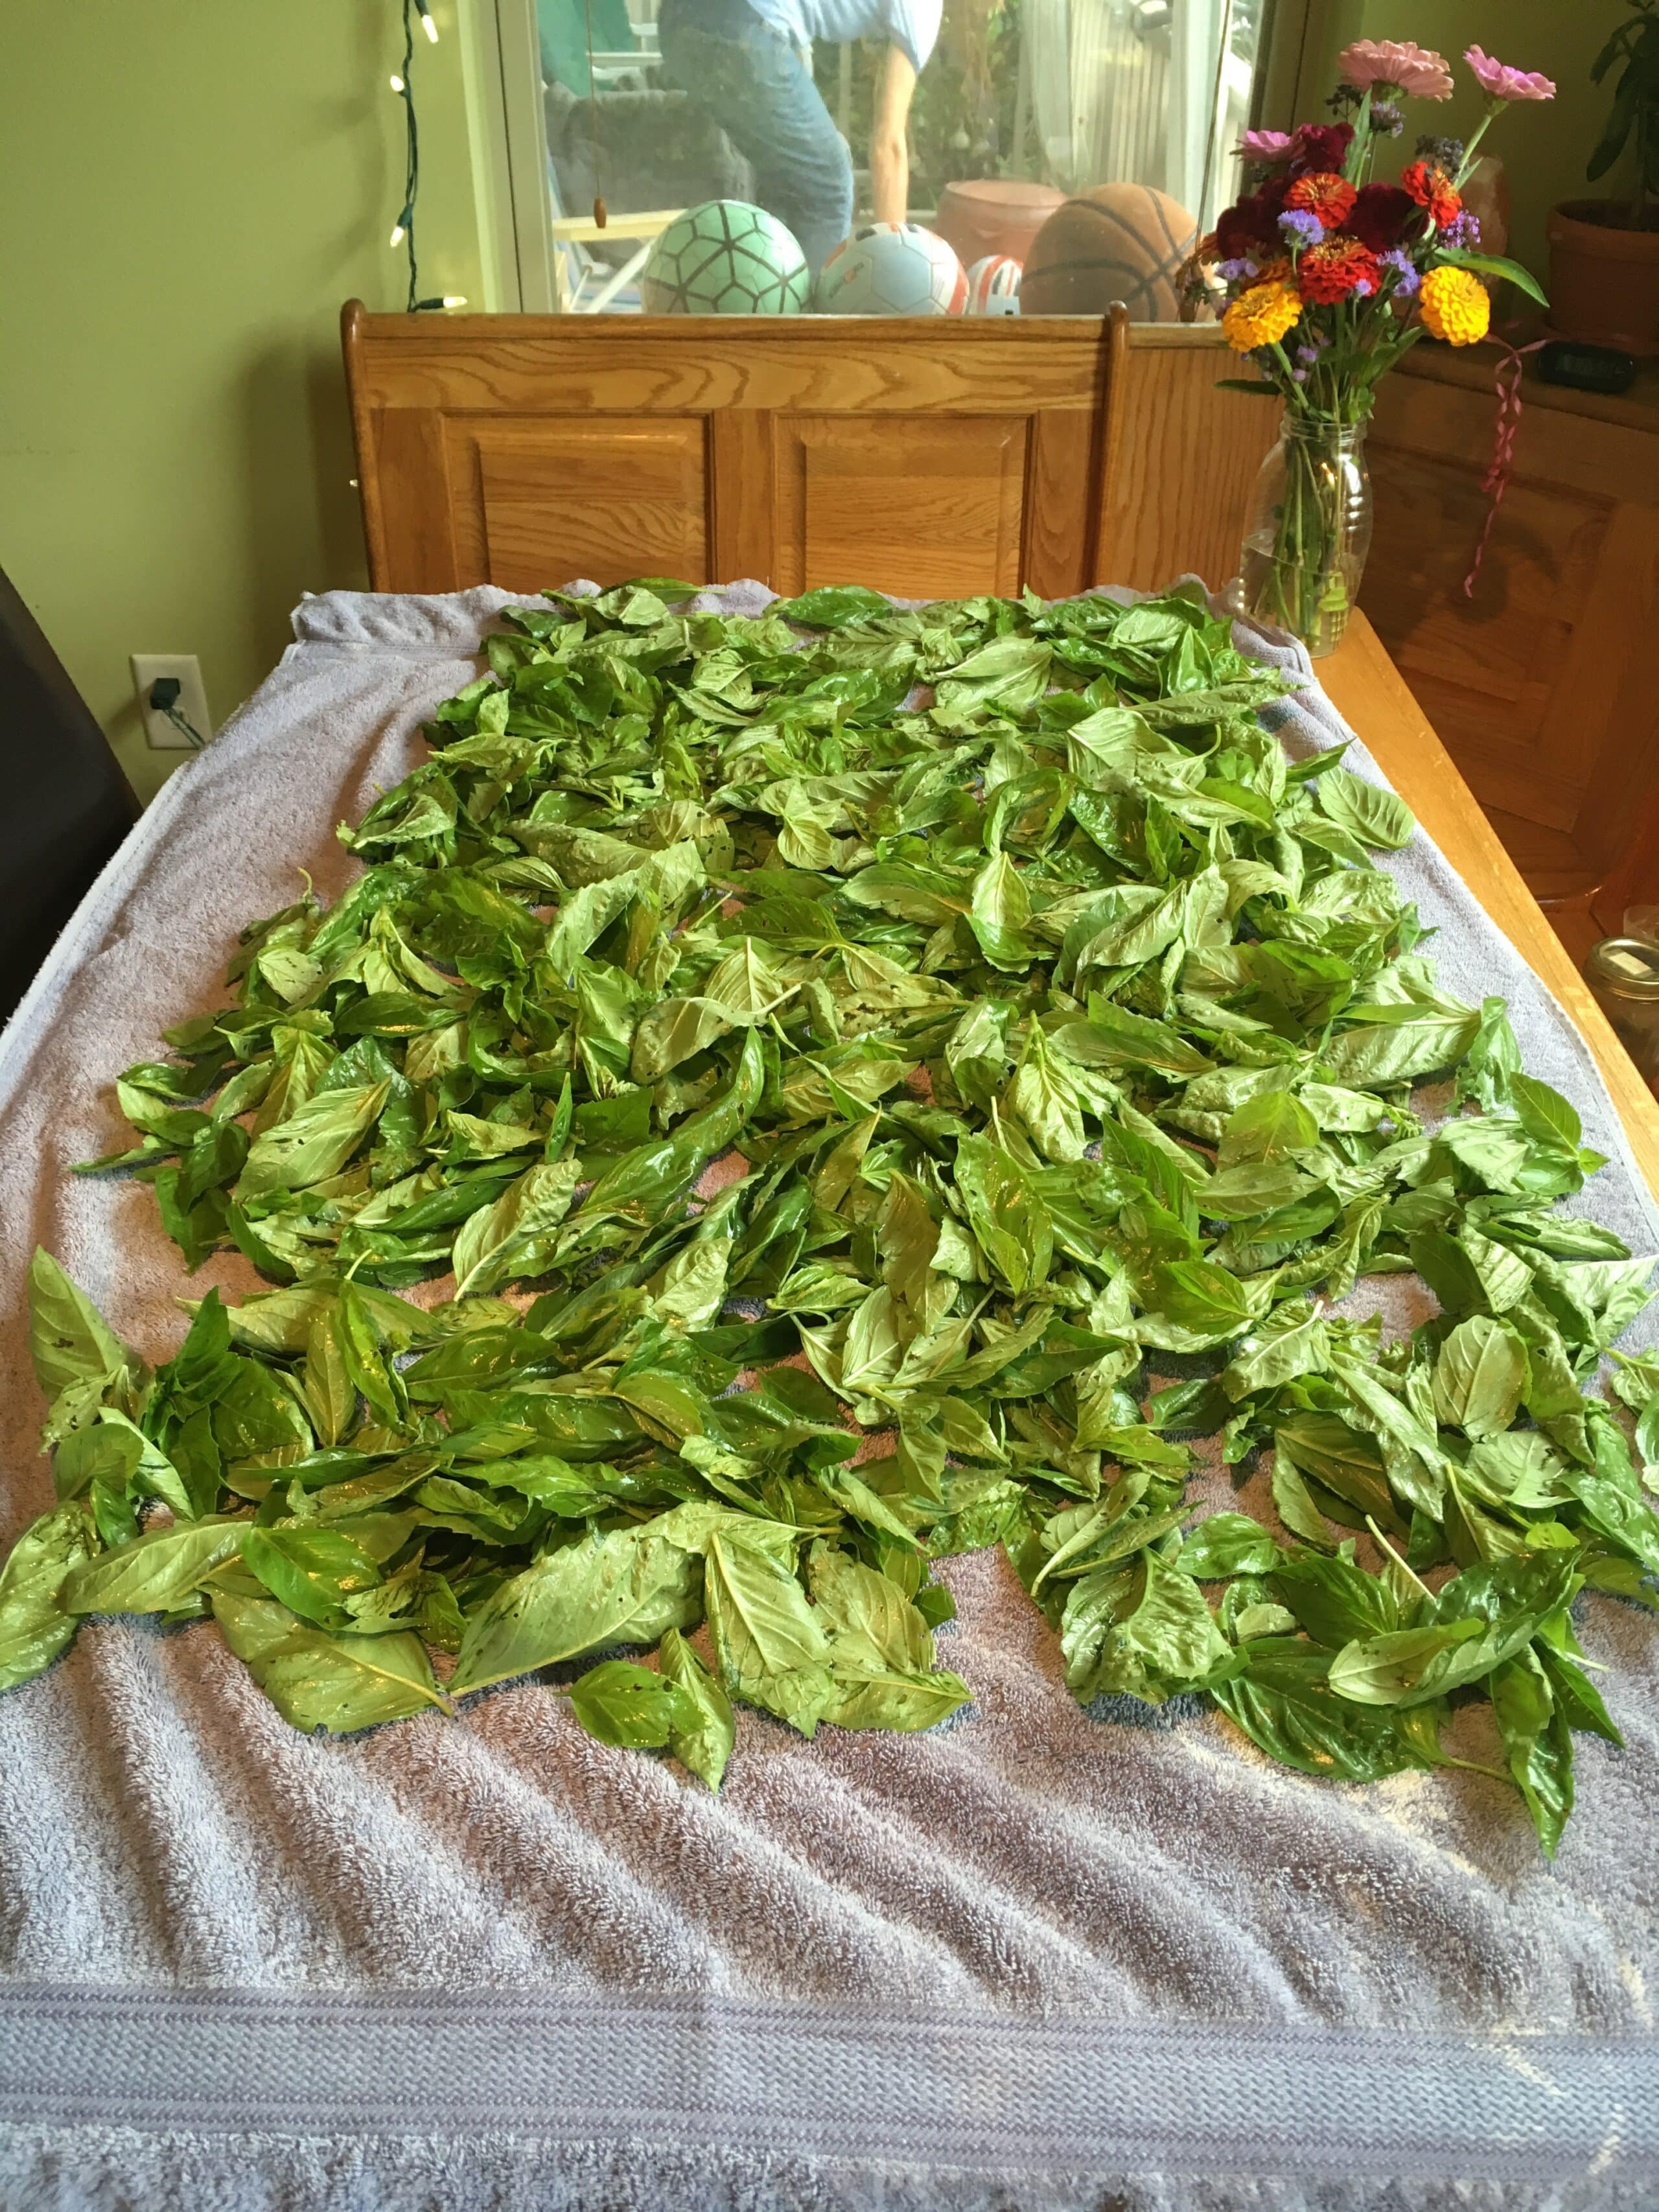
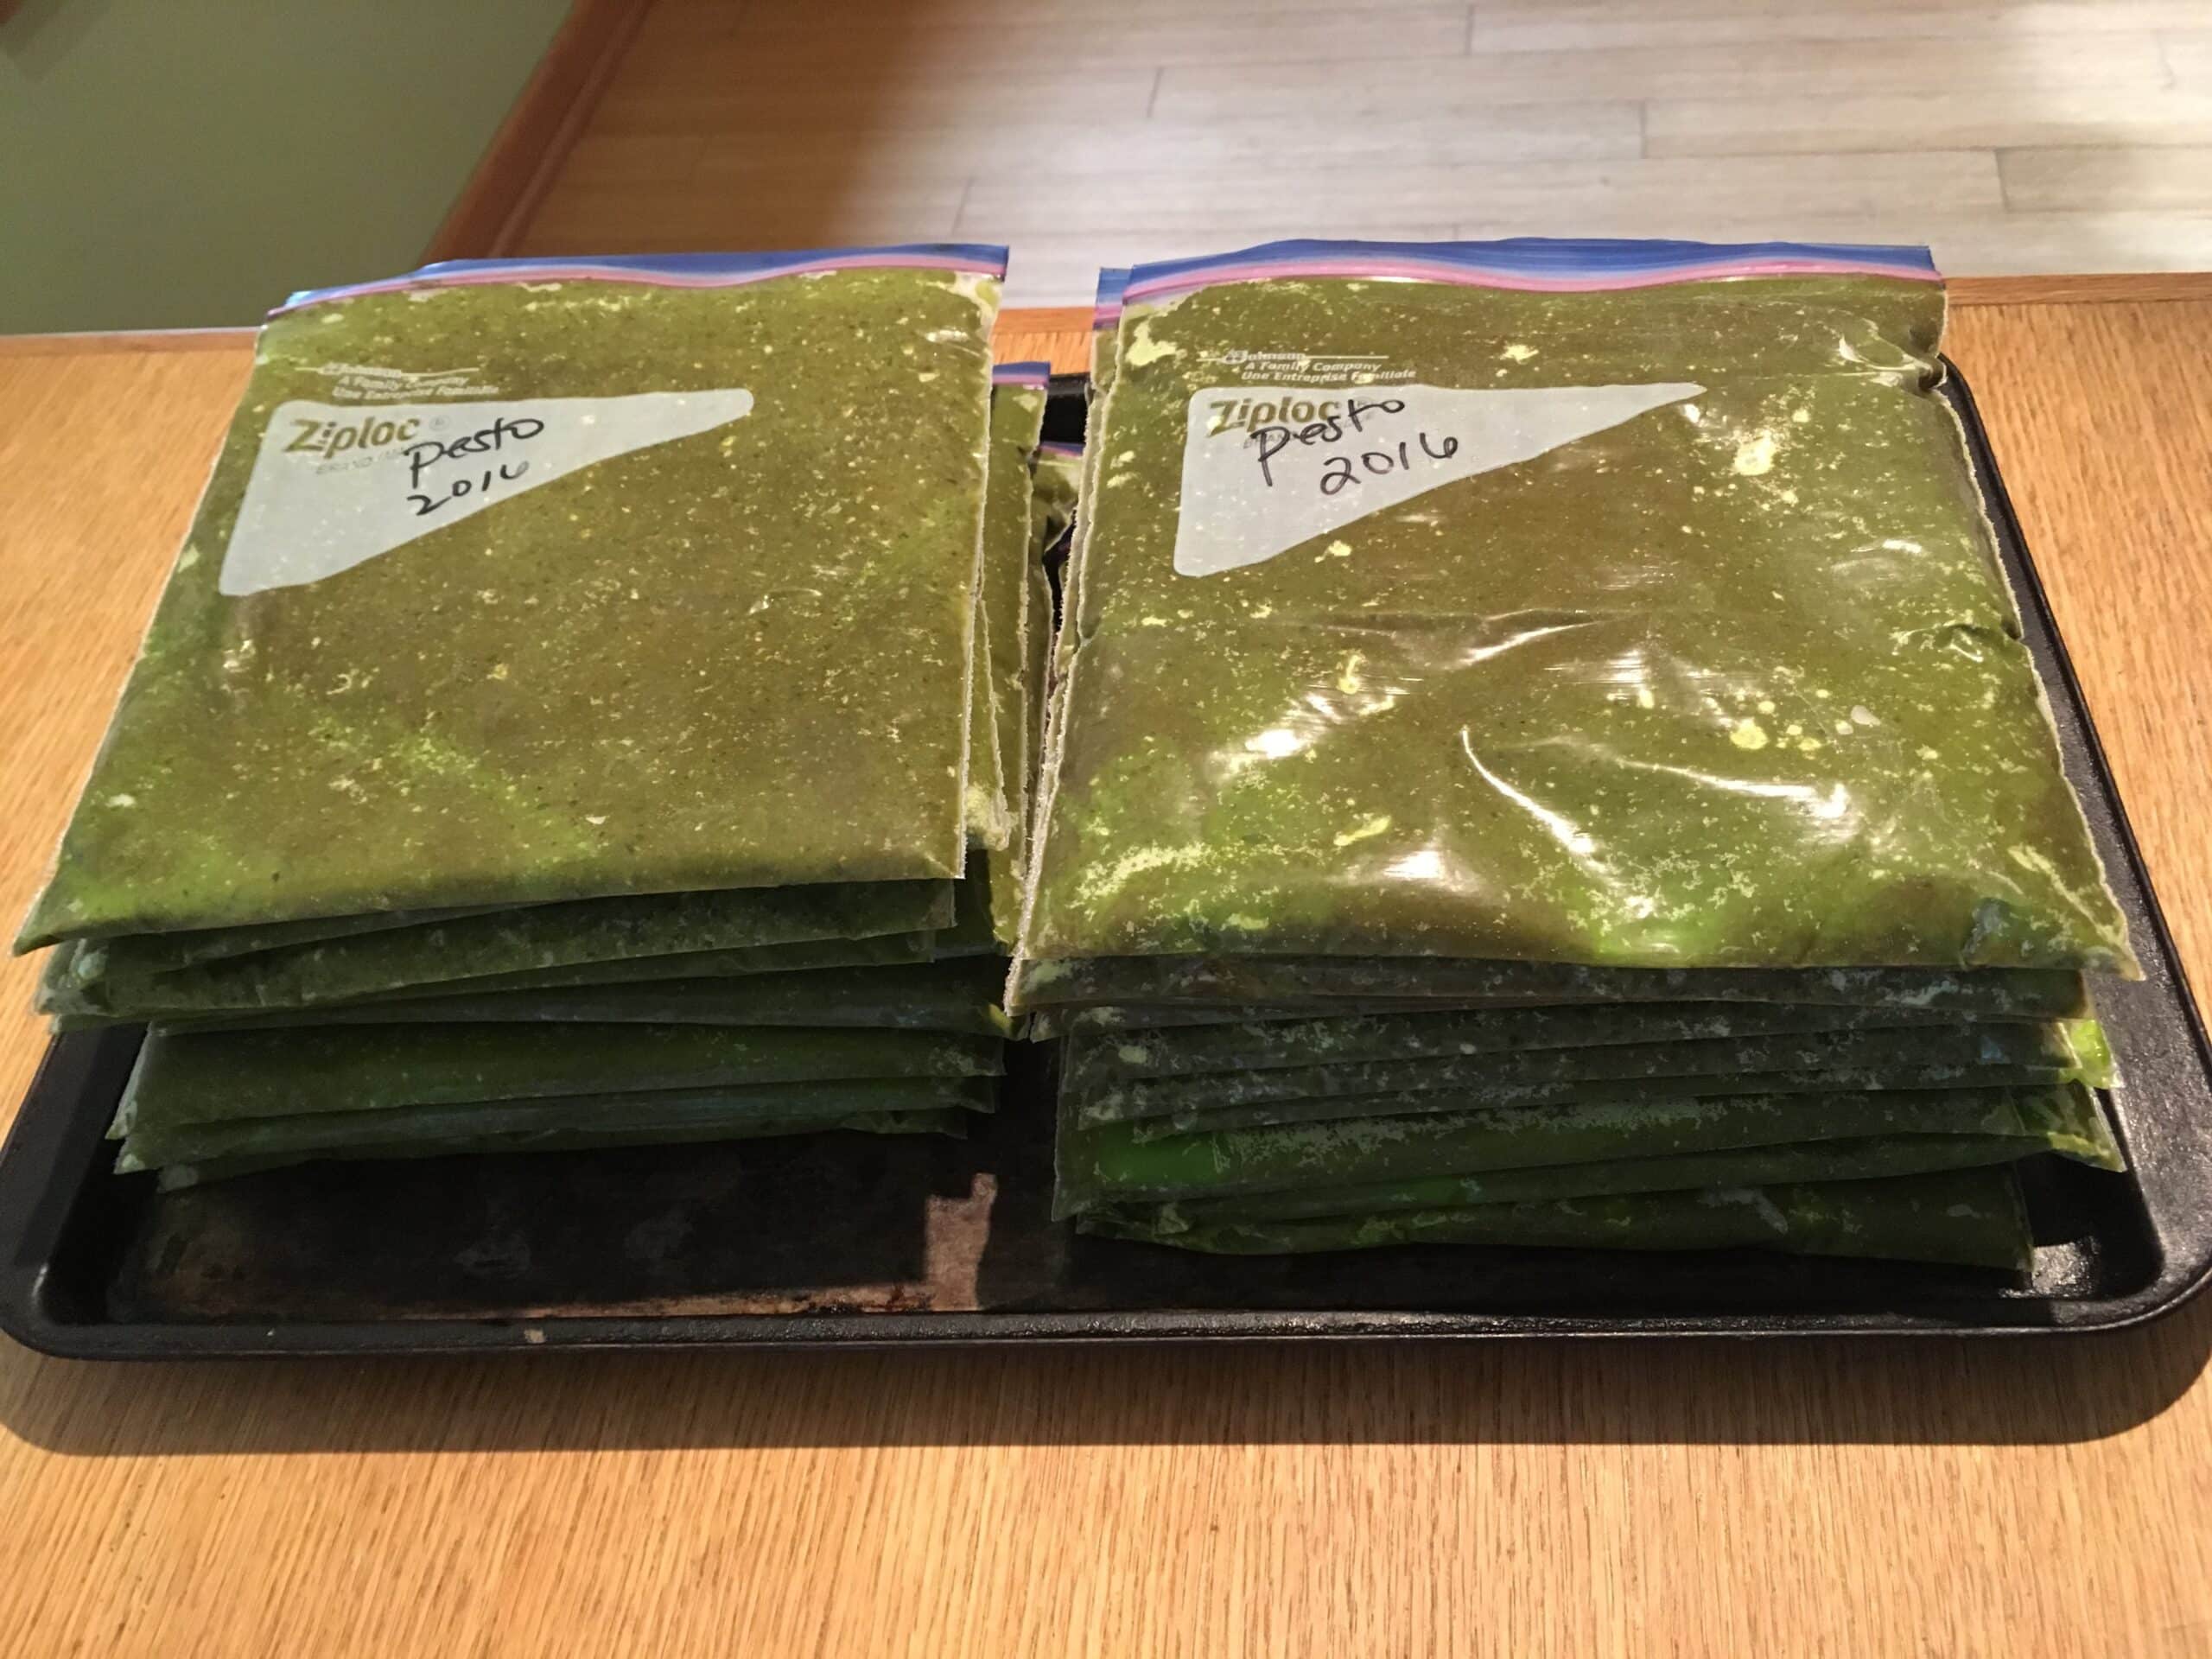
our coop for $13.99 per pound, so that’s about $143 worth of pesto. Figure $22.14/hour per person. With 30% taxes, you’d need to make about $32 per hour to net the $22.14. But, it’s more about the satisfaction and learning the skills anyway.
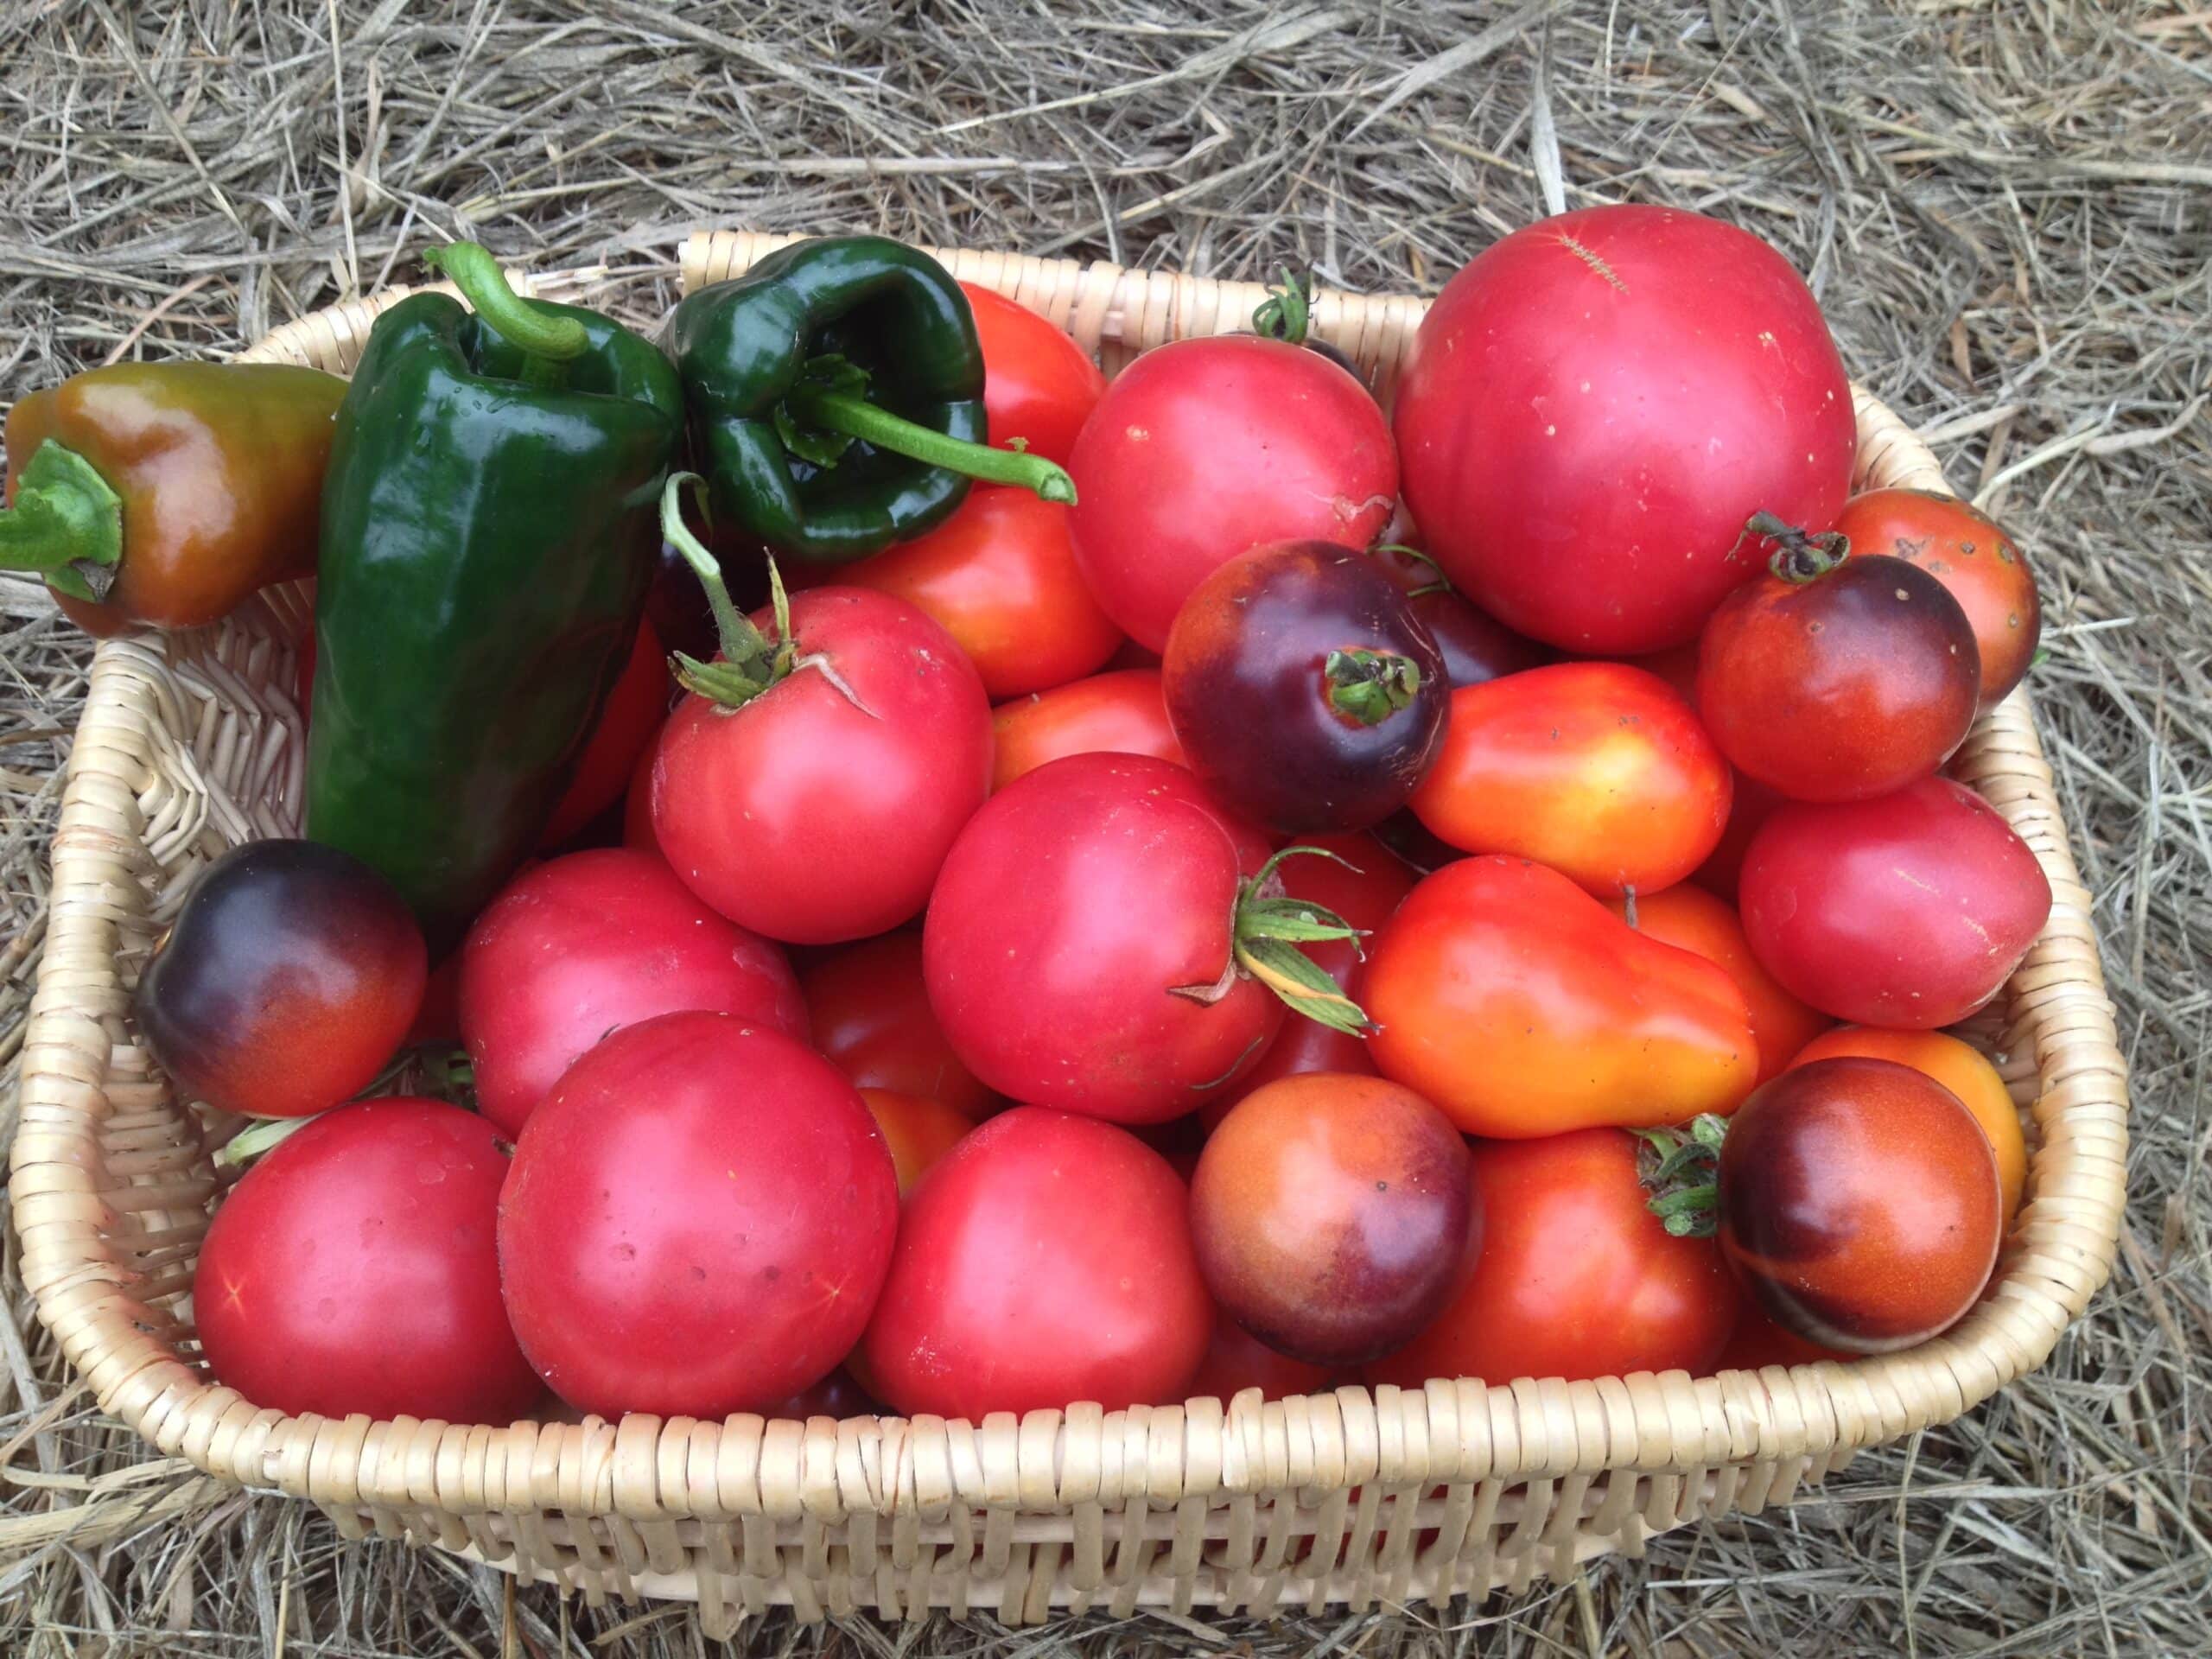
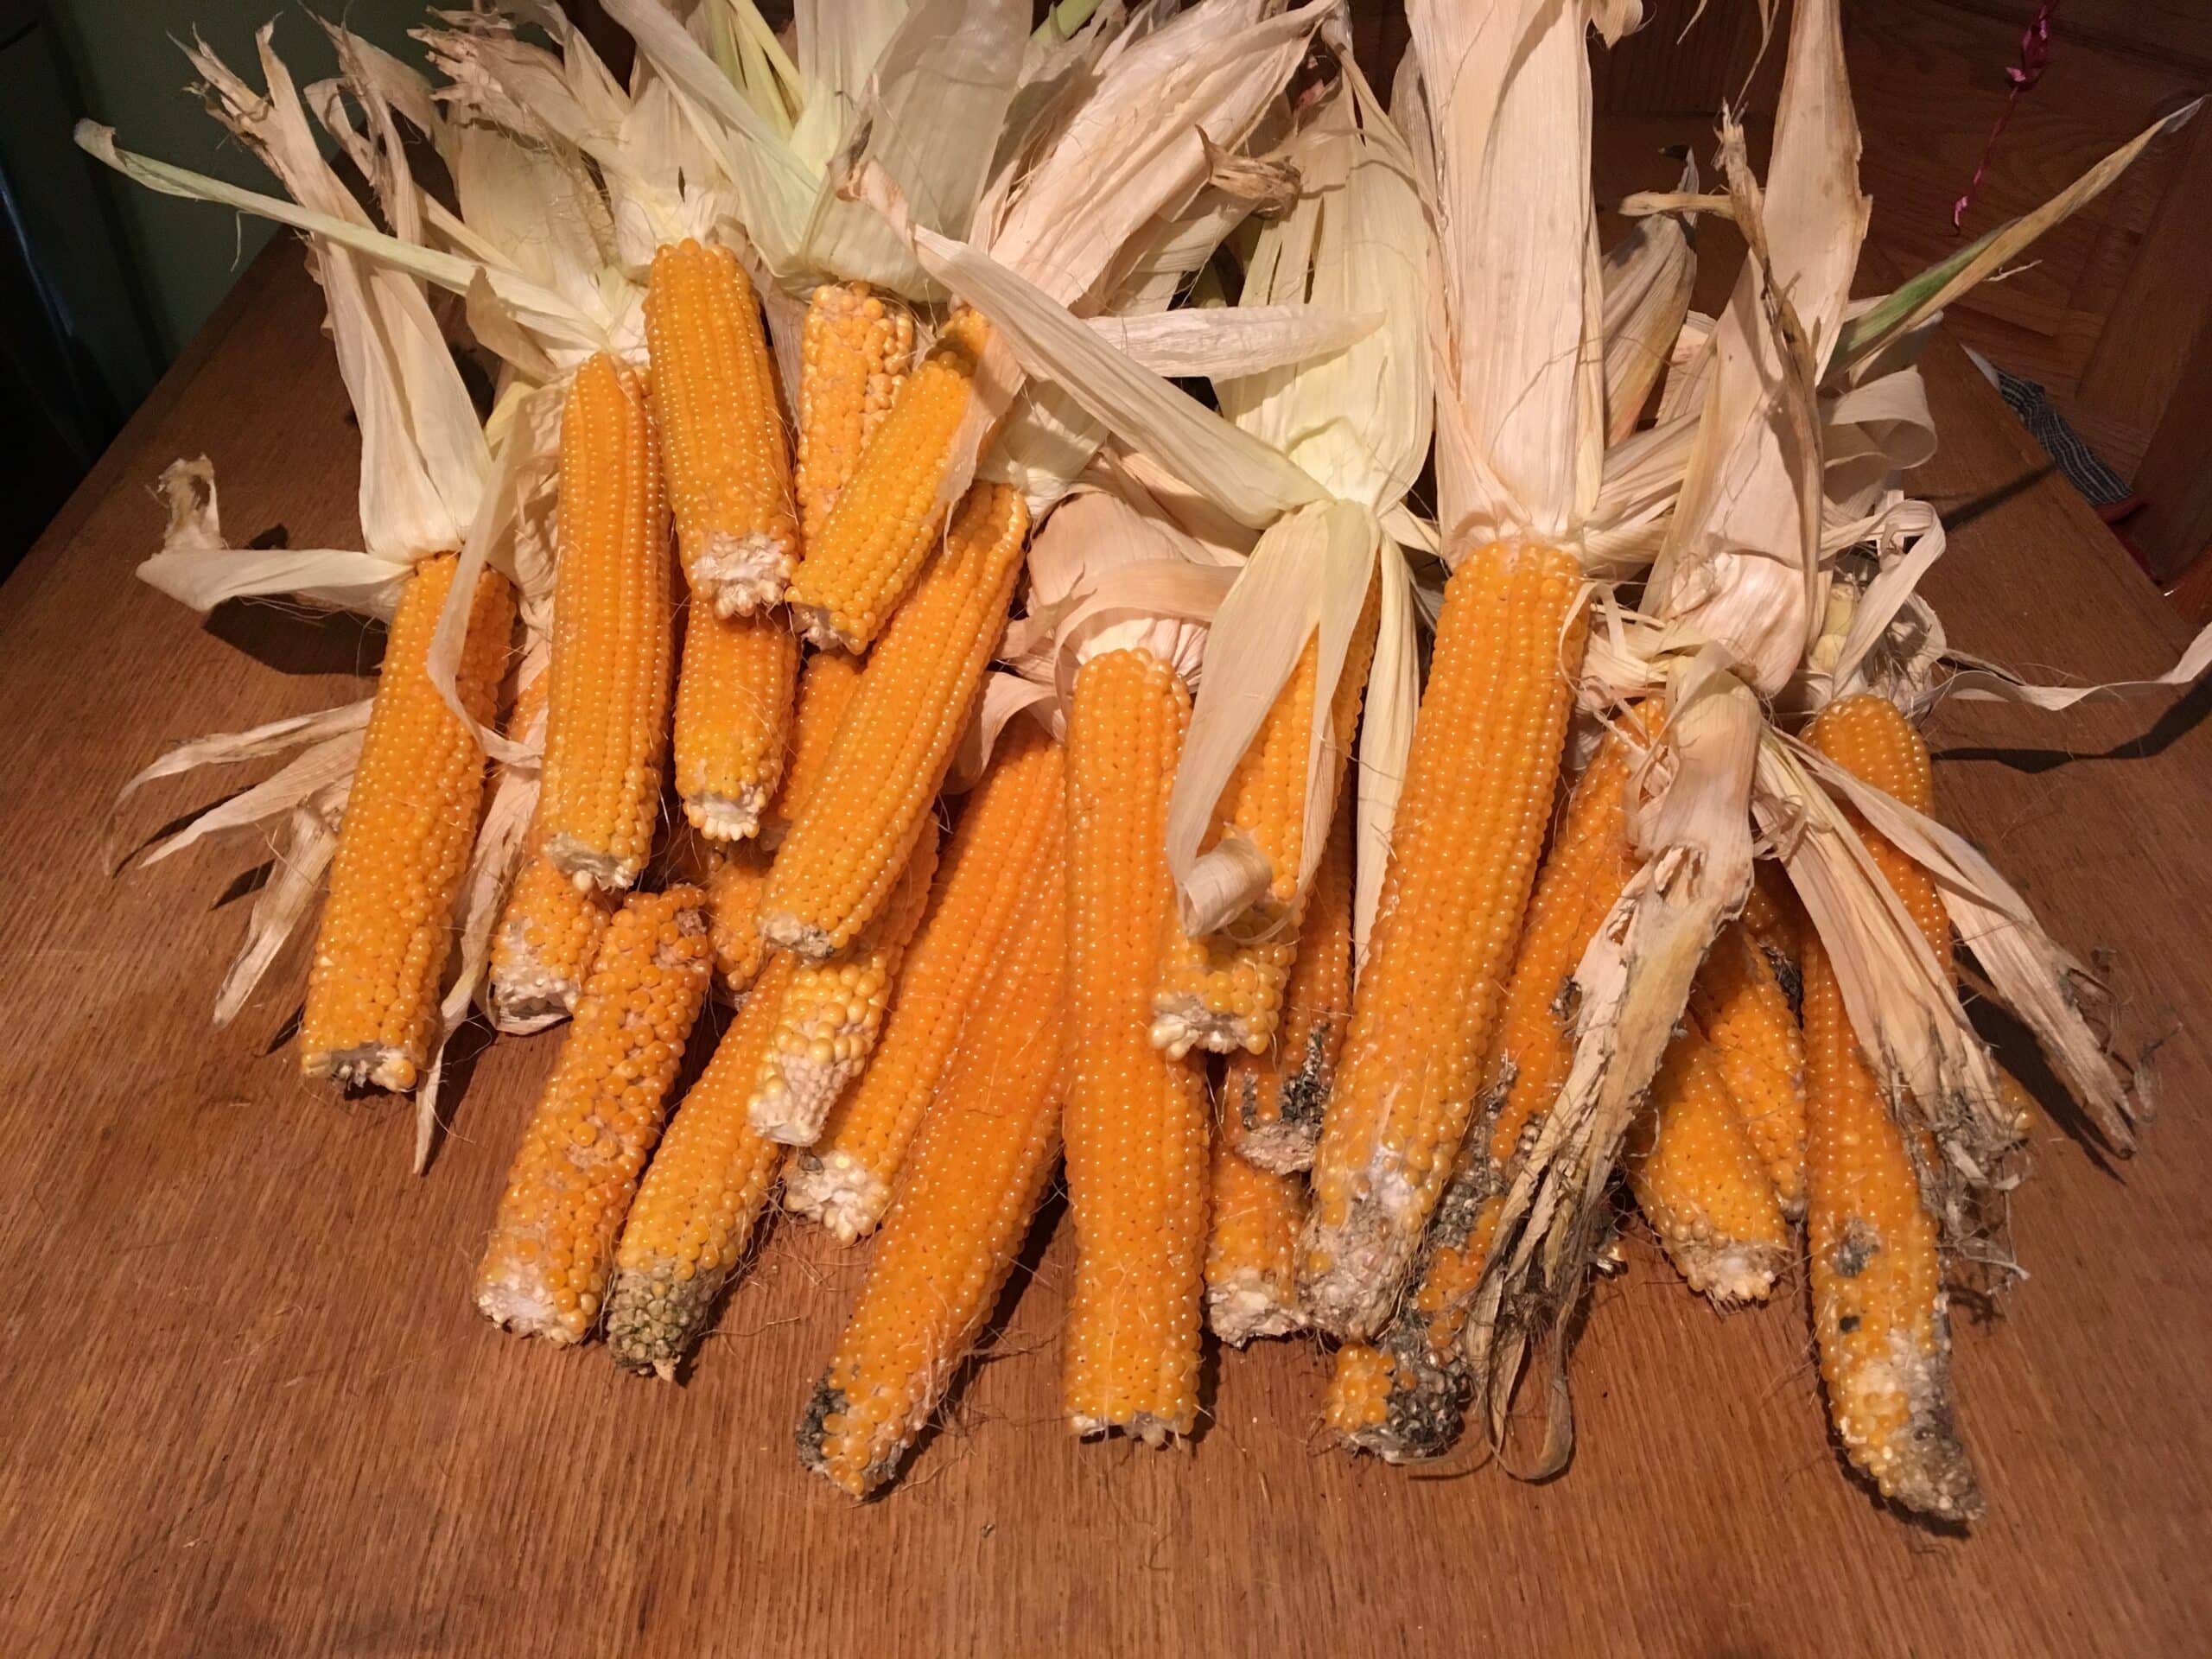
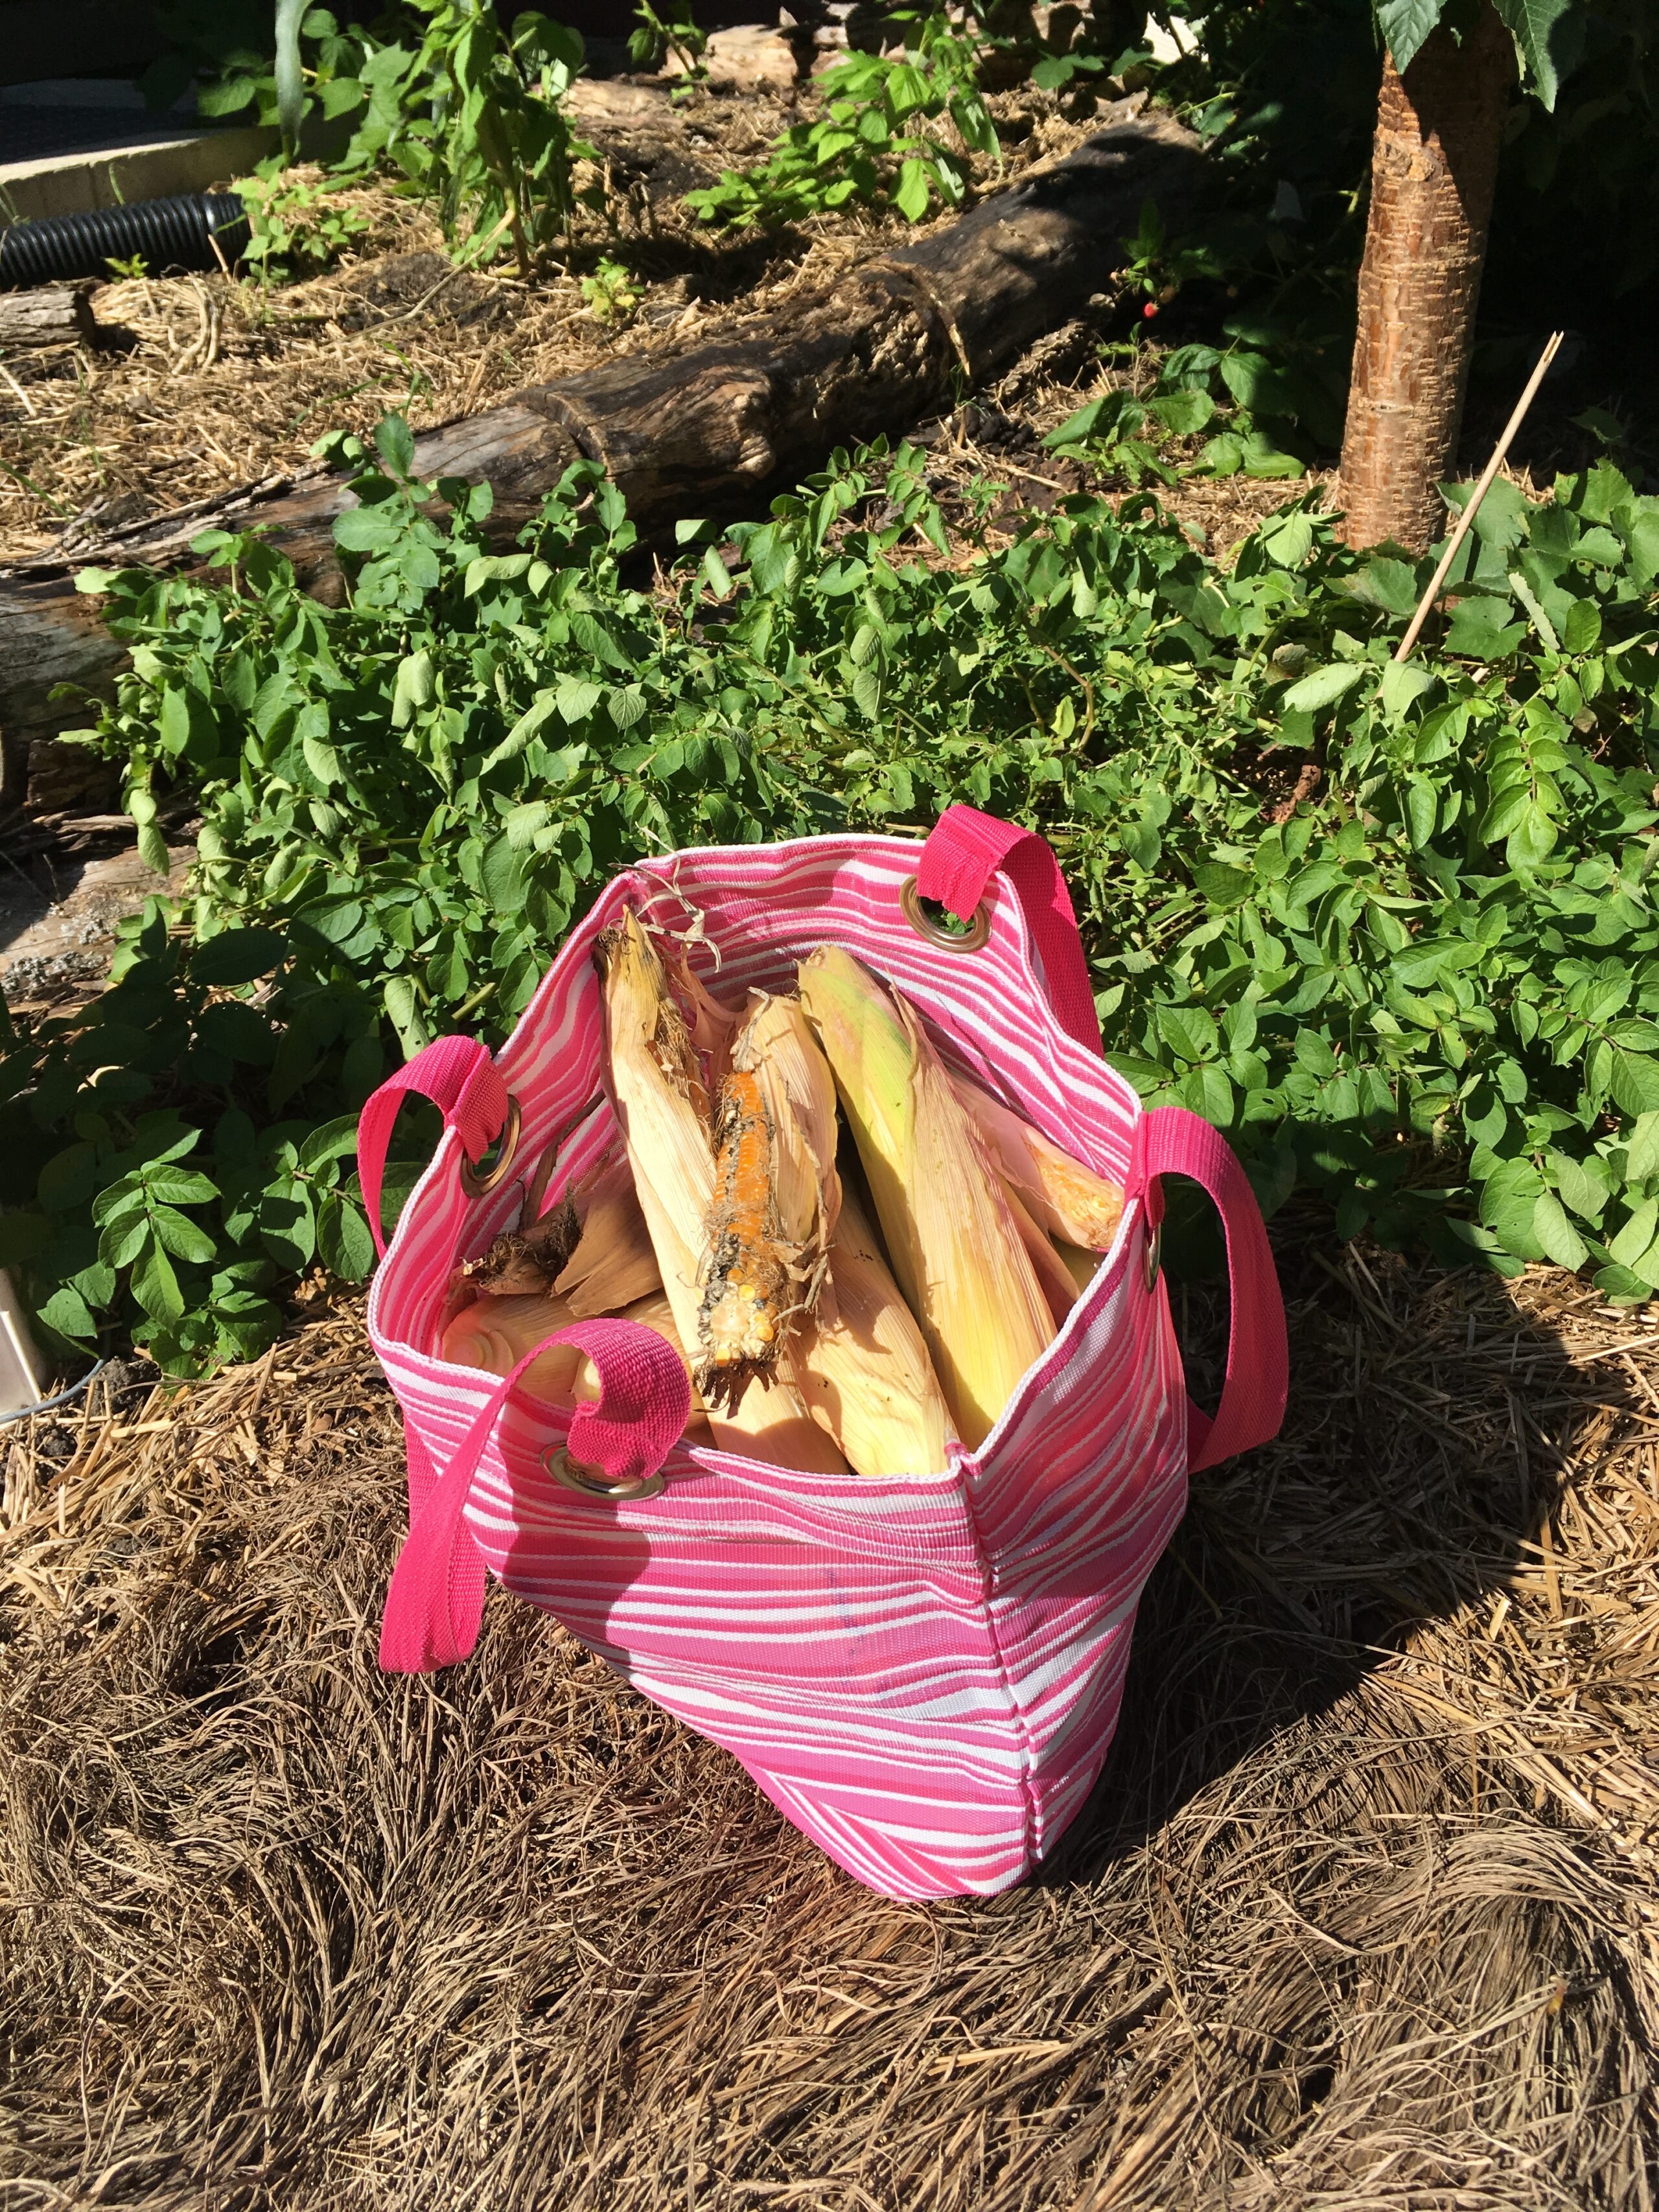
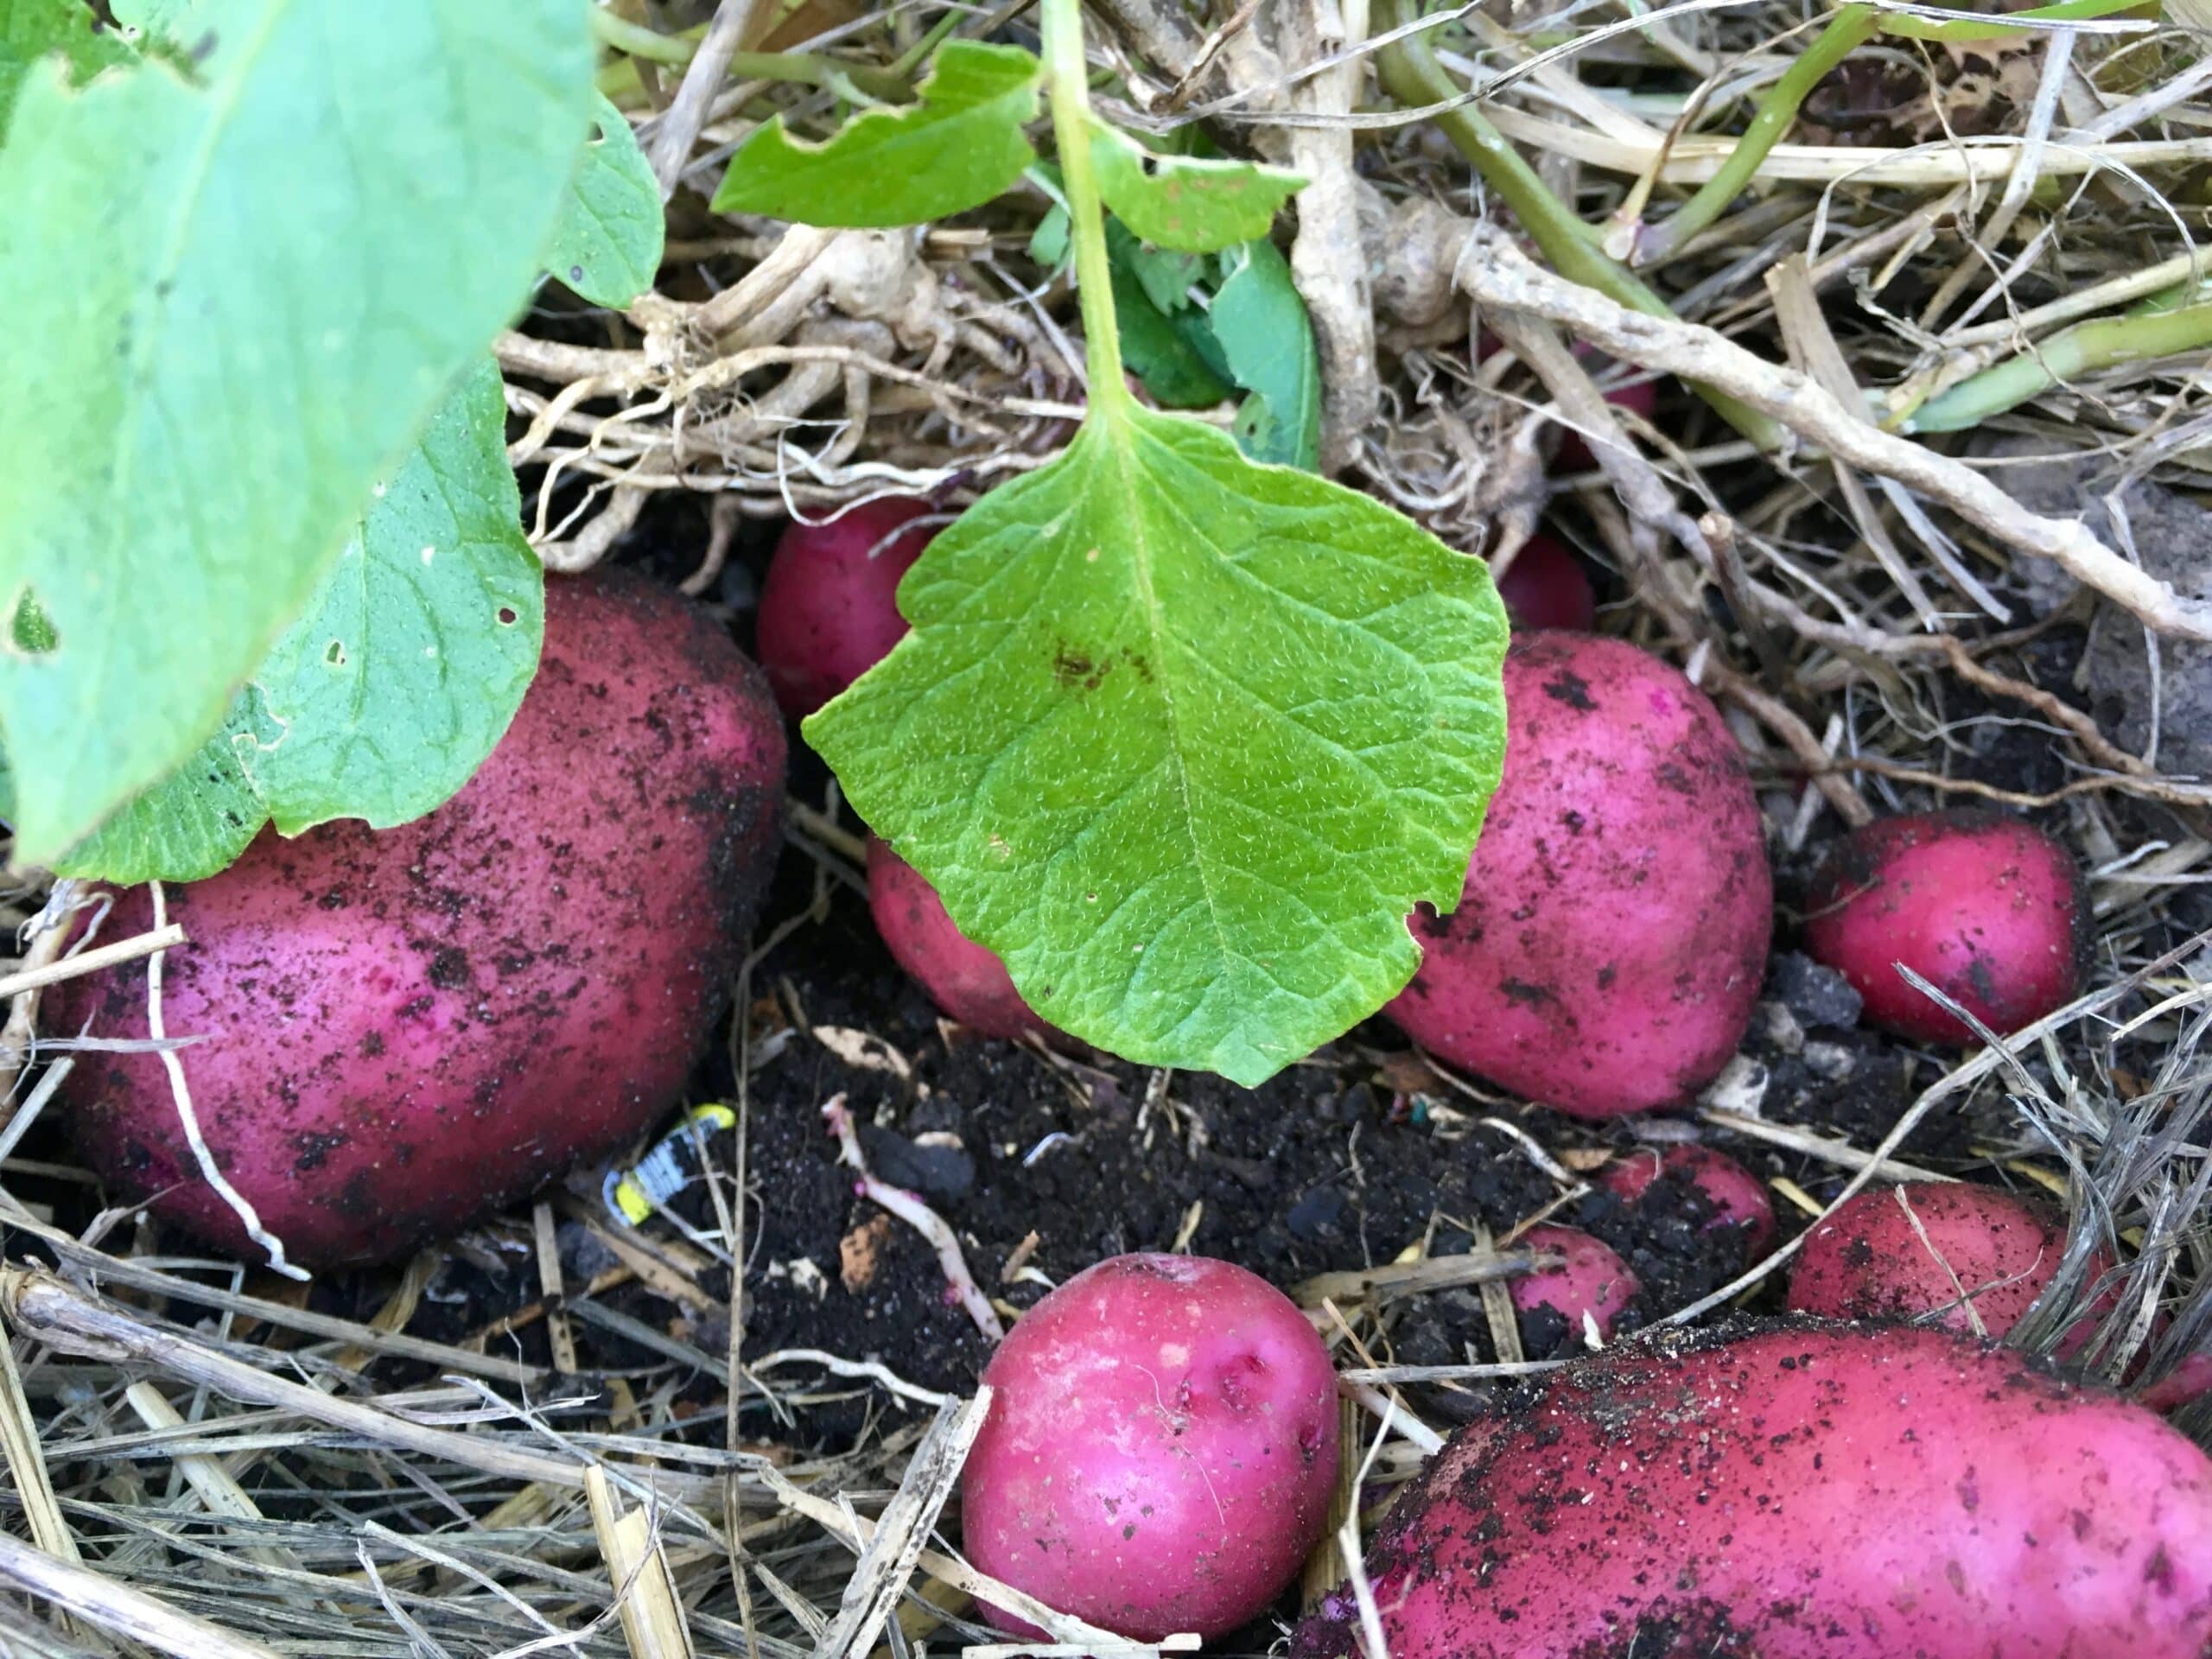
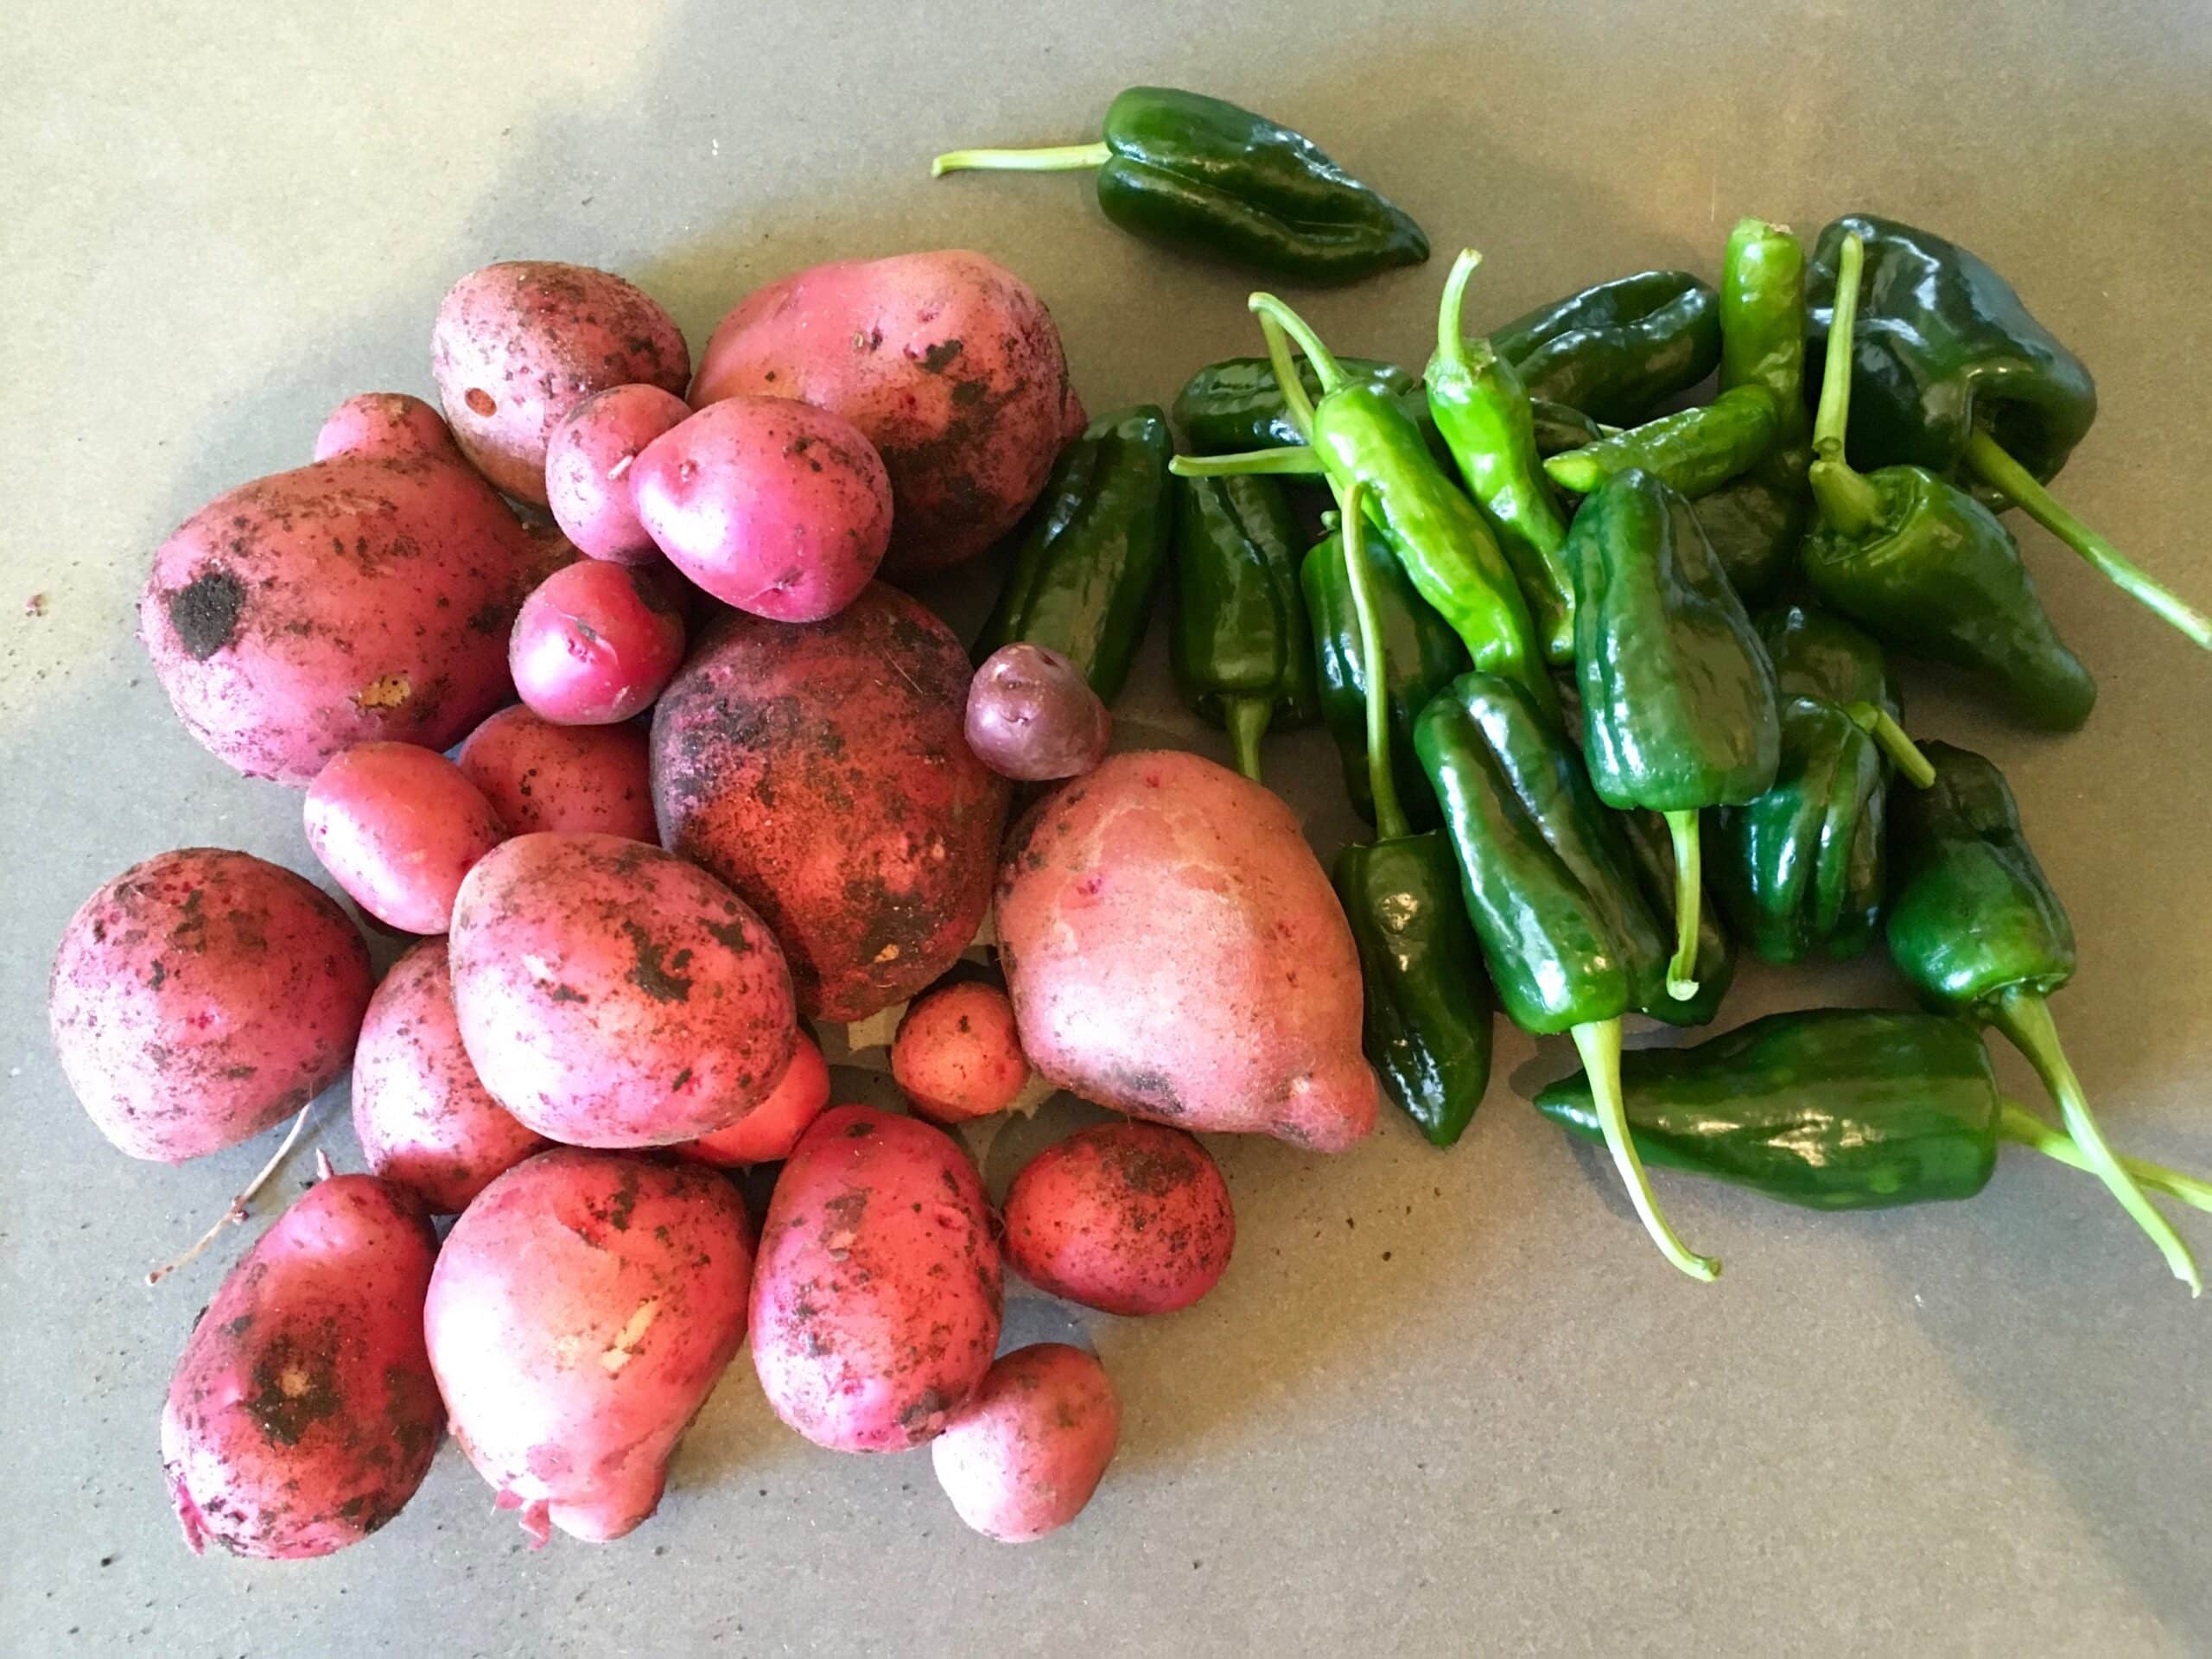
We also harvested 32 ears of popcorn from 24 corn plants. I harvested a little late (the silk had been try for a while) and I think that’s why some of the kernals have mold on them. Late October harvest of red potatoes (volunteers from the compost pile) and the last of the peppers.
Spring, 2018.
Trying some fertilizer spikes for sweet cherry trees. North side of garden maturing and filling in. Raspberries growing to take over areas less productive for annuals. Unfortunately, the hazelnut bushes are not producing anything even though they are large and healthy.
Planting a grape vine that will ultimately climb on a structure not yet built, providing shade and greenery for back deck. Currant plant (4-6′) also planted near grape vine for same reasons.
More on Water
I was considering rain barrels but have since nixed the idea because the ground holds a TON of water. 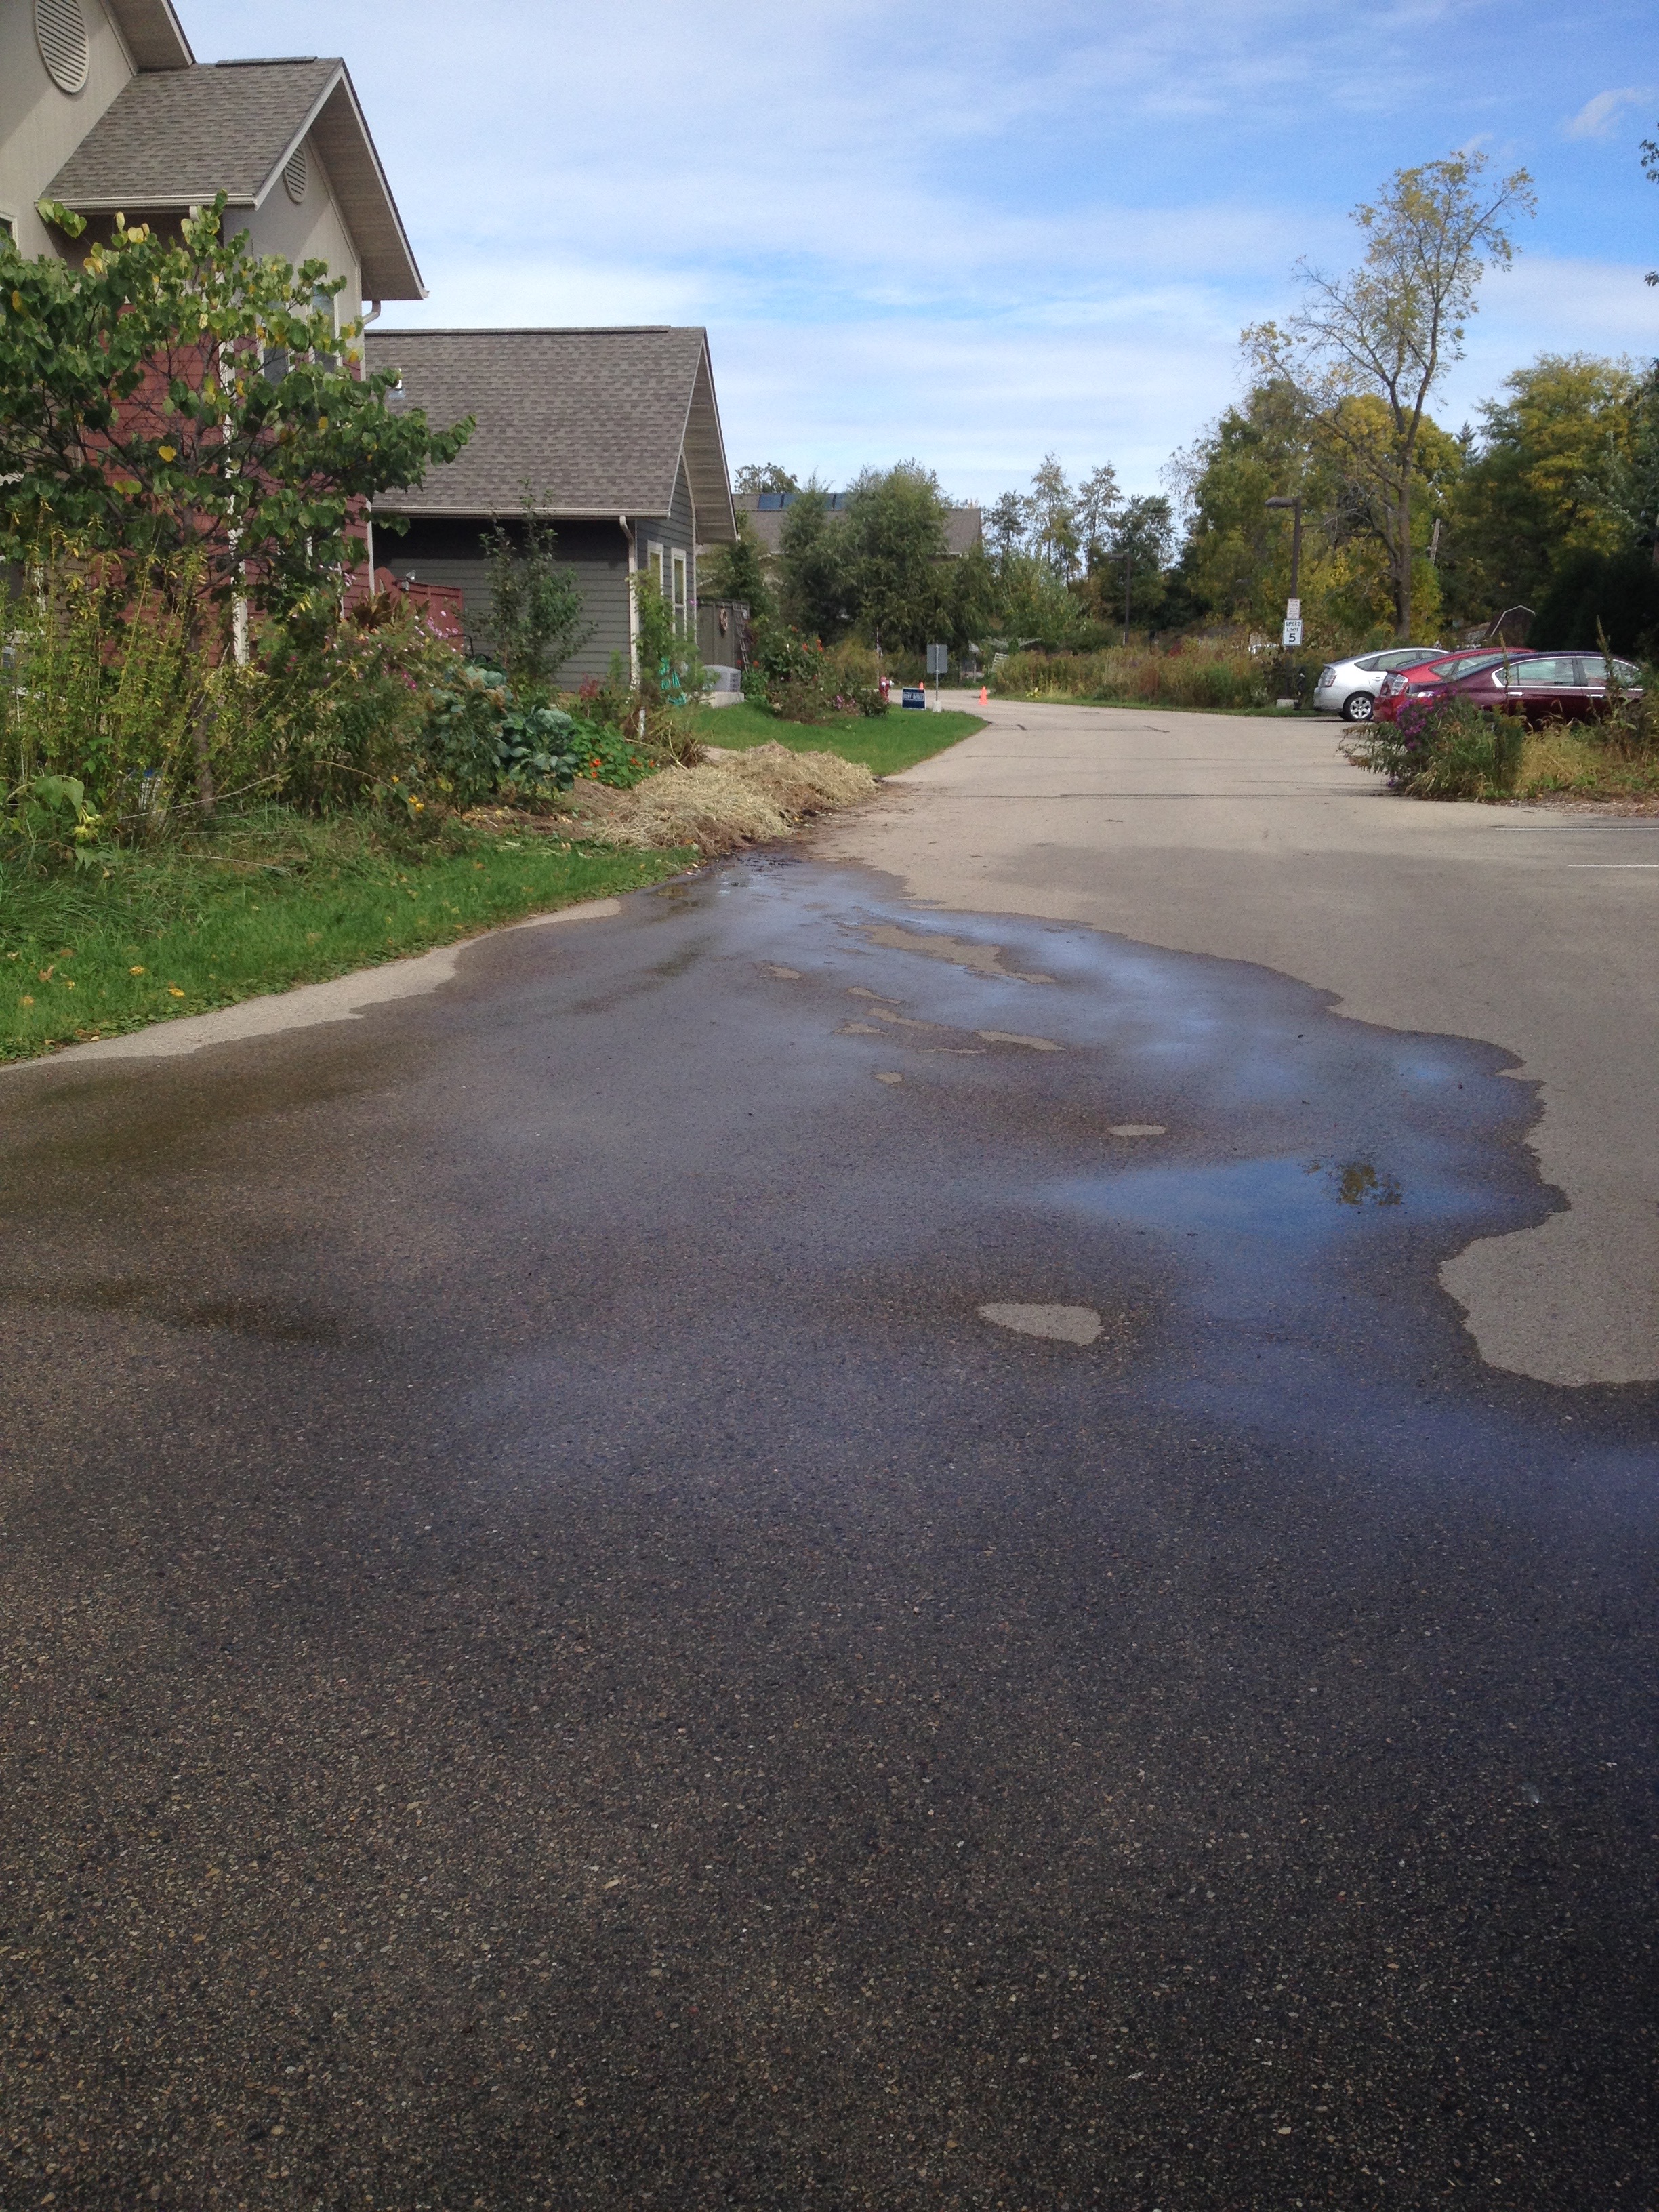
Future Projects
- ground cover as edible weed barrier, soil builder, bird attractor, insect hoster, etc.,
- my reading through Paul Stamet’s book, Mycelium Running, inspires a more careful look at fungi, both fruiting (i.e., mushrooms) and simply to create a nutrient-sharing, underground super-internet for all our plants, something that might be given a kick-start by using one of his mycelium kits for the garden which can be sprayed over the garden, and (4) in the back of my mind is trying to figure out how to make use of our window well (top of the hill below the windows): mushroom logs? plastic over it for a winter greenhouse, partly heated with the loss of heat from window well?
- In the meantime, the front of our house (East facing) might benefit from a trellised hardy kiwi for fruit and house shade for that hot afternoon sun. Yes, I know the house heats up just as much from the morning sun (West side), but somehow I can’t get as worked up about that…so, perhaps East side windows will get shaded first.
- Plant more fruit trees by using Backyard Orchard Culture techniques of summer pruning to keep trees small, planting multiple trees in small area with different ripening timing.
- 4/20 – Consulting to see why the hazelnut bushes don’t produce and possibility of replacing sweet cherry trees with something that actually produces fruit, how to screen parking lot visually for privacy. 8/20 – Hazelnuts do produce and are feeding the squirrels in fine style.
8/20 – Making Jam from our Somerset Seedless Grapes, busting out due to effective pruning.

Nice blog Donal! I especially like your “voice”. It’s conversational and not preachy. Very accessible.
Pingback: What is Permaculture? | One Planet Thriving
Pingback: Making: Artisan Quality and Beauty Made by Hand | One Planet Thriving