Sylvania Wilderness Winter Camping
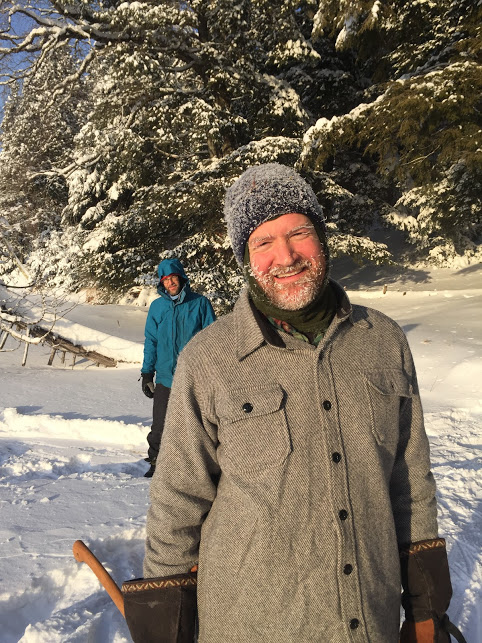
On February 8, 2019, five Dads traveled from Madison, WI to the Sylvania Wilderness where we used Inuit technology to enjoy -28° F (-33° C) temperatures and four winter days of silence, beauty, and adventure…and, yes, warmth. It was awesome. This 12-minute movie is our story.

Resources & Notes
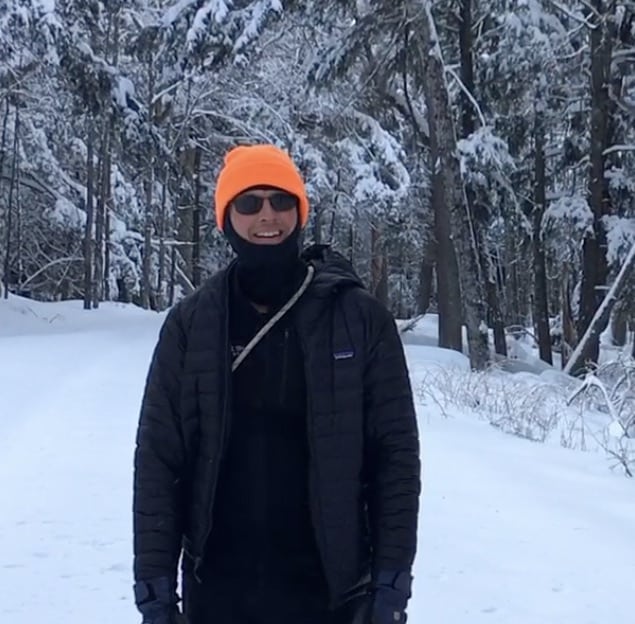
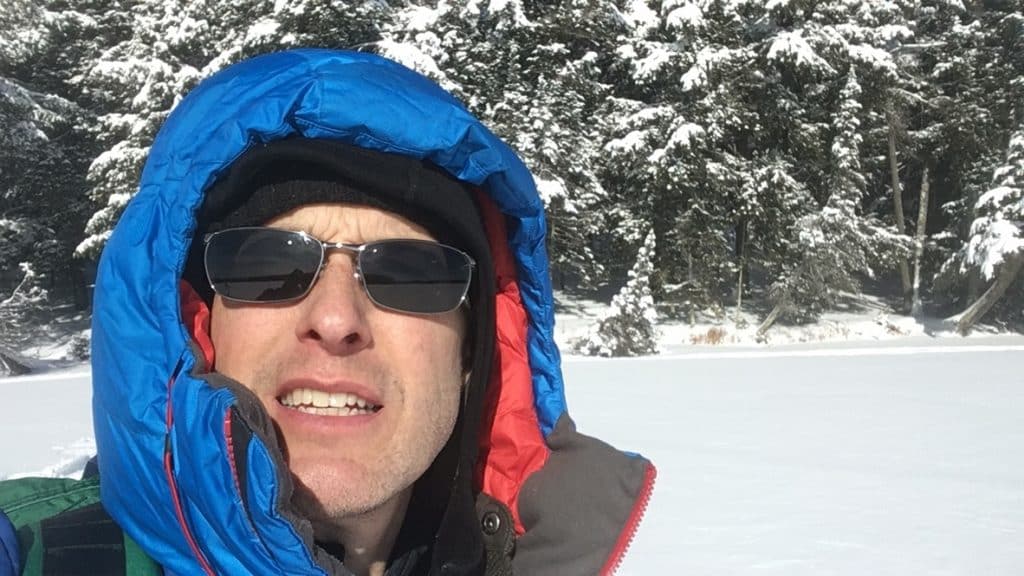
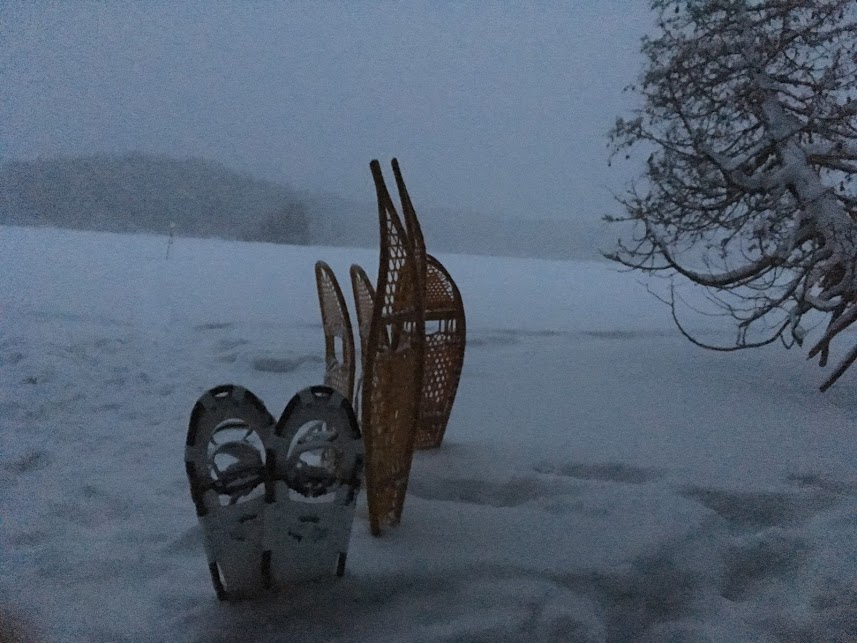
Picture sources: Eric U, Eric S, Donal. Video taken on iPhone SE.
Experience
In his 20s, Jake participated in a 60-day trip across part of Labrador led by Garrett and Alexandra Conover. Garrett and Alexandra collected and describe native traditional winter travel technologies in their book, Snow Walker’s Companion. Jake has since participated in many other winter trips. This experience and knowledge gave us all more confidence that doing a trip like this would be safe.
Kielyn and Dave Marrone, founders of Lure of the North, have taken on the work of the Conovers for a new generation and represent a great resource for videos on trekking, making gear, homesteading, etc. In 2022, Jake participated in a three-month trek with them. They also offer gear, kits, workshops, training, and guided experiences. And, Kielyn has shared her courage and skills in winter survival on Season 7 of History Channel’s Alone. Season 6 also features an arctic location.
For an amazing movie about people in Siberia who make their living as trappers using mostly traditional technology, Happy People: A Year in the Taiga, is recommended (for rent on iTunes). Thank you, PW. Season 6 of Alone shows the survival practices of 10 people lasting as long as they can in the Arctic bringing only 10 items with them for survival.
Fire
Fire is important not only for warmth, but also for boiling water to purify it, drying gear, and because it just makes the whole experience so much better. Modern backpackers call this type of camping “hot tent” camping.
Knowledge of what wood to use is vital. It should be dead-standing wood and has to be dry. Sometimes our team’s choices, even from experienced people, did not burn well. This is something to make sure you are educated about in order to get the all-important fire burning.
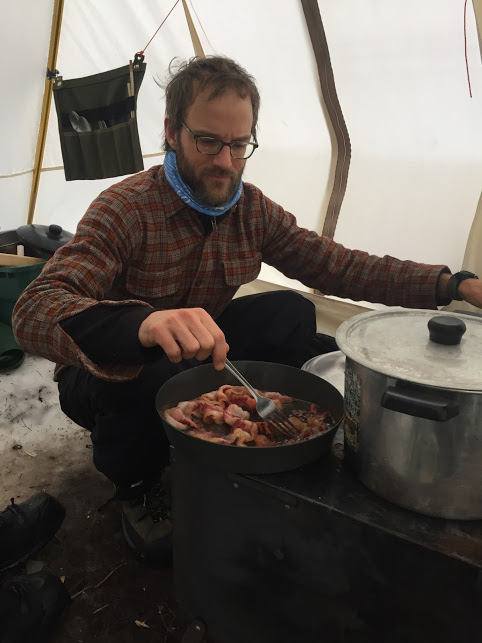
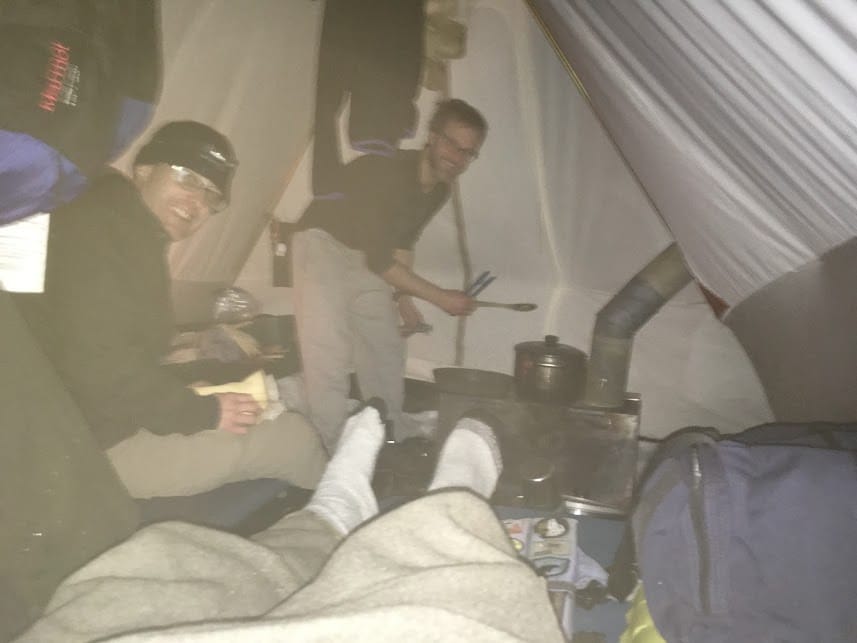
The wood stove makes the tent very comfortable while it is burning, sometimes getting temperatures warm enough for shirt-sleeves. Because of this, it will dry out gear (boots, gloves, sleeping bags), a critical feature for long-term warmth since any sleeping bag can become wet through condensation over time. Unlike a nylon tent that will ignite easily, canvas tents are relatively fire resistant.
While the tent blocks wind and rain, it does not hold heat well. So, once the fire is out, the tent gets cold fast. We did not have the wood stove running at night, first, because that would require someone to keep stoking it all night (small fire box = lots of refueling), and second, because we were plenty warm without it (see notes about sleeping bag insulation below).
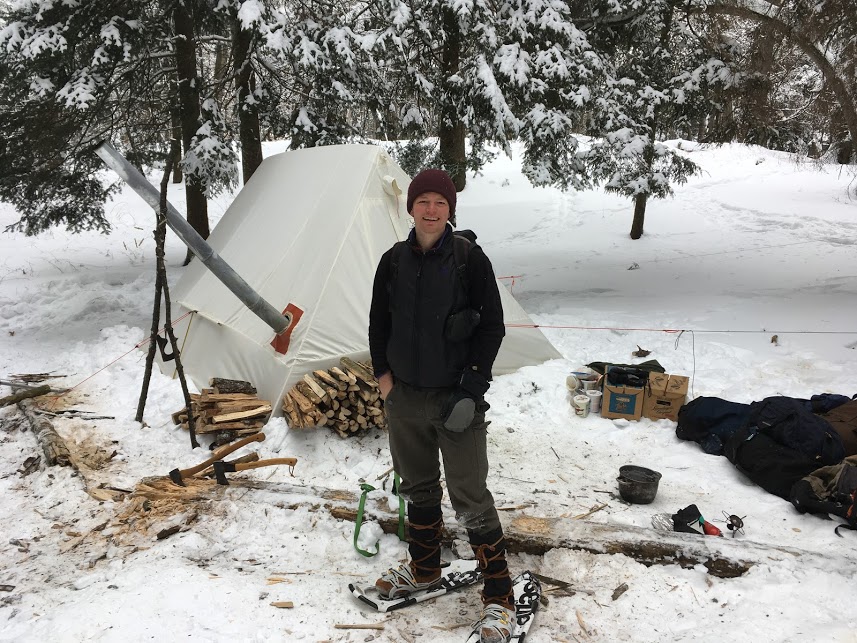
Wood stoves have a stove pipe that is assembled and vented through the tent with fire-proof gasket with the weight of the pipe supported by branches outside. There are a few varieties of wood stoves based on size, shape, and materials. Titanium are lighter, more expensive, and may not last as long as steel varieties.
Water
Water is collected from a hole chiseled in the lake ice. The hole should be located far enough from shore that you are not hitting rocks and there’s enough depth that you are getting water. The ice chisel is specially designed for making the hole. It is about 6″ long, 2″ wide, and attached to a long pole. You can use your axe to cut the hole but the angle is harder, and you risk dulling your axe if there are bits of sand or rock in the ice. We ladled water from the hole into a big pot and then purified by boiling on the wood stove. The ice hole freezes up at night but can be easily re-opened in the morning.
Food
One of the great things about a short trip using toboggans is that you can haul a lot of stuff. That means you can eat really luxuriously if that’s your thing. These were our meals:
Dinner: Ginger and Carrot Soup; Lemon Ginger with Black Pepper Chocolate; Caramel and Salt Chocolate, Red Breast whiskey
Breakfast: Spinach, caramelized onion, garlic, Parmesan, and Monterrey jack cheese omelettes, bacon, hash browns, tea or coffee.
Lunches were individual and consisted of trail mix, Kind bars, Go Macro bars, summer sausage, cheese, crackers, sardines, yogurt covered almonds, gorp chunks, chocolate or peanut-butter covered pretzels, tea, and more.
Dinner: Chicken poblano pepper soup/stew; Corn tortillas fried in bacon grease; Bullet Bourbon
Breakfast: Fancy oatmeal: brown sugar, coconut slivers, walnuts, strawberries, tea or coffee
Dinner: Pakora with mango chutney, Thai curry with tofu and cauliflower, naan with butter; Woodford Reserve whiskey.
Breakfast: Fancy oatmeal: blueberries, brown sugar, walnuts, tea or coffee
Advice focused on food and some recipes.
Packing List
Lure of the North is an excellent resource for recommendations about what clothing to pack, how to pack a toboggan, personal gear list, and personal packing. In our case, Jake gave us a run-down on what we would need and the lists below are embellished versions of what he recommended.
Clothing
- In general, no cotton. Instead, bring wool or synthetic fabrics
- Snowshoeing footwear (mukluks work best, but whatever you have)
- Spare liners for mukluks or boots
- Rubber boots or waterproof footwear (these over spare boot liners will work). This provides an option for rain, for accidents if mukluks get wet, and are also nice to have as a slip on option for going in and out of tent (no boots in the tent)
- Ski goggles (not necessary, but nice if it is really cold)
- Anorak or windproof shell.
- Three top layers (e.g., 3 wool shirts to maximize versatility; Empire Wool and Canvas Company)
- Warm parka (or other warm coat) in its own stuff sack. Best to pack this to be accessible on your sled
- Long underwear
- Pants. Jake and Eric U had wool pants and just wore these over long underwear. These pants are inexpensive and did the trick as an extra layer between long underwear and 3-season REI pants.
- Couple pairs of thick socks (e.g., best socks you can buy according to Lure of the North)
- Warm hat
- Good mittens (choppers are best, with spare liners)
- Wind pants
Personal
Equipment
- Snowshoes (and bindings that work with your footwear). Modern ones are better for hills and grip. Classic ones are better for the lake and “float” better. Also, the bindings are comfortable with hands-free entry and exit (with a little practice)
- Toboggan or sled (make sure it has a harness or some comfortable way to haul). We used a variety of different sleds. We used one of Lure of the North’s toboggans on the trip and it performed like a champ (their personal service was also excellent).
- Ski gear (we only brought snowshoes and they were great)
- Sleeping bag(s). Multiple bags for more warmth if you don’t want to spend the money on a dedicated low temperature winter bag. (See below for discussion of insulation as a function of loft to calculate how many inches of loft/insulation you need for likely trip temperatures).
- Thermarest and/or closed-foam cell pad (Lure of the North recommends avoiding blow-up pads in favor of more robust closed-foam cell varieties)
- Head lamp and extra batteries
- Day pack
- First aid kit and trauma kit (designed to handle major bleeds as from an ax injury)
- Pocket knife and/or possibly a bigger knife for working with wood (e.g., creating fire sticks or shavings to start a fire)
- Means to start a fire (safest if we each are carrying the bare minimum of dry matches)
- Emergency hand warmers (I don’t always bother with these, but I have found that throwing a few in seems to make my wife happy, which seems useful)
- Bungees or ropes to tie all your stuff securely into your sled
- Tarp to cover your stuff on sled
- Thermos (nice to have hot drinks when you’re out for the day)
- Lip balm & sunscreen
- Water bottle (this can be kind of tricky as it will freeze in deep cold). Option a) use an insulated thermos for cold water. Option b) use something that you can hang around your neck and keep inside your clothing.
- Dishes and utensils (enamel mugs are nice because they can go directly on the stove for heating hot drinks).
- Any kitchen gear that you need beyond the basics
- Duffel bags that contain all your stuff and are easy to pack on your sled
- Sunglasses
- Bandana for wiping glasses and/or no fog cloth
- Map and compass
- Toothbrush & floss (floss doubles for repairs, but with toboggans you can pack a little weight so more robust repair materials are ok compared to backpacking)
- Face mask
- Toilet paper and hand sanitizer
- Lure of the North recommends a separate set of sleep clothes consisting of socks, long underwear, and long-sleeve top
- Watch
- Extra batteries for phone/camera
- Book, playing cards, etc.
Group
Gear
- Canvas tent with hang lines and clothes pins and/or large safety pins for drying clothes
- Wood Stove
- Ice chisel for getting water from lakes or rivers
- Slush scoop
- Axe (Gransfors Bruks Forest Axe is famous and expensive; Hultafors is an upper end alternative but less expensive then the Gransfors Bruks; Lure of North suggestion)
- Snow shovel
- Candles for light inside the tent at night
- Repair kit, including wire
- Basic kitchen gear, including pot dedicated to boiling and holding drinking water, pots to cook, spatula, knife, containers to wash dishes in
How thick should my sleeping bag be?
Ray Jardine is famous for pioneering light and ultralight backpacking, partly to make record times hiking trails such as the Appalachian Trail. His formula (book) for figuring out insulation needed for a given temperature is the following:
Effective Temperature Rating (ETR)=100-(40*inches of insulation). So, Inches of insulation needed = (ETR-100)/-40. Note: You need zero insulation at 100° F and this increases by .25″ of insulation/loft for every 10 degrees lower in temperature.
This formula gives you something you can measure and test yourself, thus becoming less reliant on the temperature ratings advertised by sleeping bag makers (even if accurate initially, they will change as a bag loses loft). If I applied this formula to my personal sleeping bag situation in Sylvania, I would have brought sleeping bags to achieve 2.875″ of loft. However, I took more insulation than the formula suggests because: (1) I wanted to make very sure I wasn’t cold and (2) I’m a cold sleeper. So, I used the bags below with about 3.65″ of loft (plus, I had my parka that I could’ve worn to add another 1.5″ of insulation). With all four bags zipped up and nested inside each other (but without the parka), I was warm and cozy for a -28° F night in Sylvania. Note: as mentioned above, we did not have the wood stove running at night.
| Sleeping bags | Insulation (“) |
| Backpacking down quilt | 1 |
| North Face synthetic | 0.75 |
| Big Agnes down | 0.9 |
| Black synthetic | 1 |
| TOTAL: | 3.65 |
I can now make Ray’s formula more accurate for me based on the fact that I was comfortable with 3.65″ of insulation at -28° F. My ETR formula is calculated with basic algebra as follows: -28 = 100-3.65x, So, 3.65x=125, So, x=128/3.65, So, x=35. So, the formula for me specifically is probably something like this: ETR = 100-(35*inches of insulation) OR Inches of insulation needed = (ETR-100)/-35. So, for example, if I am planning for a -40 degree night, I would need about 4″ of insulation. Another way of putting this is that I need about 14% more insulation than Ray Jardine does or am a 14% colder sleeper than he is. The following is a chart of various ETRs and the insulation needed based on both formulas:
| ETR | Ray Formula (“) | My Formula (“) |
| 70 | 0.75 | 0.86 |
| 60 | 1 | 1.14 |
| 50 | 1.25 | 1.43 |
| 40 | 1.5 | 1.71 |
| 30 | 1.75 | 2.00 |
| 20 | 2 | 2.29 |
| 10 | 2.25 | 2.57 |
| 0 | 2.5 | 2.86 |
| -10 | 2.75 | 3.14 |
| -20 | 3 | 3.43 |
| -30 | 3.25 | 3.71 |
| -40 | 3.5 | 4.00 |
| -50 | 3.75 | 4.29 |
Hi Guys!
This was a really nice video and trip report. Thank you so much for your support and we are so thrilled to see you getting out and enjoying the winter in style.
All the best to you and all of your future adventures!
Best,
Kie and Dave
Thanks for your comment, Kie and Dave. We love your work, your play, and your videos sharing both! Inspiring and informative.